Simon Says Stamp - AUGUST 2024 Card Kit, GRACEFUL FLOWERS
- Keisha Diann

- Jul 15, 2024
- 4 min read

Hello Lovelies! I decided to slow things down and freestyle with the Distress Spritzes included in the gorgeous Graceful Flowers Card Kit. It's liberating to color loosely and let the flow of the color surprise you.
Today I'll walk you through this card, but remember that the beauty of this one is that whatever your recreate will be unique to you and have its own special charm! What will be the same is the incredible shimmer!

Here's a closer look at ALL the kit goodies. Click image below to shop for the kit and the following link to see the full supply list.
Here's the full list of all the crafty goodies that the kit contains:
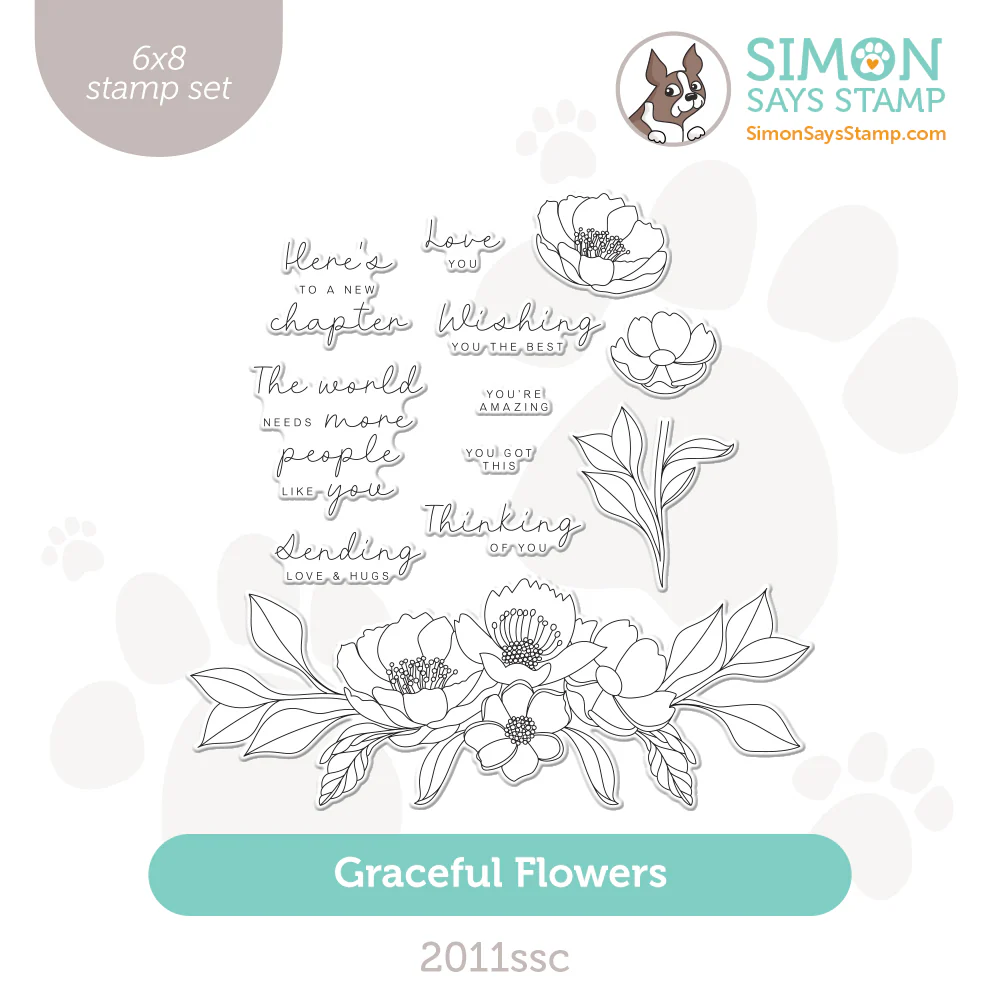
1 NEW and exclusive Simon Says Stamp Graceful Flowers 6x8 inch clear stamp set
1 NEW and exclusive Simon Says Stamp Beautiful Buttercup die
1 NEW and exclusive Simon Says Stamp Blossom Swag embossing folder
1 NEW and exclusive Simon Says Stamp Pawsitively Perfect Microfiber cleaning cloth
6 double-sided Paper Rose Botanical Blooms 6x6 inch patterned paper sheets
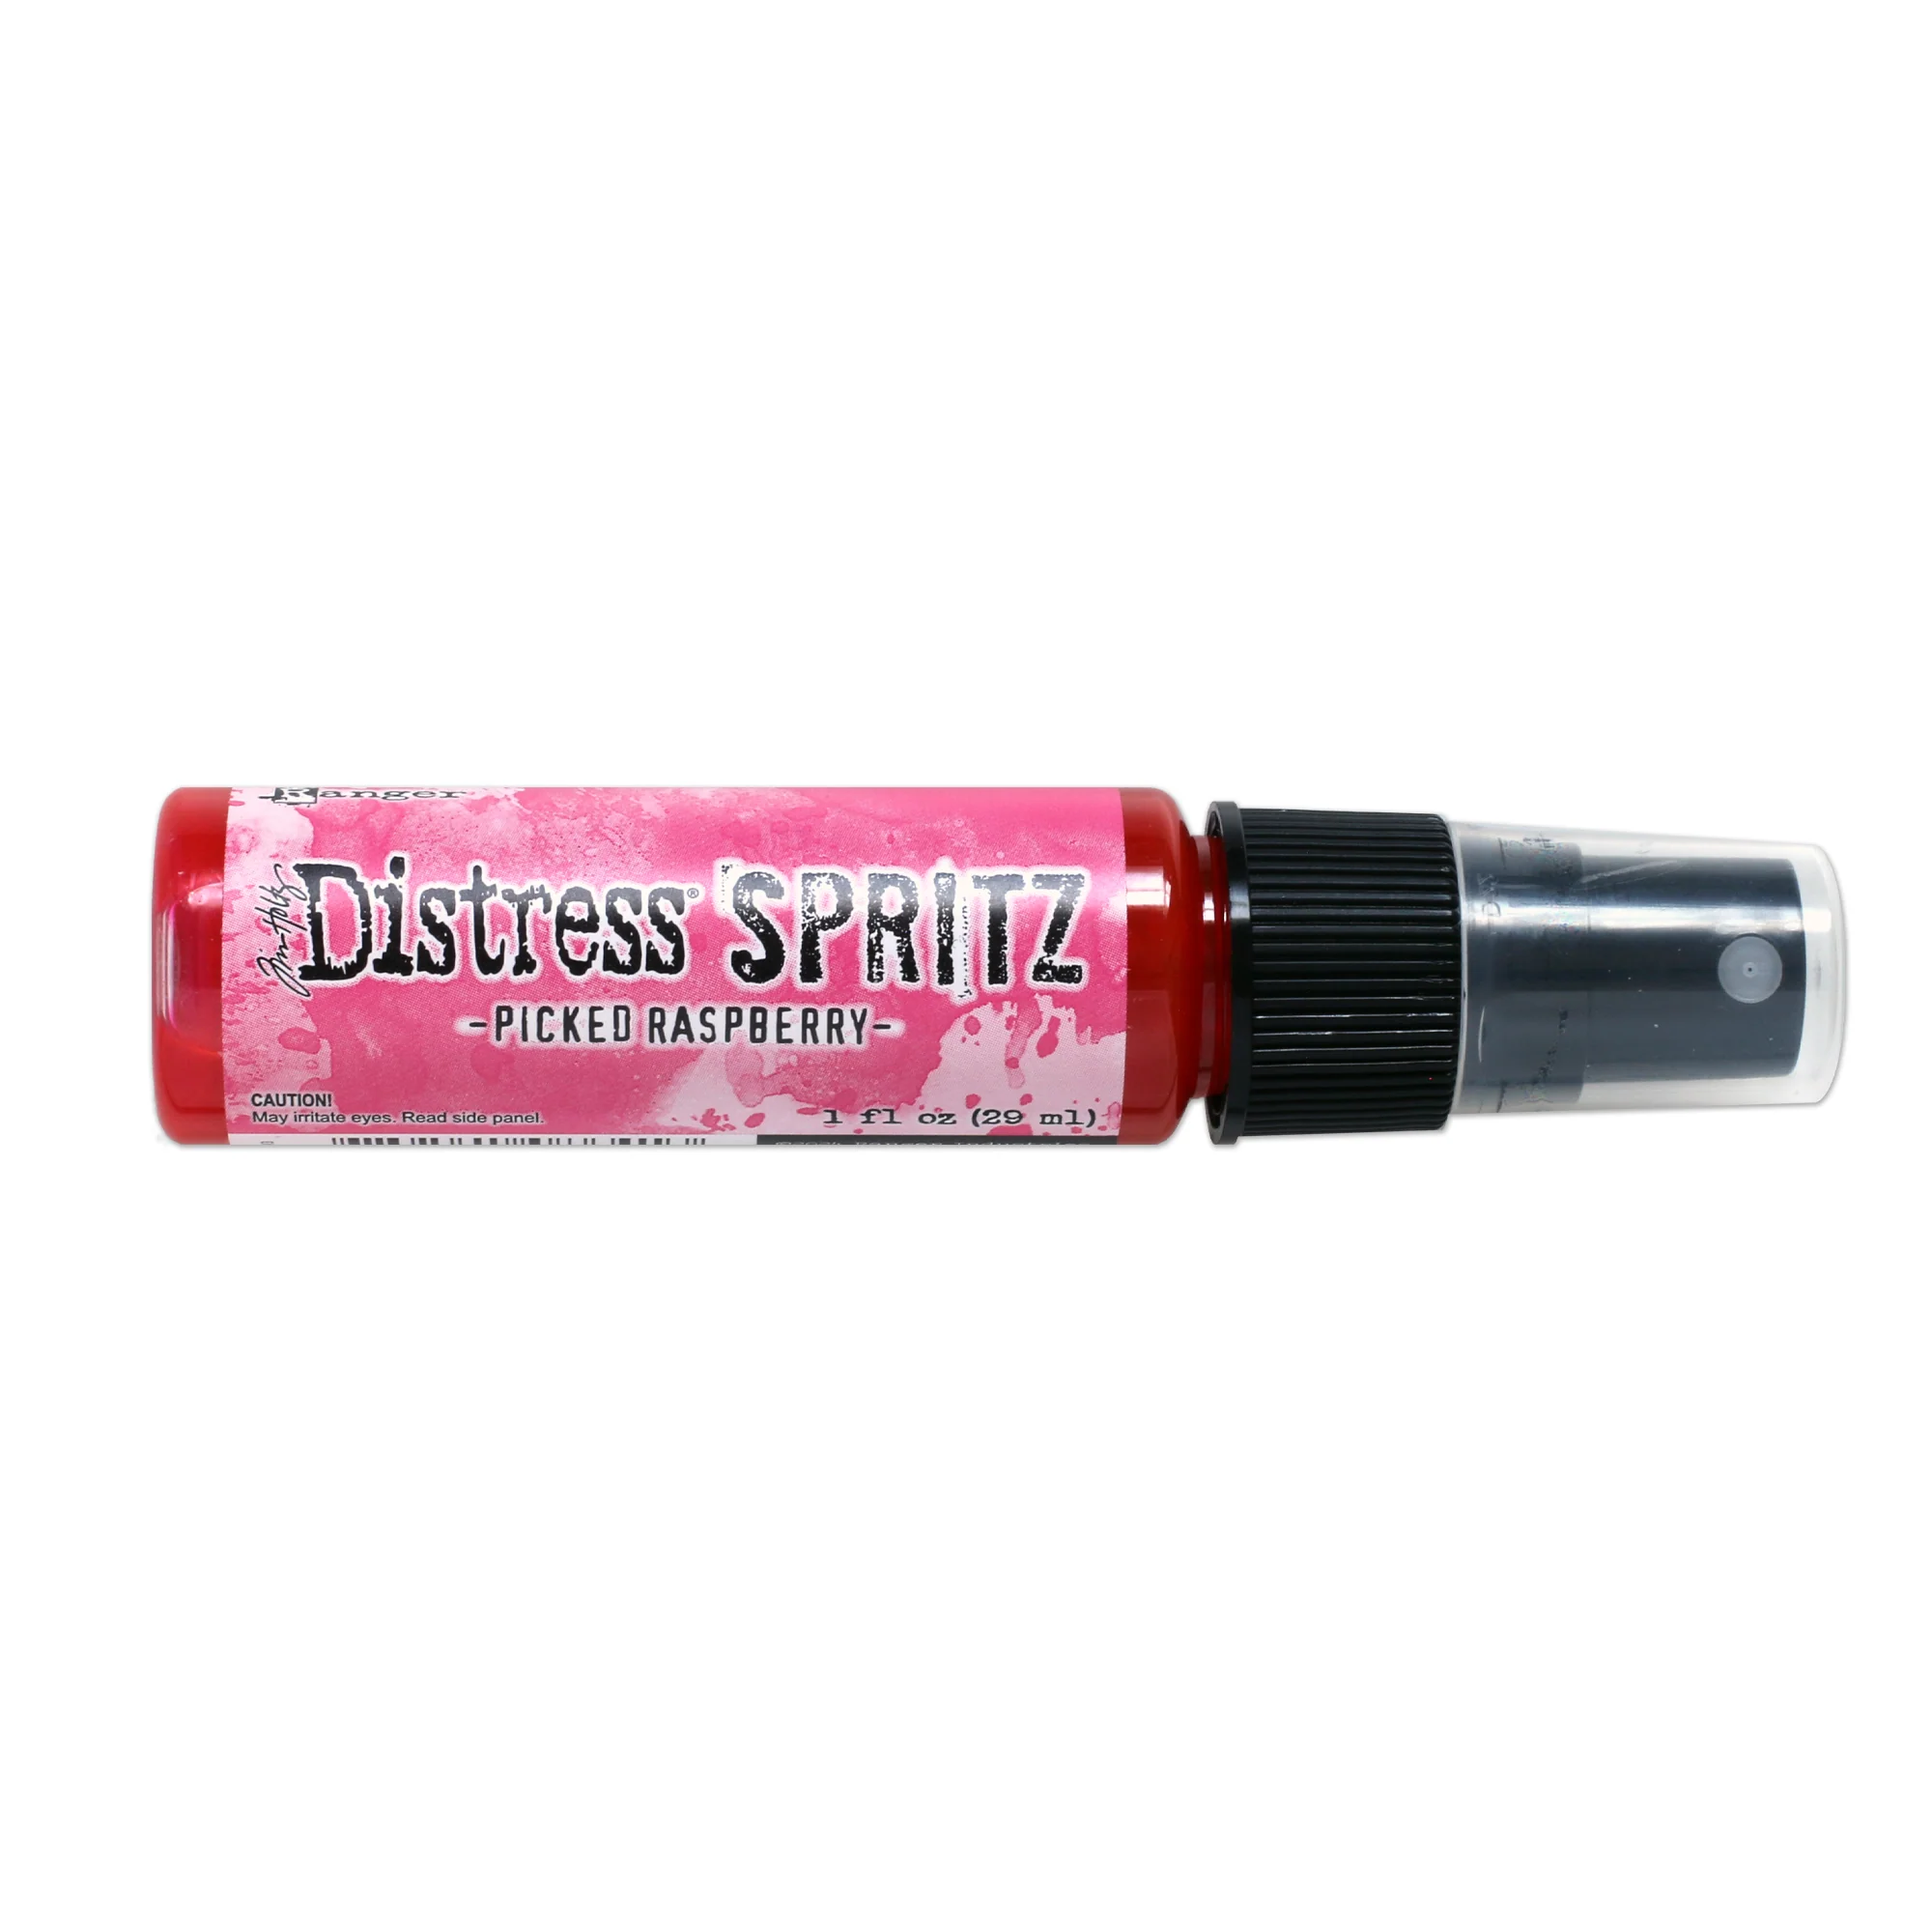
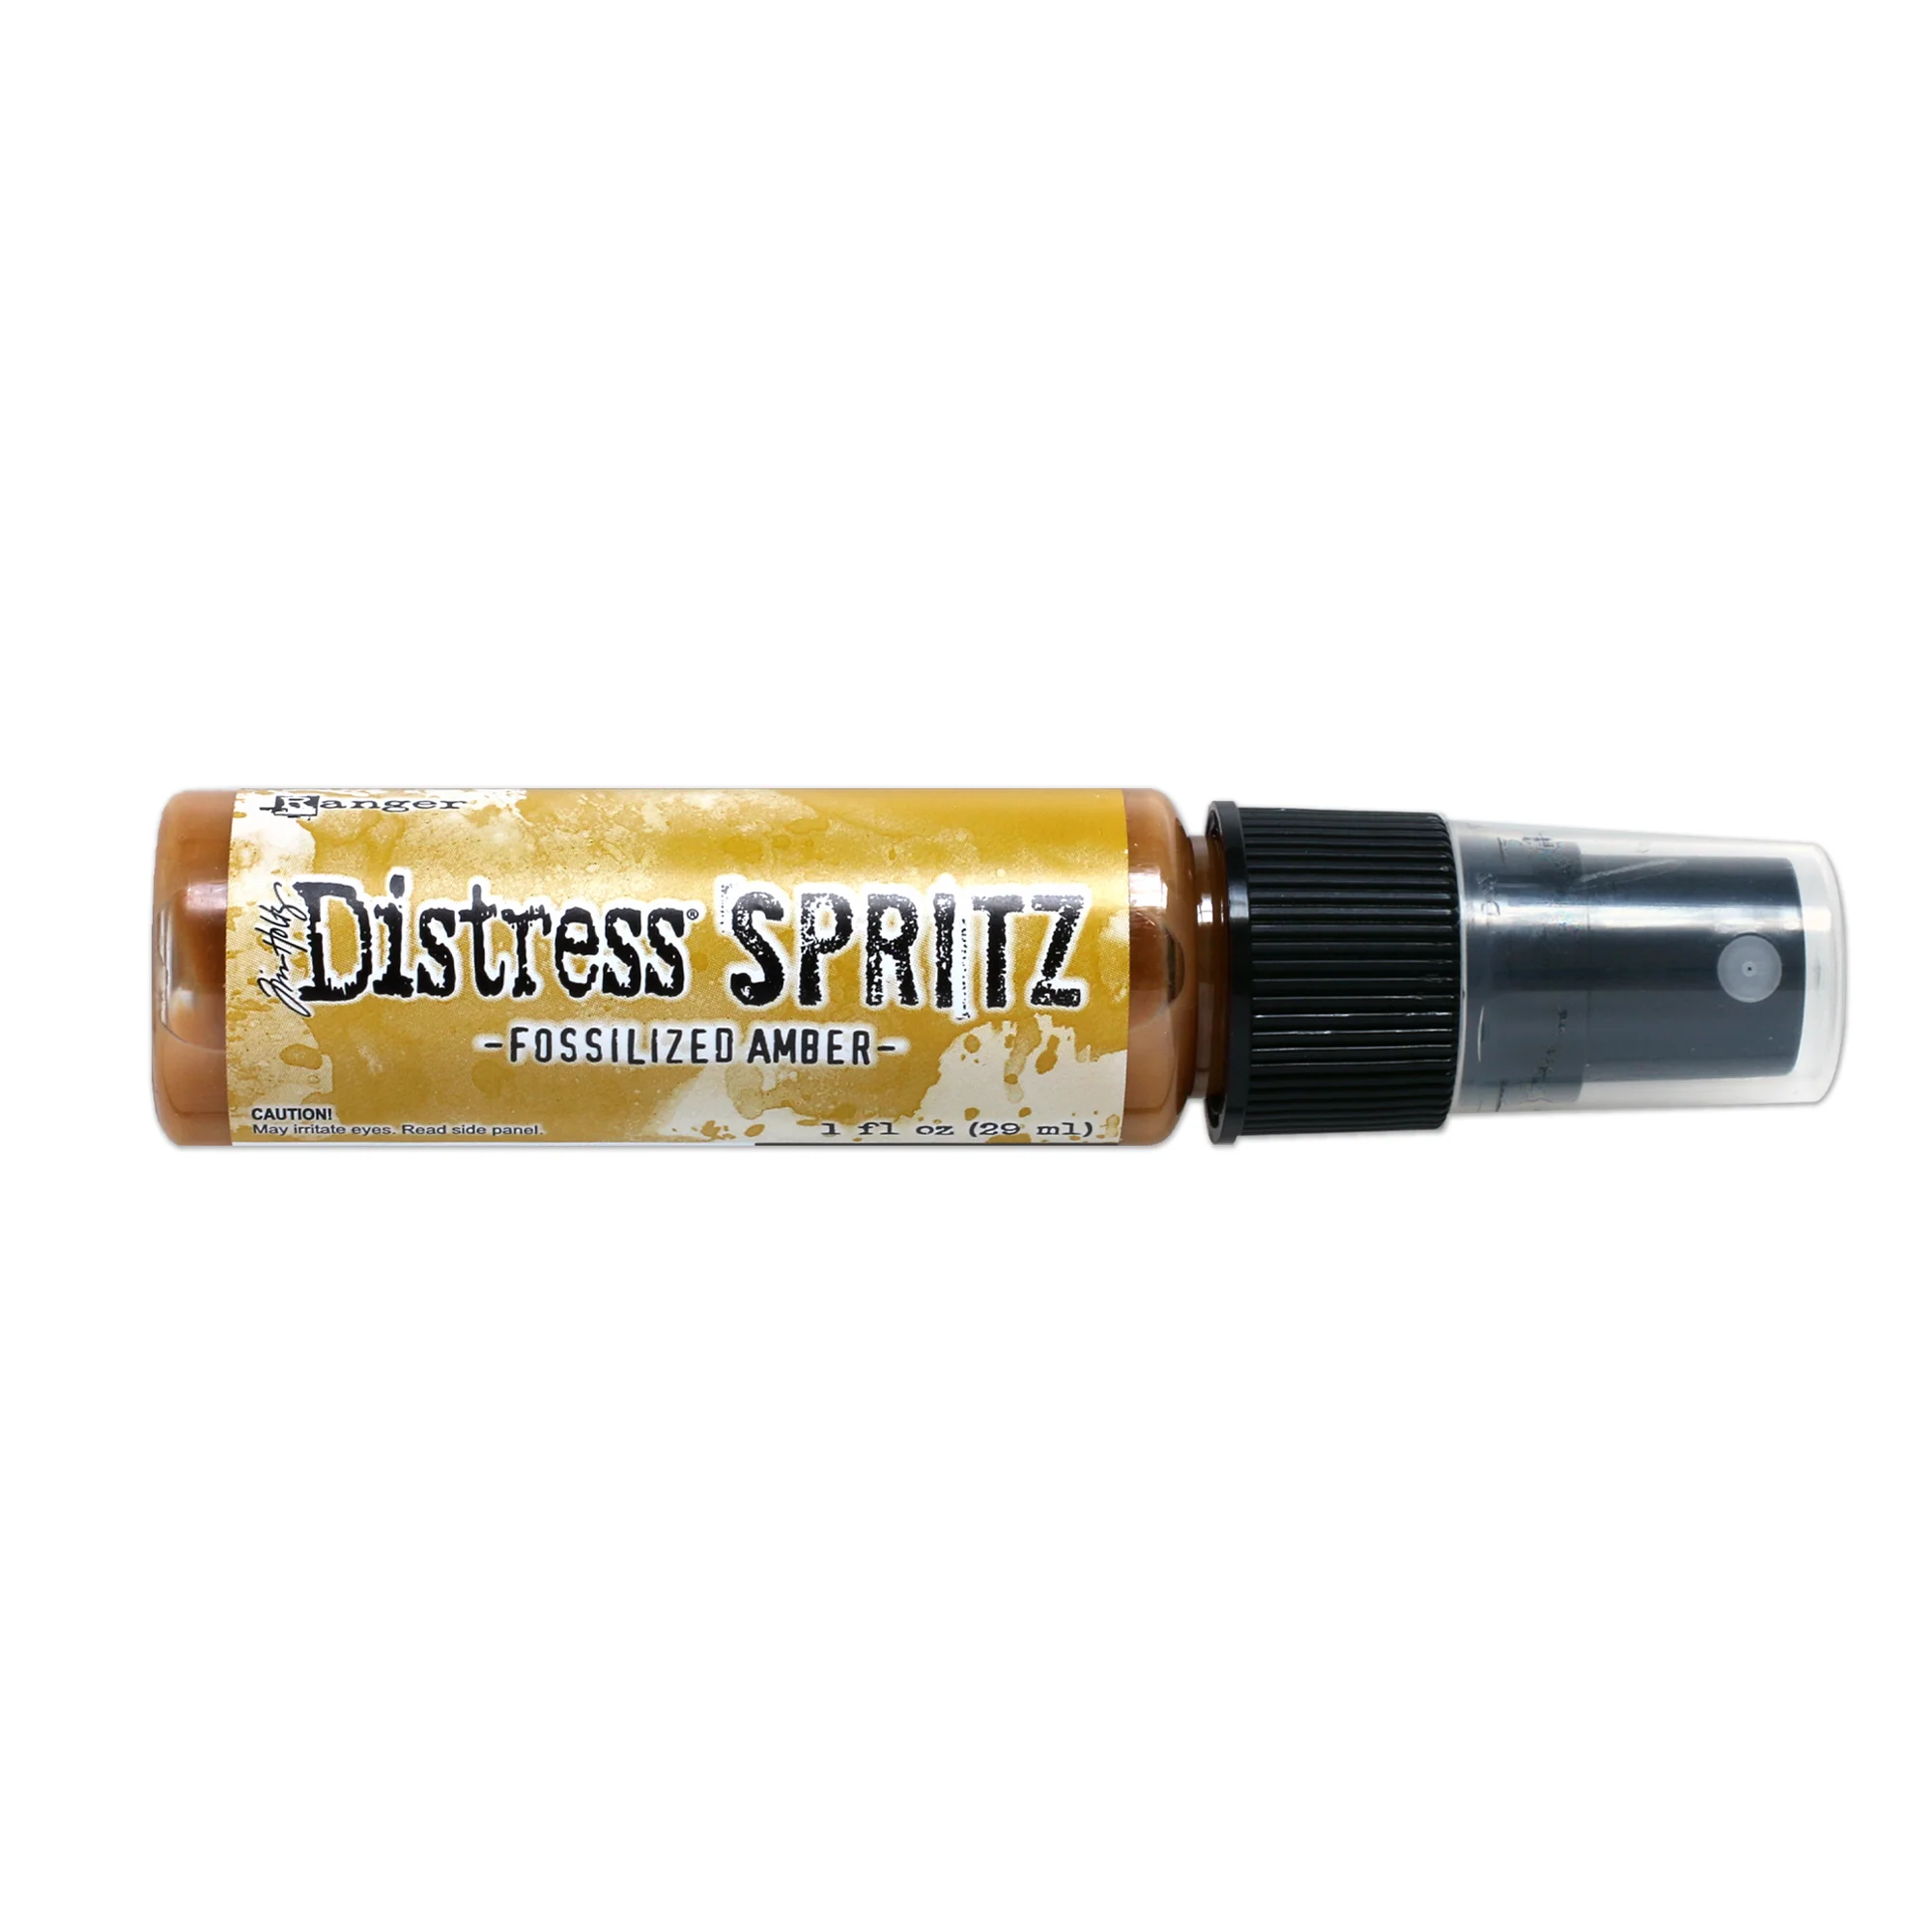
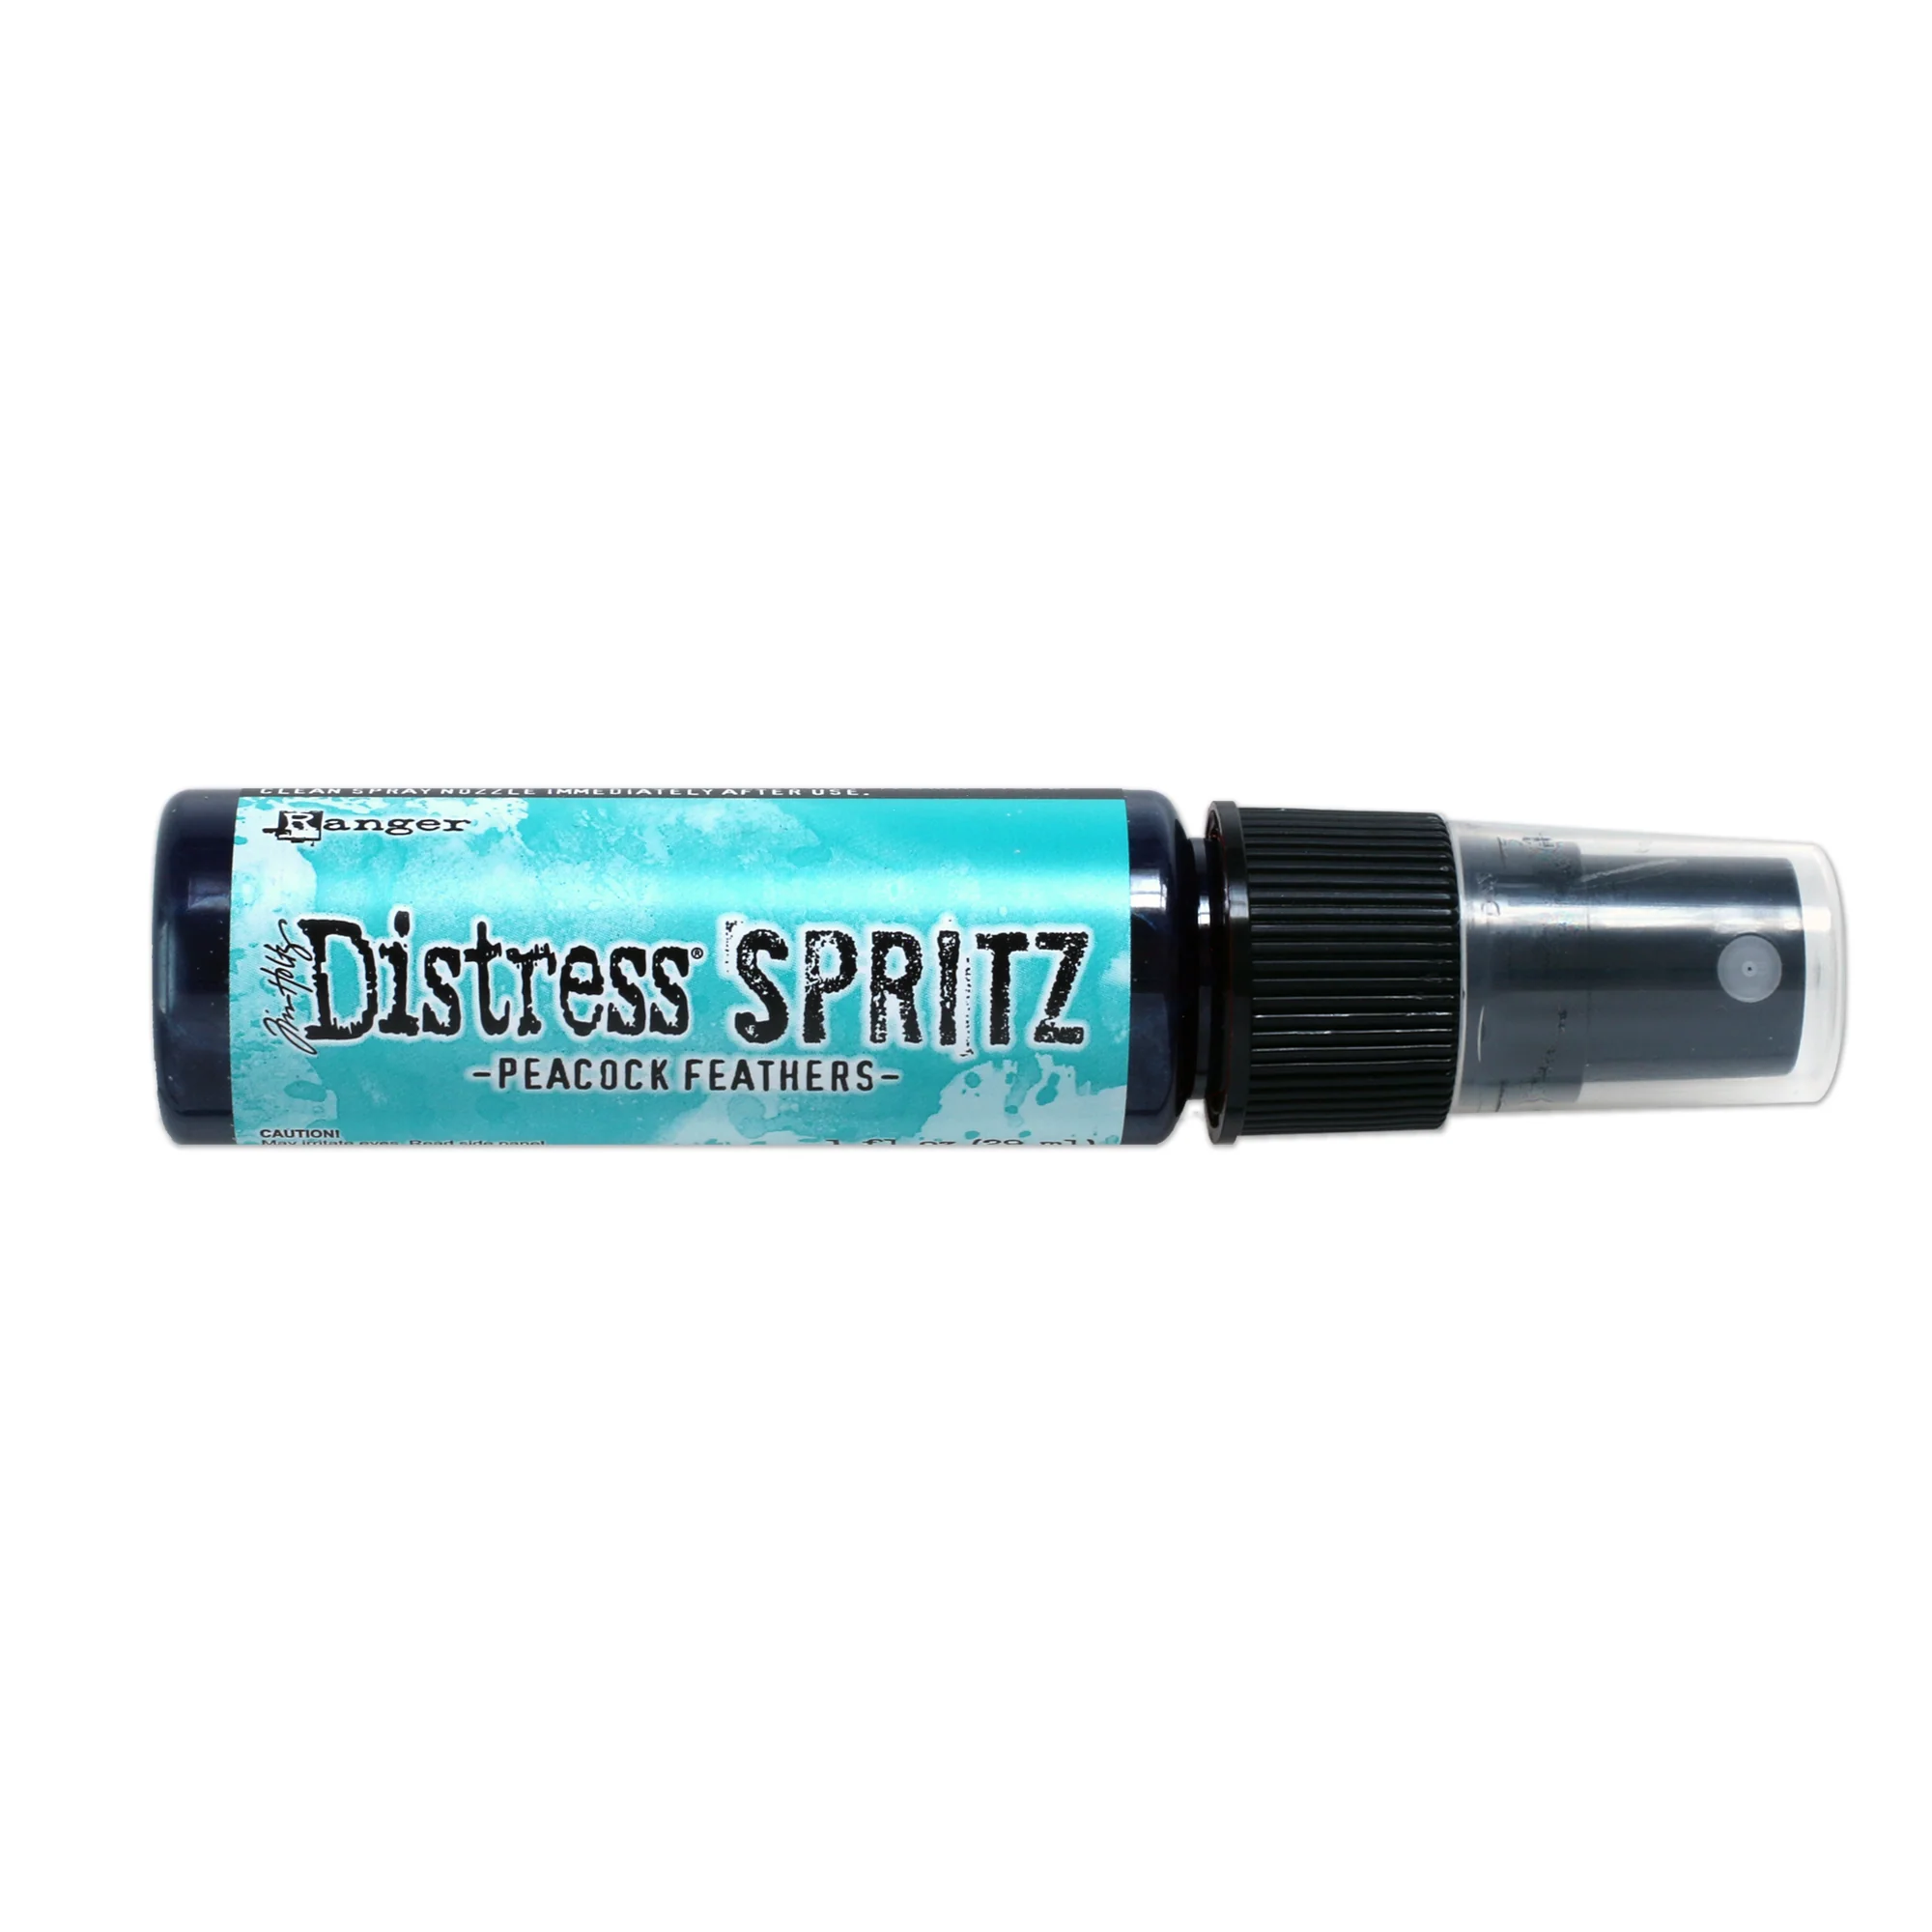
3 Tim Holtz Ranger Distress Spritz bottles (Picked Raspberry, Fossilized Amber, and Peacock Feathers)
1 yard May Arts white ribbon (can be dyed with the Spritz!)
1 black foam adhesive squares sheet
1 Simon Says Stamp A2 Black pre-scored card
1 Simon Says Stamp A7 White pre-scored card
1 8.5x11 inch 188 lb white watercolor cardstock sheet
1 8.5 x11 inch Simon Says Stamp 110 lb Sea Glass cardstock sheet
1 8.5 x11 inch Simon Says Stamp 110 lb Lavender cardstock sheet
1 NEW and exclusive Simon Says Stamp A7 Cotton Candy envelope
Highlighted in purple are the card kit contents that we'll use for this card.
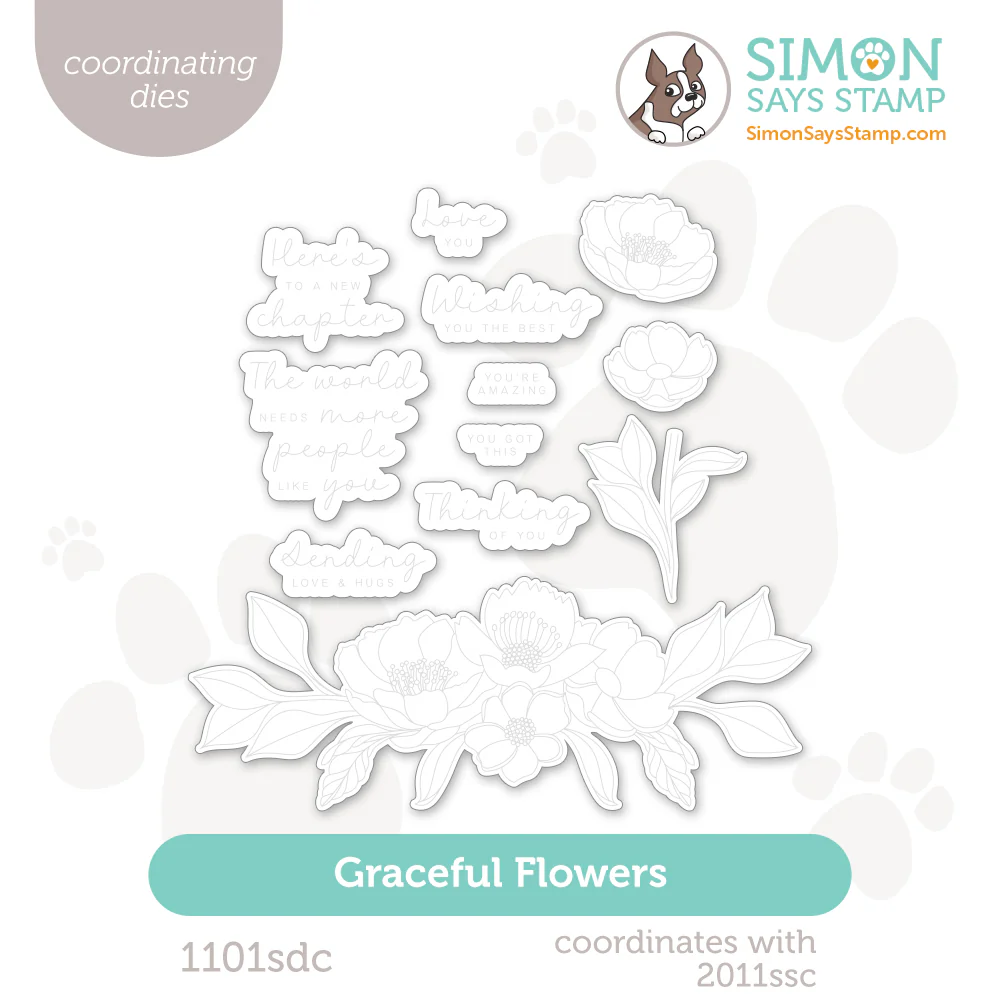
Spotlighted below are the key items that inspired this card; they are also available separately if you are interested in particular one! The Graceful Flower Dies are NOT included in the Kit. Additional supplies linked in the Supplies section at the end of this post and here.
Card Kit Jokes
This is about as graceful as I am on a daily basis!
IT'S YOUR BIRTHDAY CARD - Stamping, Embossing, Coloring and Die-Cutting
Base Layer: 4 1/4" x 5 1/2"
Embossed Layer: 3 3/4" x 4 1/2"
Featuring:
IN KIT:
Simon Says Stamp Graceful Flowers 6x8 inch clear stamp set
Simon Says Stamp Blossom Swag embossing folder
Simon Says Stamp Pawsitively Perfect Microfiber cleaning cloth
3 Tim Holtz Ranger Distress Spritz bottles (Picked Raspberry, Fossilized Amber, and Peacock Feathers)
Black foam adhesive squares sheet
8.5x11 inch 188 lb white watercolor cardstock sheet
8.5 x11 inch Simon Says Stamp 110 lb Lavender cardstock sheet
ADDITIONAL:
Simon Says Stamp Graceful Flowers Die set (optional)
Distress Ink - Picked Raspberry, Shaded Lavender, Twisted Citron, Mowed Lawn, Wild Honey

COLOR PALETTE:
Distress Spritz - Picked Raspberry, Fossilized Amber, Peacock Feathers
Distress Ink - Shaded Lilac, Picked Raspberry, Wild Honey

CARD WALKTHROUGH:
EMBOSSING & UNDERPAINTING
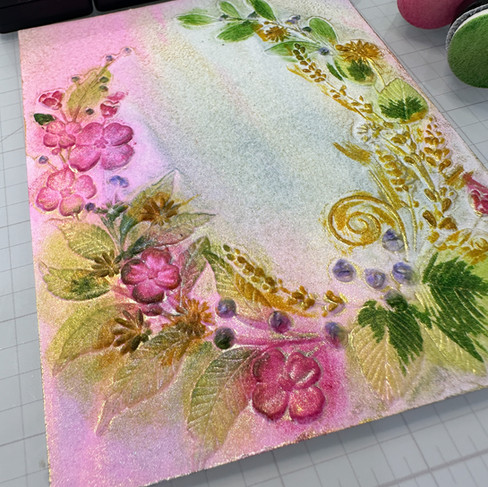
We are creating layers of shimmer and color on this card. To accomplish that, we will underpaint with Distress Spritz to get started.
Emboss a 4 1/4" x 5 1/2" piece of Watercolor Cardstock using the Blossom Swag Embossing Folder
Shake and then uncork the 3 Distress Spritzes
Place the embossed cardstock inside of a Splat Box and any spare cardbox box of your choosing
Mist with the Spritzes:
concentrate the Picked Raspberry along the left side, with a little Peacock Flowers to create a subtle purple blend
concentrate the Fossilized Amber and Peacock Flowers along the midde and right to create sections of yellow, blue and a subtle green
Set aside or heat set to dry


INK-BLENDING
Gather your Distress Ink Pads, Distress Tiny Blending Tools / Simon Says Stamp Detail Blending Brushes
Using the Tools or Brushes apply ink to selected areas of the raised design:
Four-petal Flowers - Picked Raspberry
Spiky flowers and "wheat???" - Wild Honey
Leaves - Twisted Citron and Mowed Lawn (note that the extra dark sections of the leaves were achieved by directly applying the ink pad to the raised pattern
Berries - Shaded Lilac
To create a more ethereal, misty look, mist the design again with the spritzes to roughly "blend" the inked colors with the Spritz
Dry with the heat tool
Place back in the embossing folder and align the patterns. Emboss the cardstock again to maintain the design which may have become a little less distinct with the Spritzes
Trim to 4" x 5 1/4"

SENTIMENT
The cardstock shown here is white cardstock that has been inked with the Shaded Lilac Ink Pad, but you should use the Lavender cardstock included in the Kit.
Stamp the selected sentiment in clear ink onto the cardstock
Sprinkle with Wow Metallic Gold Sparkle Embossing Powder
Heat set to melt the embossing powder
Die-cut or fussy cut the sentiment
Ink-blend the edges of the sentiment using a Small Blending Brush or Tiny Tool using Shaded Lilac
Apply Foam dots to the back of the sentiment
Trim and score Lavender cardstock to 4 1/4" x 5 1/2" to create a card base
ASSEMBLY
Apply Foam dots to the back of the embossed panel
Adhere the sentiment to the embossed panel
Adhere the embossed panel to the card base
I cant tell you how uncomfortable I was with the earlier stages of this card before the colors dry and settle. I'm so glad I stuck with it and I hope you will too to get this shimmer and delightful interactions of colors.


SUPPLIES:
I listed the products that I have used below. Please note that these are compensated affiliate links used at no cost to you. I really appreciate your support. Simon Says Stamps Card Kit products were provided as part of my Design Team package.
Click image below to shop for the Kit ONLY!
Click on the icons below each product picture to shop additional supplies with SimonSaysStamp.com.






Comments