

Paint Your Embossing Folder Designs with Watercolor Markers for Delightful Dimensional Cards
- Keisha Diann
- Feb 26
- 2 min read

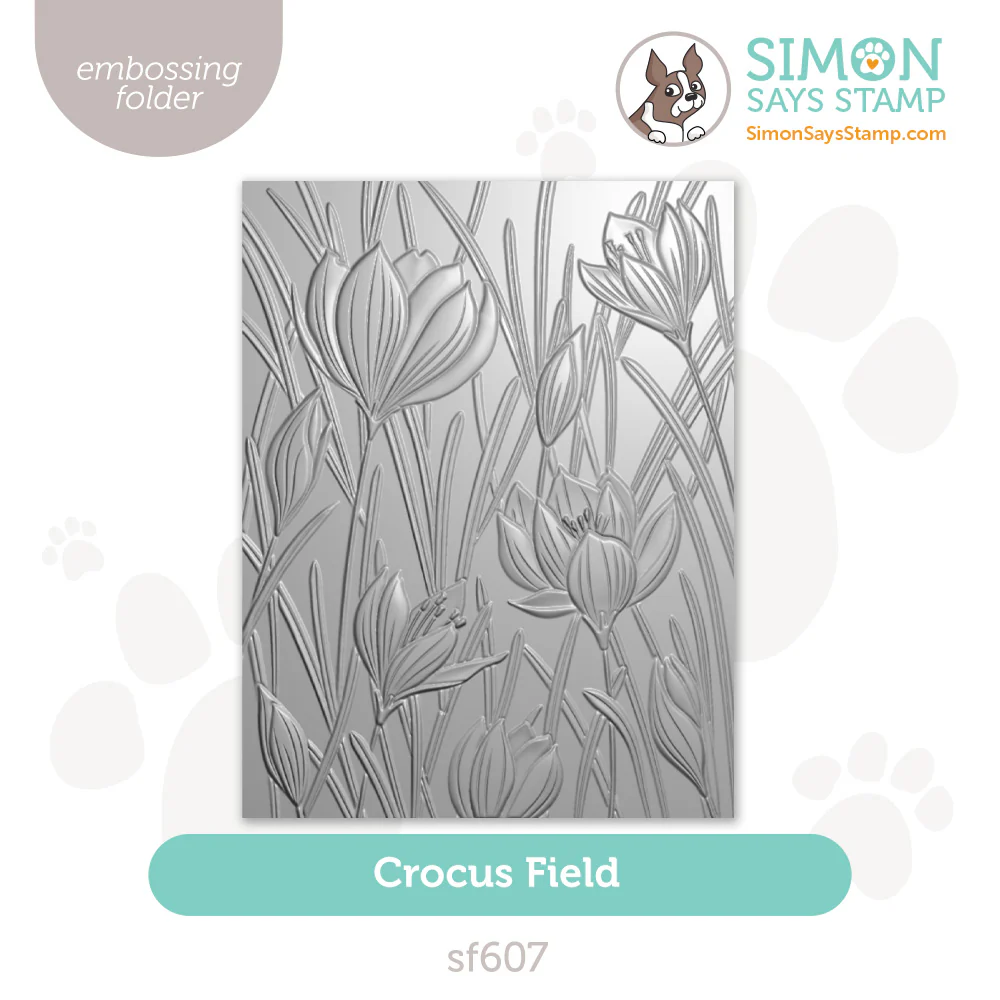
Hello Lovelies! Here I am taking risks and asking you to join me. Simon Says Stamp has a spectacular collection of 3D Embossing Folders and the Beautiful Moments Release adds a new selection of beauties. The Crocus Field folder was the first to catch my eye and who knows where I go the courage to try, but I wanted to try painting it with watercolor markers.
I'll keep my approach simple, as the hardest thing here for a clumsy crafter like me was patience:
DEFINE - the images by outlining the raised borders.
FILL IN - the interior of the image with (generally) lighter colors and blend to create highlights and shadows.
BLEND - the backgound in colors that complement your coloring and splatter to finish.

I don't have any crocuses in the garden, but so glad I could make them bloom here!
Key Supplies to Paint Your Embossing Folder Card

Click HERE for the full list!
Today's GIF!
Is March the season for crocuses where you live?
Like this card and my CORNY GIFs? CLICK THE BUTTON BELOW
to sign up for blog updates:
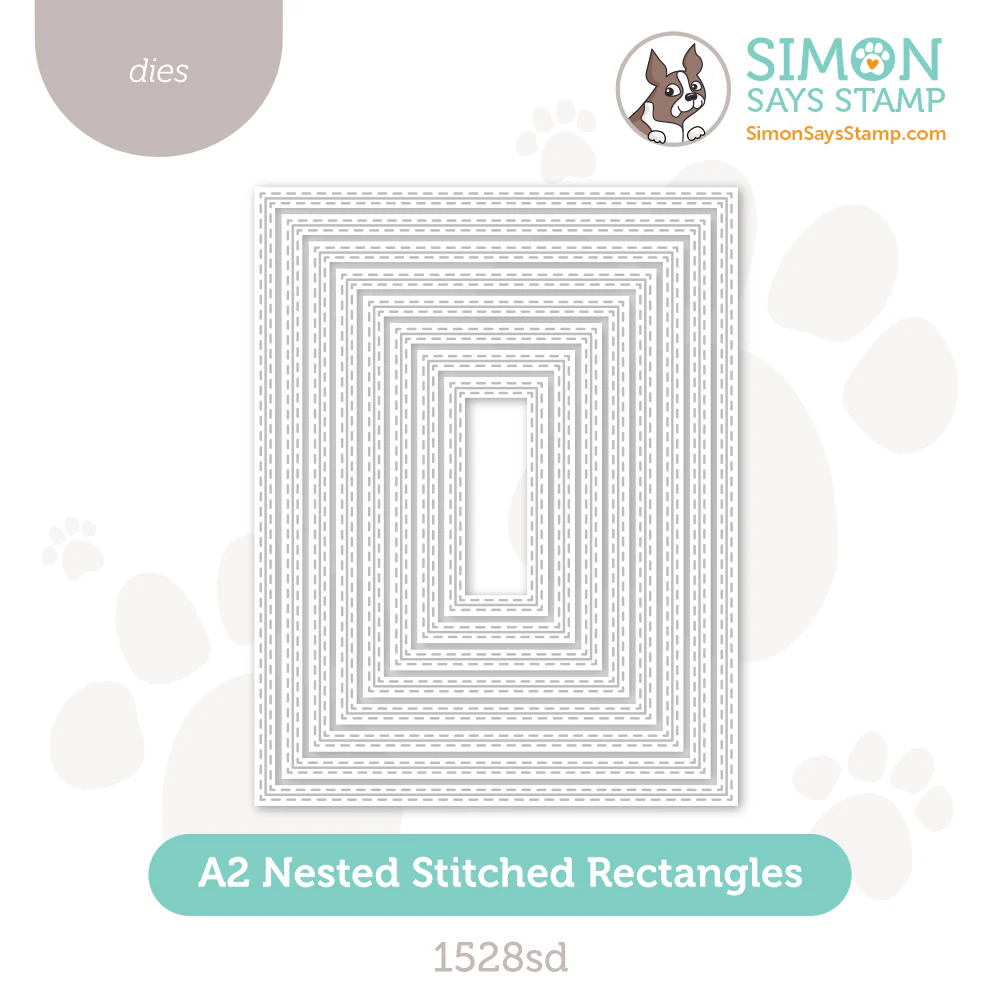
CROCUS FIELD EMBOSSED EASTER CARD - Embossed, Coloring, Blending, Splattering and Die-cutting
Card Size: ~4 1/4" x 5 1/2"

COLOR PALETTE
Note: I am using Zig Clean Color Real Brush Markers. Please choose the water-based markers available to you, I have offered some alternate suggestions in the Supplies section for you to consider.
Water-based Marker Colors - Red-purple, Blue-purple, Medium Green, Dark Green, Yellow-Orange,
blender
Simon Says Stamp Pawsitively Saturated Ink Pads - Guava, Melon and Sunbeam

CARD HIGHLIGHTS
DEFINE - the images by outlining the raised borders. Use the darker tones of each color for the outlines or wherever you want to create a shadow along the border.
FILL IN - the interior of the image with (generally) lighter colors and blend to create highlights and shadows. If your marker set offers a blender pen, use that to encourage darker and lighter colors to melt together, or to lift color where you are creating highlights
BLEND - the backgound in colors that complement your coloring and splatter to finish. Use a small blending brush to gently add color, avoid blending directly over the water-colored images where you can, but don't obsess over it, the light colors I've selected should not interfere much with the crocuses.
COLORING

INK-BLENDING

SPLATTERING

UP CLOSE AND CRAFTY
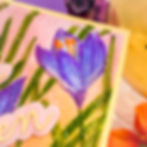


LAST LOOK

Thanks for stopping by today! Drop me a comment and say hi!
SUPPLIES:
I listed the products that I have used below. Please note that these are compensated affiliate links, used at no cost to you. I really appreciate your support. All stamps used today were part of my Beautiful Moments maker package from Simon Says Stamp. Click on the icons below each product picture to shop with SimonSaysStamp.com.