

Simon Say Stamp - Doodle Daisy Card
- Keisha Diann

- Jun 28, 2022
- 3 min read

Hello Lovelies! I'm back again with more detailed ink-blending this time on delightful Doodle Daisy foiled die-cuts.
Coloring with markers and pencils is great, but something about applying ink with blending brushes has a special place in my crafty heart!

Let's take a look at the key supplies for our foiled floral project:
Essential Card Supplies:


Click here to view the full supply list or check it out the one linked in the gallery at the bottom of this post when you have finished exploring this card.
Today's GIF!
Me every time I know that ink-blending will be involved...🎉
FLOWERS FOR YOU CARD - Foiling, Ink-Blending and Die-cutting
Card Base: 4 1/4" x 5 1/2"
Featuring:
Simon Says Stamp Doodle Daisy Foil and Cut Die Set
Simon Says Stamp Small Doodle Daisy Foil and Cut Die Set
Simon Says StampFlowers For You Stamp Set
Simon Says Stamp Refracted Medallion Die
Simon Says Stamp Arched Leaf and Flower Blooms Die Set
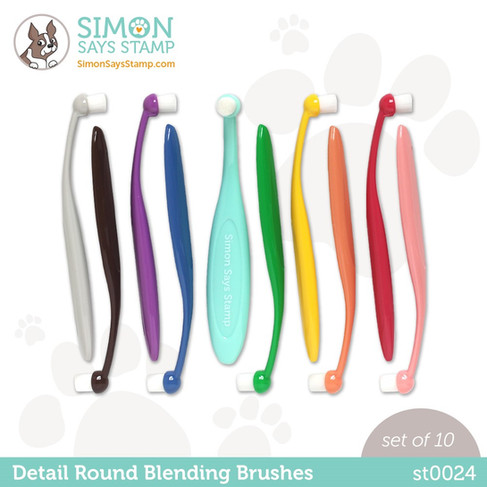
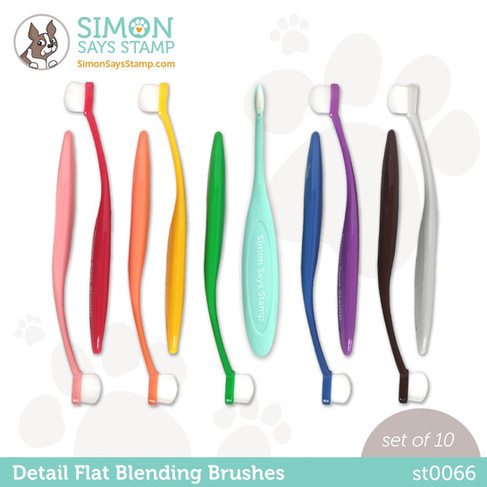
Simon Says Stamp Detail Blending Brushes - Round, Flat
Simon Says Stamp Pawsitively Saturated Inks - Fawn, Bubblegum, Sweets, Twilight, Galaxy, Limelicious and Pearfection

CARD COLOR PALETTE

CARD WALKTHROUGH
STAMPING AND EMBOSSING

Because I am lazy, I actually batch-foiled a number of different foil images onto white cardstock using different colors of foils.
I put them away in an old 4x4 binder that I had from scrapbooking days until I was ready to use them.
I won't review foiling techniques for this card as we are focused on inking, but you can explore some of my other foiling blog posts for a detailed foiling walkthrough.

Once the flower and leaves are foiled from the Doodle Daisy set, set aside the pair of Round and Flat Detail Blending Brushes in pink, purple, blue and green colors for this project.

Apply Twilight Ink to the center of the Daisy with the blue Round Detail Brush.
Deepen the color in the center and blend it out gently extending a little onto the petals.
If you are wondering about the odd color of my Daisy, I was inspired by the Osteopermum flower...don't ask, just blame Google. :-)

Use the blue Flat Detail Brush to apply Twilight Ink in streaks extending from the center of the Daisy.

Use the light pink Round Detail Brush to apply Bubblegum Ink in circular motions all over the petals, blending over the blue flower center.

Use the dark pink Round Detail Brush to apply Sweets Ink in flicking motions to sections of the petals to create shadows and contrasting pink tones.

Use the green Round Detail Brush to apply Limelicious Ink in circular motions all over the leaves.

Use the green Flat Detail Brush to apply Pearfection Ink in streaks and flicks along the center and tips of the leaves.
Aren't these fun to color?

DIE-CUTTING and EMBOSSING

Die-cut curving leaf sprig shapes from the Arched Leaf and Flower Blooms Die Set and ink with Fawn Ink.

Emboss a ____ piece of white cardstock with the Geometric Lattice Folder and trim a piece of Gold Matte Cardstock to ____.

Adhere together.

Adhere these layers to an A2 card base.

Die-cut and adhere two Refracted Medallion die-cuts out of white cardstock to opposing corners the card front as shown.
EMBELLISHING

Start adhering the leaf sprigs.

Arrange and adhere the remaining diecuts as showing using foam tape to pop-up some to create dimension.

Stamp, emboss in gold, fussy-cut and then and ombre -ink the "Flowers for You" sentiment.
The combination of the ink-blending and foiling just makes me happy!

The die-cut layers add so much fun texture and interest to the card!

The combination of these pretty inks and brushes
can definitely keep me smiling in the craft room!


If pink is not your thing, these flowers will be gorgeous in many other colors too!


Did you fall in love with this one Lovelies?
Thank you for stopping by and see you soon!
SUPPLIES:
I listed the products that I have used below. Please note that these are compensated affiliate links used at no cost to you. I really appreciate your support. All stamps used today were part of my maker package from Simon Says Stamp. Click on the icons below each product picture to shop with SimonSaysStamp.com.


Oh yes Keisha I fell in love with this one that's for sure! Totally love this fabulous card. Gorgeous ink blending. I admire all your backgrounds, I must remember more of your awesome cards to use these techniques also on my backgrounds. I often forget to use one of my embossing folders or/and die cuts for the background. Thank you so much for sharing your fabulous inspiration, stay safe and have a wonderful day.