Simon Say Stamp - Dancing Snowflakes Card
- Keisha Diann

- Dec 14, 2021
- 2 min read

Hello Lovelies! Amidst the Festive rush, I was really worried that I would not have a moment to finish a quick post on this technique with you, but I'm watching The Great British Baking Show: Holidays edition and thought it was a perfect time to take you through my little experiment.
December is whizzing by, and though I am showcasing a holiday card here using the Dancing Snowflake Die, the Inking Glitter technique is one that you can apply year-round anytime that you want to perk up some glitter cardstock!

The Dancing Snowflake Die is a beautiful stand-alone die, but I kept it inlaid here in the card front and used it as a window to "view" the inked glitter cardstock.
If you are replicating this card, here's a quick peek at your key supplies:
Click here to view the full supply list or check out the one linked in the gallery at the bottom of this post when you have finished exploring this card.
Let's get alcohol-inky!!!
DANCING SNOWFLAKES CARD - Alcohol Ink-Blended Silver Glitter Cardstock
Card Base: 5 1/2" x 4 1/4"
Silver Glitter Layer: 4" x 4 1/4"
Featuring:
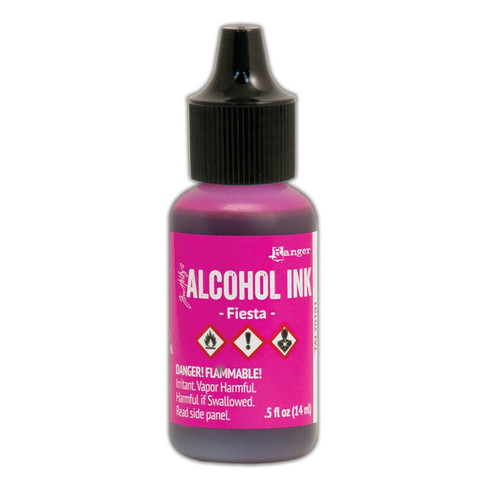
Tim Holtz Ranger Alcohol Ink - Fiesta, Amethyst, Eggplant

I'm sharing a few photos to illustrate how to put this together and I've added a few tips as instructions for the technique are as ridiculouly simple. They are: drop generous amounts of alcohol ink on the cardstock, and use a Blower to move it around the paper into a pattern that is pleasing to you. Yep, that's it!
INKING GLITTER TIPS
You will use a generous amount of ink, so protect your working surface, as it may seep through the cardstock
Use darker alcohol ink colors as they dry much lighter on the glitter paper
Avoid adding alcohol solution as this will dilute/lighten the colors
Die-cut Card Front, leaving room for the sentiment.
Squirt several drops of the alcohol ink onto the cardstock and move it around with the blower to merge the colors and cover the cardstock (ignore the solution and little bottle of rubbing alcohol, I didn't need them and you won't either, also add in some Eggplant ink to enhance the range of colors)
Allow ink to dry and secure to card-base with Double-sided tape.
Adhere die-cut layer.

Add rhinestones to embellish.

Do not completely adhere all of the spines of the snowflakes and pull some of them upwards to add dimension and a little playfulness to the card design.


Lovelies, I can't wait to find some more time to experiment further here and this has got to be on of the funnest (yes, I'm making that a word!) things that I've done lately!
Let me know in the comments if you are a fan of glitter cardstock
See you soon!
SUPPLIES:
I listed the products that I have used below. Please note that these are compensated affiliate links used at no cost to you. I really appreciate your support. All stamps used today were part of my maker package from Simon Says Stamp. Click on the icons below each product picture to shop with SimonSaysStamp.com.


I love this so much
This is so cool!
Gorgeous card and a great techique Keisha. I have some colours glitter paper I don't like and this is a great way to use them. Thank you so much for sharing your inspiration, stay safe and have a wonderful day.