Altenew - November 2023 Release, Floral Moths Card
- Keisha Diann

- Nov 3, 2023
- 2 min read

Hello Lovelies! Love vibrant color? I promise you will have a blast making this easy, elegantly foiled, striking card with the Floral Moths Foil and Die sets from Altenew's November 2023 Release!!!
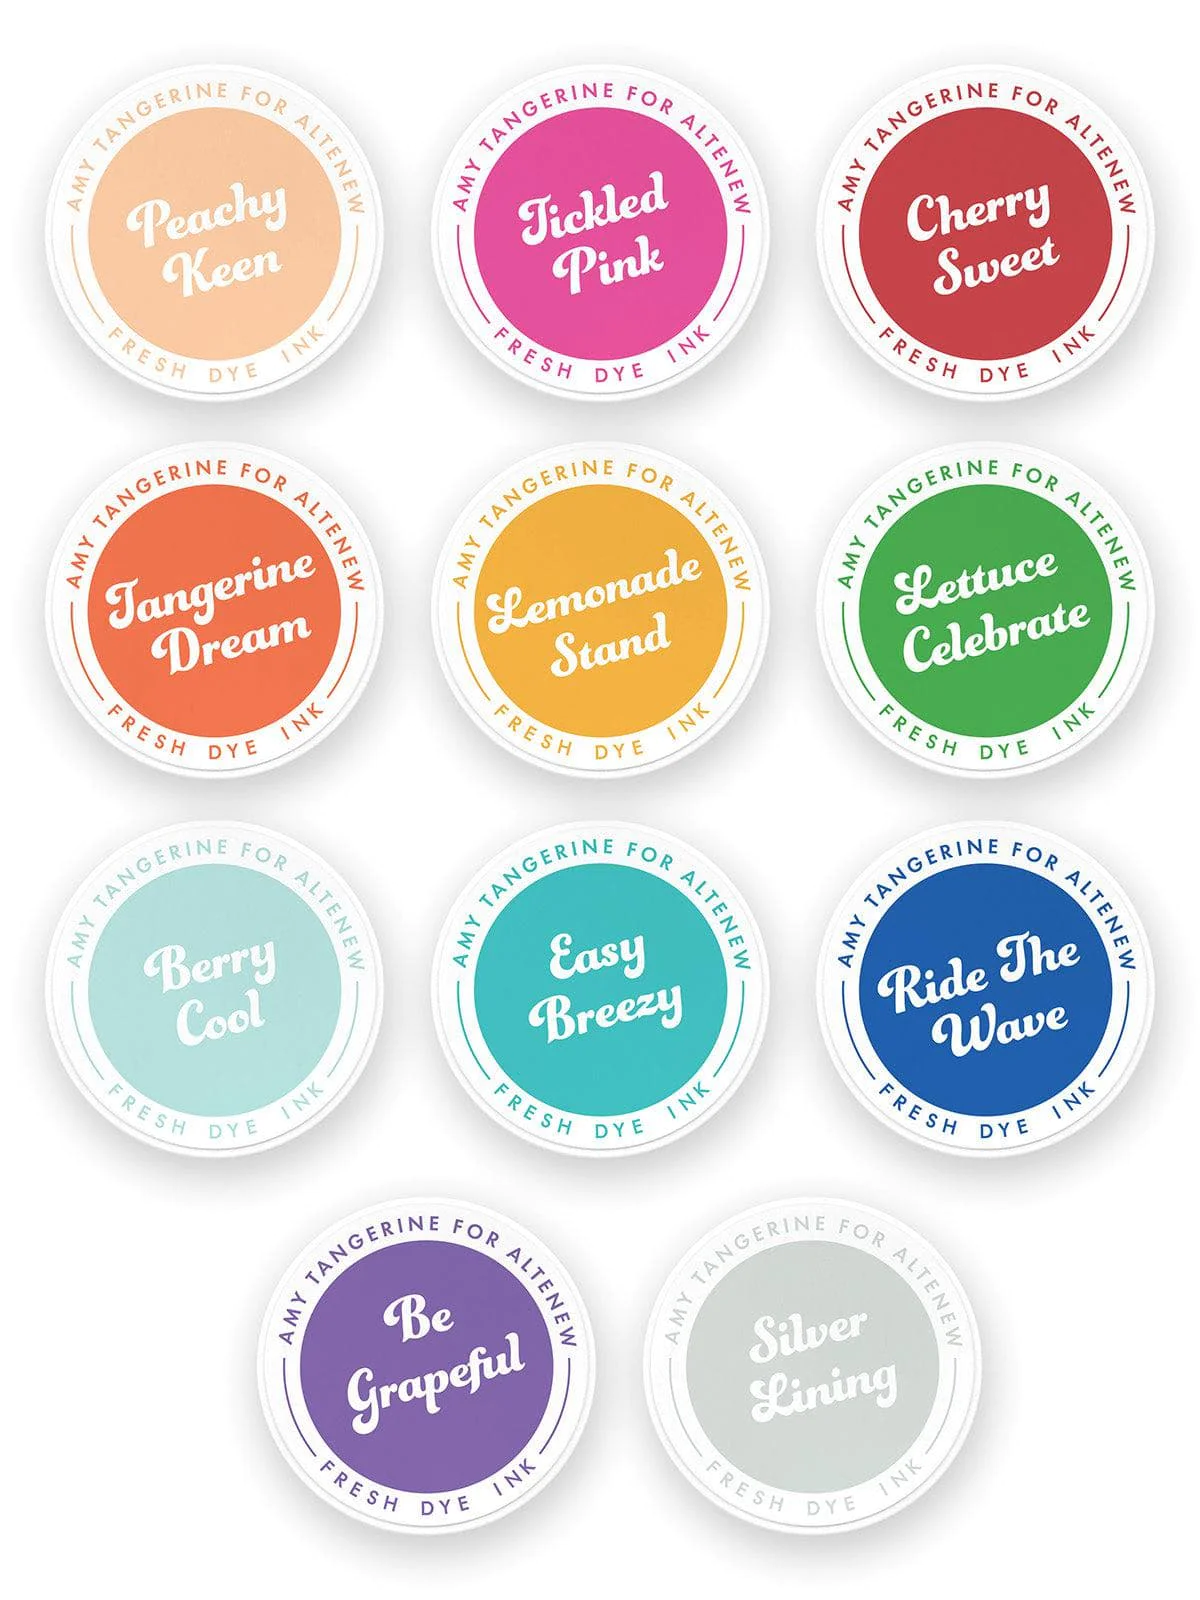
Once you get the hang a of foiling, all that is needed is a little ink-blending from Amy Tangerine's beautiful ink pad palette for Altenew.

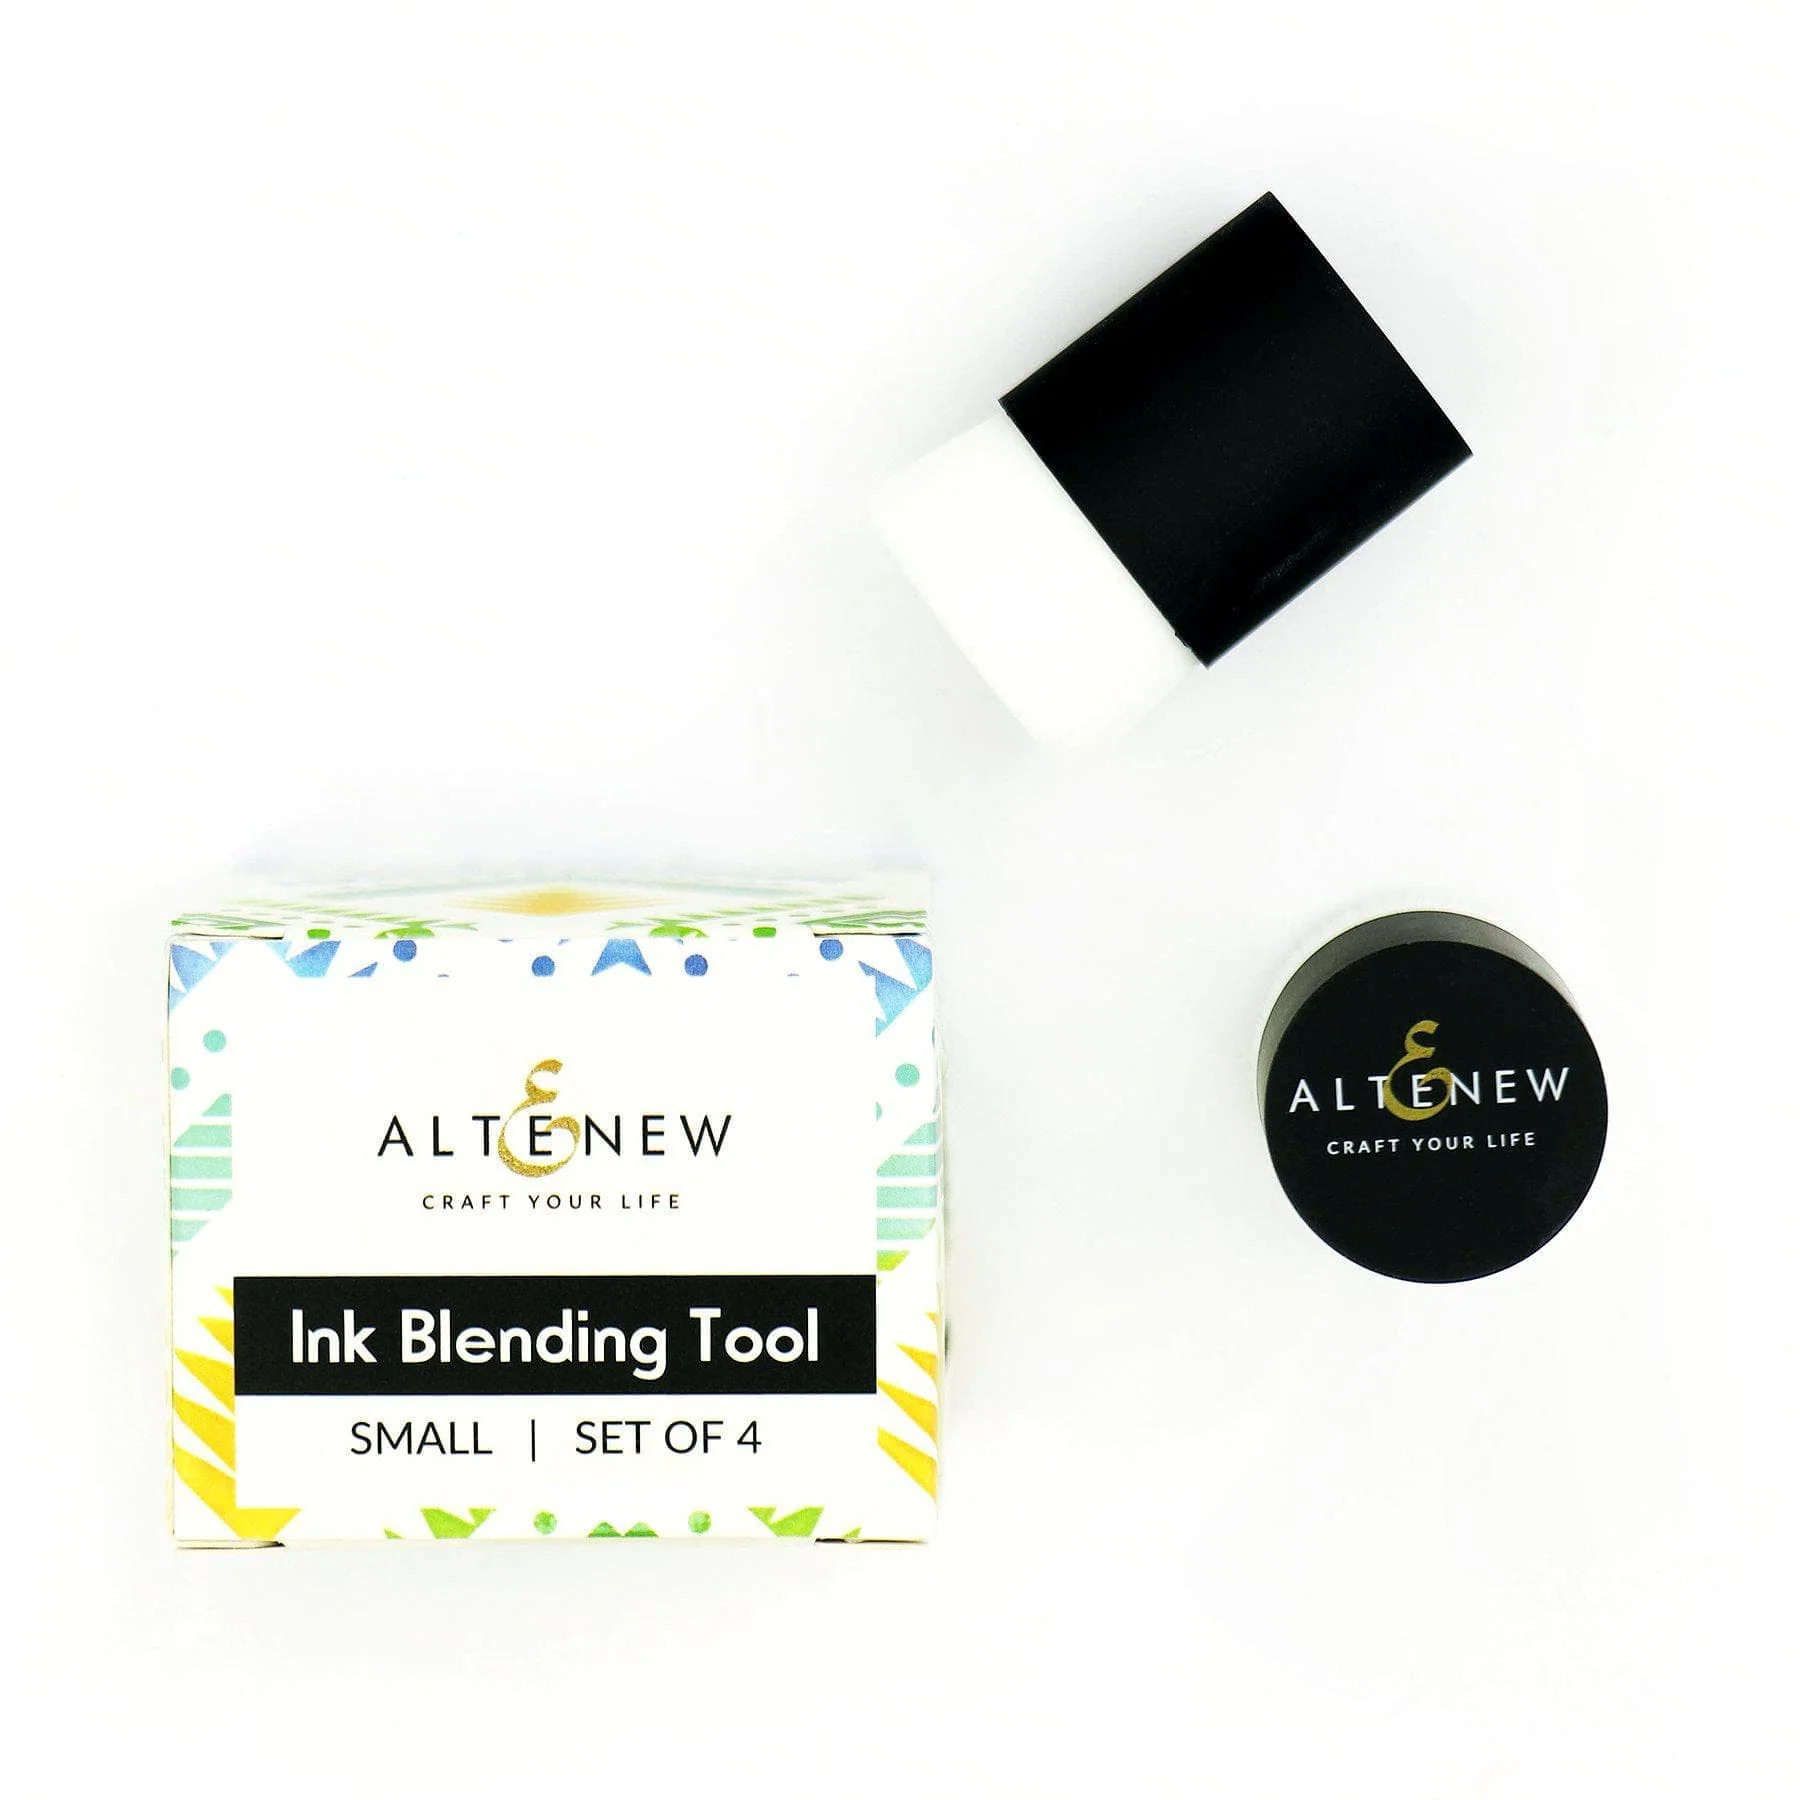
Here's a closer look at today's key supplies:
SHOP THIS CARD in the Supplies section at the bottom of this post:
Today's GIF!
Motto for today's card!
Like this card and my corny GIFs? CLICK BUTTON BELOW
to sign up for blog updates:
LOVE YOU SO - Foiling and Gradient Ink-blending
Card Base: 4 1/4" x 5 1/2"

COLOR PALETTE
Amy Tangerine Ink Pads: Tickled Pink, Tangerine Dream

CARD HIGHLIGHTS
FOILING & DIE-CUTTING
Turn on and heat up your Foil Machine and Platform.
Adhere Brushed Gold Foil to one side of 2 pieces of 4 1/4" x 5 1/2" white 110lb cardstock using Scotch Magic Tape or similar.
Once heated, place Floral Moths Foil Plates (images and sentiment, pretty side facing up) on the Platform and heat until the indicator light on the machine goes green.
Once heated, disengage the platform, place on your die-cutting machine of choice and place one piece of the cardstock (with the foil side down) to cover the foil plates (remember, as I think Jennifer McGuire said "pretty on pretty").
Cover the plates and paper/foil with the light green plate and the clear plate and run through your die-cutting machine to press the foil into the cardstock.
Repeat this process with the second piece of cardstock and the Floral Moths plates to create a second set of foiled moths.
Die-cut the foiled moths with the Floral Moths Dies.

INK-BLENDING
Use the Large Blending Brush inked with Tickled Pink to color 1 piece of 4 1/4" x 5 1/2" white 110lb cardstock to create the background.
Use the Small or the Mini Blending Brush inked with Tickled Pink to lightly blend the color all over the large floral moth, then deepen the color around the edges to create a gradient. Repeat for the 2nd large moth.
Use another Small or the Mini Blending Brush inked with Tangerine Dream to lightly blend the color all over the smaller floral moth, then deepen the color around the edges to create a gradient. Repeat for the 2nd and 3rd smaller moth.
Arrange the moths as shown below and adhere with Craft Glue. Trim the excess pieces of the moths off so that the designs are flush to the edges of the background. Retain the trimmed pieces to add them to the around the edges of the card front to complete it.

FINISHING
Trim and then round the left edges of the Love You So sentiment.
Pop-up the sentiment with Foam Tape.
Adhere to the foiled card front.
Adhere the finished card front to a card base.
This card surprised me with how these bold colors came together so harmoniously!

I hope you will enjoy making it and trying different color schemes!

Thank you so much for stopping by and hope to see you again soon! Don't hesitate to ask any questions.
SUPPLIES:
I listed the products that I have used below. Please note that these are compensated affiliate links used at no cost to you. I really appreciate your support. All products used today were part of my maker package from Altenew. Click on the icons below each product picture to shop with SimonSaysStamp.com.


Kaiser OTC benefits provide members with discounts on over-the-counter medications, vitamins, and health essentials, promoting better health management and cost-effective wellness solutions.
Obituaries near me help you find recent death notices, providing information about funeral services, memorials, and tributes for loved ones in your area.
is traveluro legit? Many users have had mixed experiences with the platform, so it's important to read reviews and verify deals before booking.