

Simon Says Stamp - TO THE HAPPY COUPLE Wedding Card
- Keisha Diann

- Apr 22, 2024
- 2 min read
Updated: Apr 25, 2024

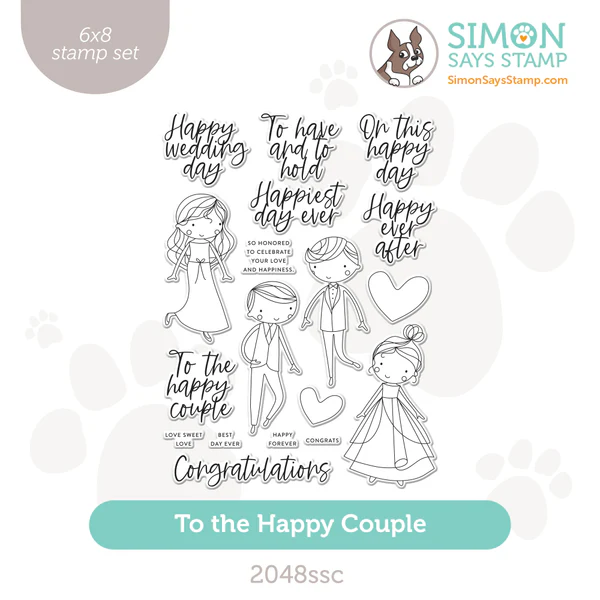
Hello Lovelies! I'm a sucker for weddings - celebrating love, flowers, sparkly bits, music, food, confetti... SO many of my favorite things, so of course I am a big fan of the To The Happy Couple Stamps and Dies from Simon Says Stamp's Celebrate Release.
We are going to do some of my favorite - stamping, stenciling, ink-blending and embossing - things. As well as some of my not-so-favorite things - coloring...

Time for Key Supplies!

Get Your Supplies!
Click on the image below to SHOP THE ENTIRE release OR
SHOP THIS CARD using the links throughout the post OR
SHOP the Supplies section at the bottom of this post

Today's GIF!
Maybe MY wedding dress should have been pink!
Like this card and my corny GIFs? CLICK BUTTON BELOW
to sign up for blog updates:
TO THE HAPPY COUPLE CARD - Stamping, Stenciling, Embossing, Ink-Blending, Die-cutting
Card Base: 4 1/4" x 5 1/2"

COLOR PALETTE
Copic Markers - E43, E51, E55, E57, C00, RV000, R81, R83


CARD WALKTHROUGH
STENCILING
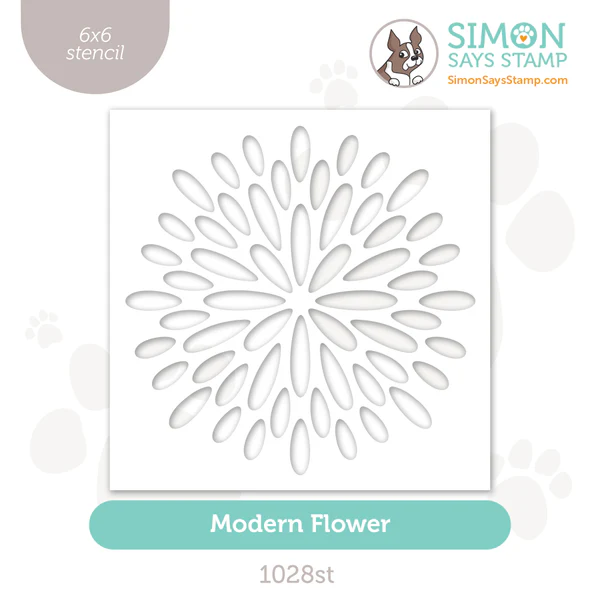
Adhere a 4 1/4" x 5 1/2" piece of white cardstock to a Stamp and Stencil Mat.
Secure the Modern Flower Stencil over the cardstock.
Use a palette knife to spread Distress Sparkle Texture Paste through the openings in the stencil onto the cardstock as show below .
Set aside to dry.

STAMPING and COLORING
Stamp the bride, groom and large heart from the To The Happy Couple Set onto 110lb/80lb Neenah Classic Crest Solar White Cardstock in Memento Tuxedo Black Ink.
Use Copic or other alcohol ink markers to color as shown
GROOM


BRIDE (Note, use same colors as groom for bride's face)


EMBOSSING
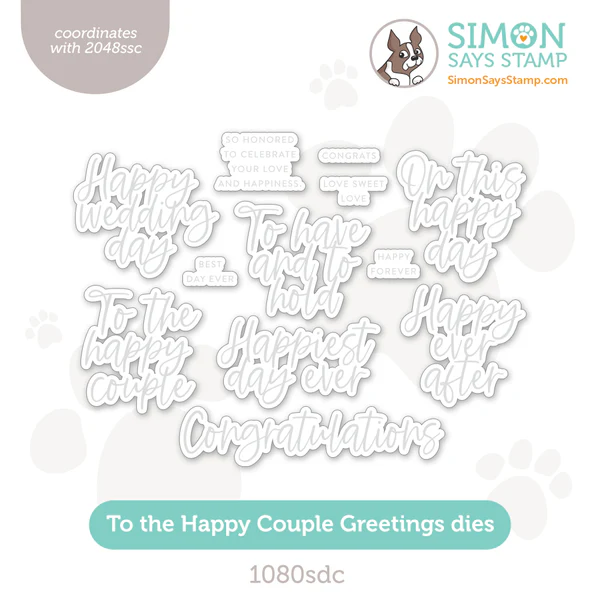
Stamp the congrats sentiment in Simon Says Stamp Intense Black Ink
Stamp the on this happy day sentiment in Simon Says Stamp Clear Ink
Sprinkle with WOW Platinum Sparkle Embossing Powder.
Melt the powder with a heat tool to set.


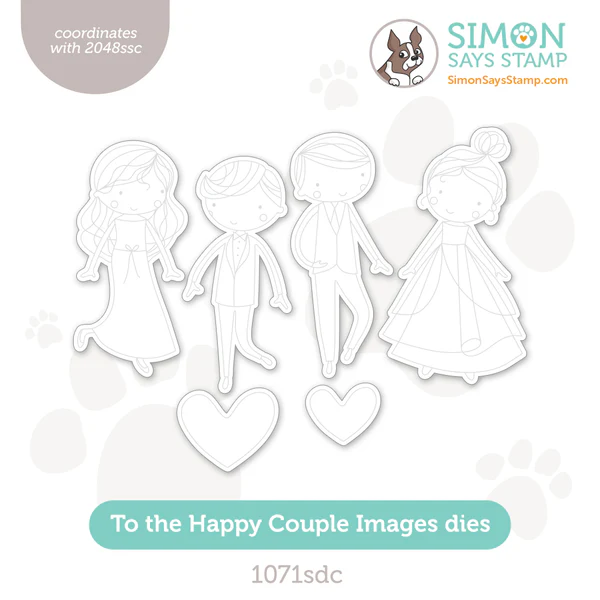
DIE-CUTTING
Align and secure the matching dies over the images and sentiments with painters/die-cutting/washi tape
Run through a die-cutting machine
Die-cut an additional set of the bride, groom and sentiment out of plain white cardstock for layering.


INK-BLENDING
Once the Sparkle Texture Paste is dried, use blending brush to lightly apply Distress Ink Spun Sugar to the center of the flower in a soft gradient that is darkest at the center.


FINISHING
Trim the stenciled layer to 4" x 5 1/2"
Layer and adhere the die-cuts with craft glue.
Use Simon Says Stamp Foam Dots to pop up on the die-cuts on the stenciled card front.
Adhere the Sequins with craft glue.

It's not spectacular, but I am happy with my coloring of this sweet pair!

I went a little outside the lines of her cheek circles to extend the blush.

The soft sparkle from the embossing powder and paste are perfect for a subtle glittery effect.

Pretty in pink!!!

Thank you SO much for stopping by! Drop me a comment and say hi!
SUPPLIES:
I listed the products that I have used below. Please note that these are compensated affiliate links, used at no cost to you. I really appreciate your support. All stamps used today were part of my Celebrate maker package from Simon Says Stamp. Click on the icons below each product picture to shop with SimonSaysStamp.com.


Pretty background for a beautiful wedding card.