

Simon Says Stamp - Pinnacle Hearts Rainbow Valentine's Card
- Keisha Diann

- Jan 29, 2025
- 2 min read

Hello Lovelies! It's been a while and I missed you! It doesn’t take much for me to go pink and red for Valentine’s Day, and they’ll definitely be time for that, but today we’re going to have a rainbow Valentine, using the Pinnacle Hearts Embossing folder with a little COPIC coloring.
What makes this a bit more special though is something I recently "discovered", and by discovered I mean finally took a hint from what I see some very talented crafters do, by using white paint accents to add a personal touch.
I chose stripes, dots, and asterisks, and your choices may be different, but will be just as delightful.

Time for Key Supplies!


Get Your Supplies!
Click on the image below to SHOP THE ENTIRE release OR
SHOP the Supplies section at the bottom of this post

Today's GIF!
I don't know about you but rainbows always make me smile!
Like this card and my CORNY GIFs? CLICK BUTTON BELOW
to sign up for blog updates:
PINNACLE HEARTS RAINBOW VALENTINES CARD - Embossing, Alcohol Ink Marker Coloring, Paint Pen Accents and Die-Cutting
Card Size: 4 1/4" x 5 1/2"

COLOR PALETTE
Copic Markers - Rainbow Assortment, colors don't matter just choose your favorite pastel rainbow of pink, orange, yellow, green, turquoise, blue, purple and lilac

PROJECT HIGHLIGHTS
Emboss a 4" x 5 1/4" piece of 110lb white cardstock using the Pinnacle Hearts Embossing Folder.
Color the raised surface of the hearts using the alcohol ink markers.
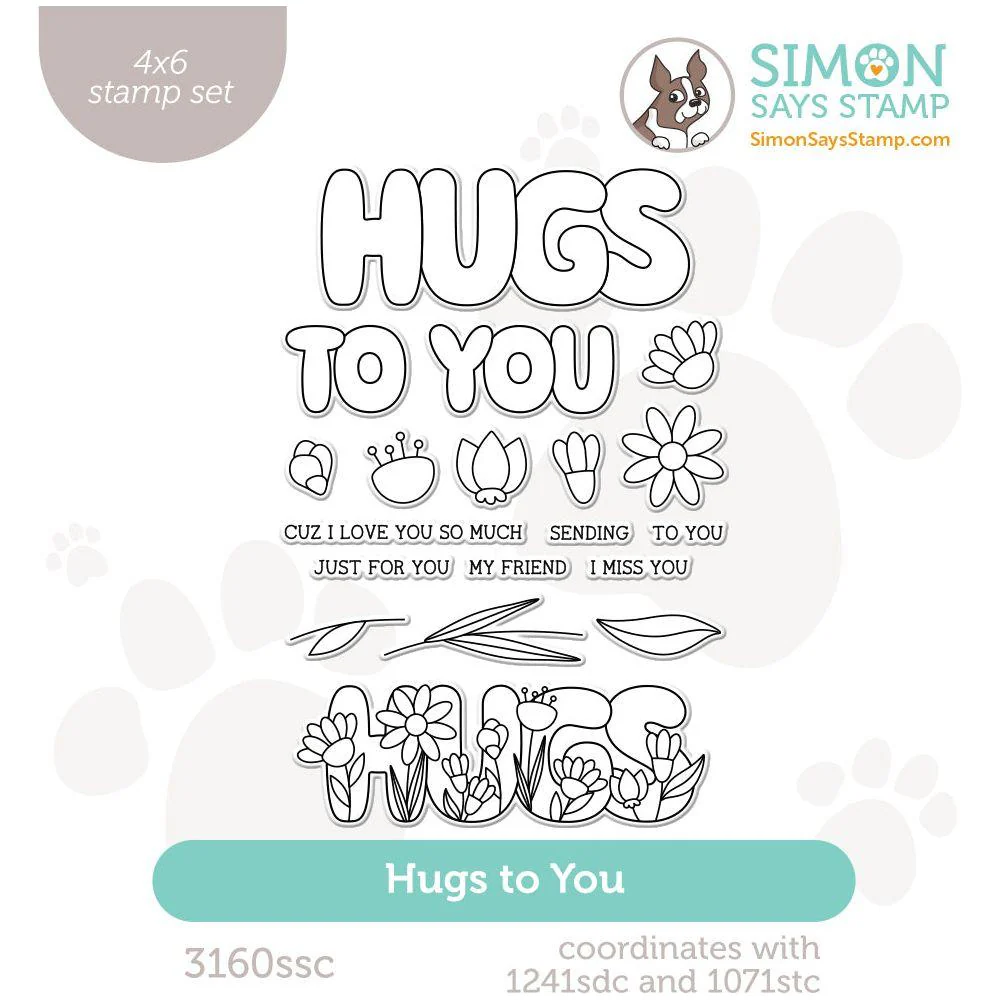
Color a piece of white scrap paper with a green alcohol ink maker and then stamp with the "My Friend" sentiment from the Hugs to You Stamp Set.
Doodle on the hearts with the white Posca Marker.
Die-cut the Gold Matte Cardstock using the Love You More sentiment die layer.
Die-cut the Vellum Cardstock using the Love You More outline die layer.
Adhere the sentiment layers together with craft glue and adhere to the embossed layer.
Apply Foam Tape to the back of the embossed layer and adhere to a white card base to finish.


As you can see, my little accents are NOT perfect, but they are still so fun!

The pop of gold is a nice contrast to the pastel background.

This will be a Galentine card for one of my besties, she is not the biggest fan of pink, so this fun color scheme will make her happy.

Thanks so much for stopping by! Drop me a comment and say hi!
SUPPLIES:
I listed the products that I have used below. Please note that these are compensated affiliate links, used at no cost to you. I really appreciate your support. All stamps used today were part of my To Love and To Be Loved maker packages from Simon Says Stamp. Click on the icons below each product picture to shop with SimonSaysStamp.com.


Yasdl مرجعی کامل برای آموزش فناوری و نرمافزار است.
Steamunlocked brings a unique energy to every article.
Steamunlocked connects fans through powerful storytelling.
Steamunlocked inspires confidence in every gamer’s choice.
Steamunlocked inspires learning through entertainment.