

Simon Says Stamp - ONE FOR THE BOOKS Booklovers Card with DIY Plaid Background
- Keisha Diann

- Feb 28, 2025
- 2 min read
Updated: Mar 1, 2025

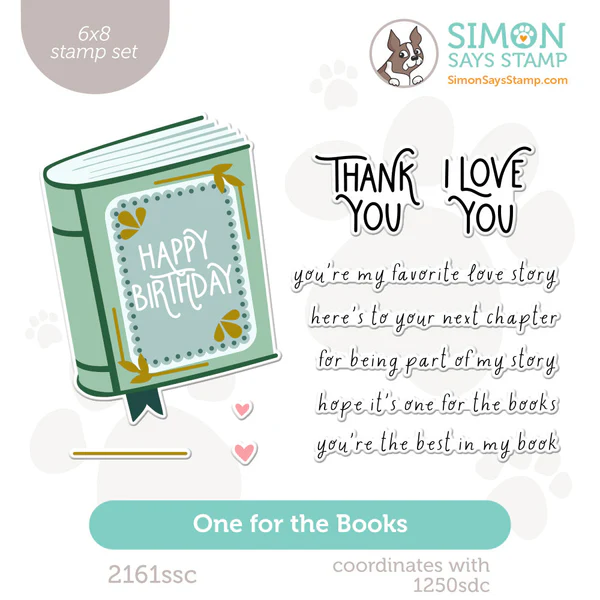
Hello Lovelies! Finally taking a break from Easter cars to explore a card celebrating another of my favorite hobbies - reading and collecting books. The One For The Books Stamp Set from Simon Says Stamp's Favorite Things Release, has the sweetest sentiments with bookish puns that celebrate the reader.
With the set, you build a book with layered stamping, but I wanted to try something different and freehand stencil a plaid, like I've seen fellow crafter Barbara Tarayo master. Mine is a little overworked, but I think its a decent start, perfect for my Booklovers Card with DIY Plaid Background.

KEY SUPPLIES - Booklovers Card with DIY Plaid Background

Get Your Supplies!
Click on the image below to SHOP THE ENTIRE release OR
SHOP the Supplies section at the bottom of this post

Today's GIF!
Not exactly the type of book that I read...
Like this card and my CORNY GIFs? CLICK BUTTON BELOW
to sign up for blog updates:
PART OF MY STORY CARD - Stamping and DIY Plaid Stenciling
Card Size: 4 1/4" x 5 1/2"

COLOR PALETTE
Simon Says Stamp Pawsitively Saturated Ink Pads - Latte, Cappucino, Terracotta, Brick, Melon, Honey, Heather and Galaxy

PROJECT HIGHLIGHTS
Place and light press a 4 1/4" x 5 1/2" piece of white cardstock onto a Pawsitively Perfect Craft Tacky Mat
Unravel and stick two pieces of Post It Tape diagonally across the cardstock to outline a thick stripe
Ink a Large Blending Brush with Honey and ink-blend a stripe into to space between the Post It strip.
Move the Post It strips to another location to isolate another section for a stripe and repeat the ink blending process to create another stripe.
Keep repeating this process, changing the thicknesses and colors of the stripes until you are happy with the plaid pattern
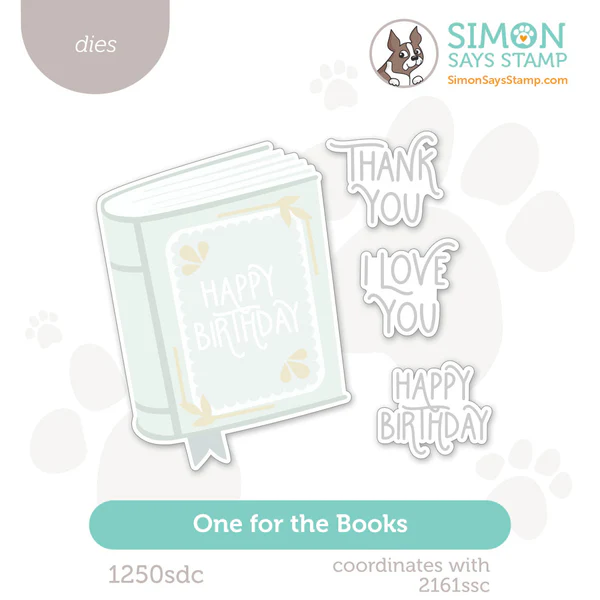
Stamp and die-cut the book using the One For The Books Stamp Set and One For The Books Die Set; adhere diagonally with Foam Squares.
Ink-blend a strip of white cardstock to create the sentiment strip.
Stamp the sentiment onto the strip with Simon Says Stamp Nocturne Black VersaFine Clair Ink Pad.
Adhere Foam Tape to the back of the strip and apply to the card front.
JUST THE DETAILS


LAST LOOK!
This was fun and I'll definitely be doing this again, maybe with less colors until I get the hang of it!

Thanks so much for stopping by! Drop me a comment and say hi!
SUPPLIES:
I listed the products that I have used below. Please note that these are compensated affiliate links, used at no cost to you. I really appreciate your support. All stamps used today were part of my Favorite Things maker package from Simon Says Stamp. Click on the icons below each product picture to shop with SimonSaysStamp.com.


Delhi hotels escorts are more than just pretty faces; they possess charisma and charm that can enhance your experience. Their ability to engage in meaningful conversation while offering companionship makes your stay not only enjoyable but also enriching.
Escorts in Star Plaza Hotel || Sun View International Hotel Escorts || Escorts Surya International Hotel Karol Bagh || Escort Service near Hyatt Regency Hotel || Ibis Hotel Aerocity Escorts
I'm a strong reader and always have been. Anything that encourages people to read is aces w/ me. Love what you have shared here - the bright, bold, cheerful colors are beautiful!
Lori S in PA
Cute cards.
What a great way to decorate eggs, Keisha! Love the white on kraft with the embossing folder, perfect! Your cards are so lovely! Thanks for sharing!