

Simon Says Stamp - MODERN HEART QUILT Mini-Album
- Keisha Diann

- May 28, 2023
- 4 min read

Hello Lovelies! I made another shaped Mini-Album with the Modern Heart Quilt Stamps, Dies and Stencils using the same page binding technique as I did with the ultra mini Hippity Hoppity Mini Album.
This one is meant as a sweet and small memento to hold ~2" x 2" pictures or you could die-cut a heart-shaped picture and celebrate LOVE!

Below is a closer look at today's key supplies. I made this album with PRIDE month at the forefront of my mind, but the beauty of LOVE is that it is universal and this album can work for any couple.


Click on the image below to check out the ENTIRE release or SHOP THIS CARD in the Supplies section at the bottom of this post:

Today's GIF!
How I hope you'll feel about this album!
Like this card and my corny GIFs? CLICK BUTTON BELOW
to sign up for blog updates:
MODERN HEART QUILT MINI-ALBUM - Stamping, Stenciling, Ink Blending and Die-cutting
Album Size: 4 1/4" x 5 1/2

COLOR PALETTE
You may have noticed that I recently treated myself to the Concord and 9th inks and cardstock. I made a a color combo Swatch Book to help me get a head start on the color palette for my projects and decided to try one of those combos out for this album.
Concord & 9th Ink Colors: Lemongrass, Sprout, Spiced Cider, Honeysuckle, Briar Rose, Midnight

PICTORIAL GUIDE
STAMPING AND STENCILING


INK-BLENDING & MORE STAMPING
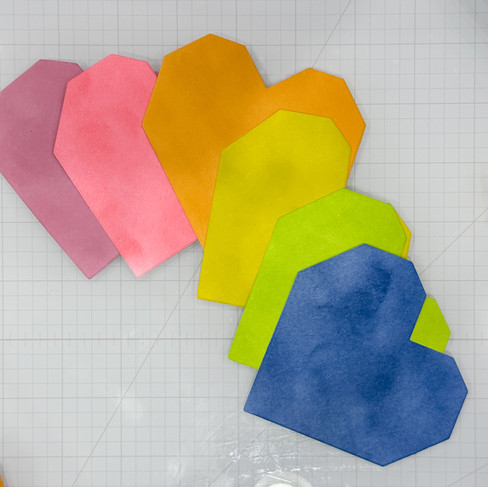
Ink blend cardstock in each of the selected inks. Let the ink blending fade out toward the bottom 1/5th of the 4 1/4" x 5 1/2" cardstock.
Create a pattern with the sentiments from the Modern Heart Quilt Stamp Set.


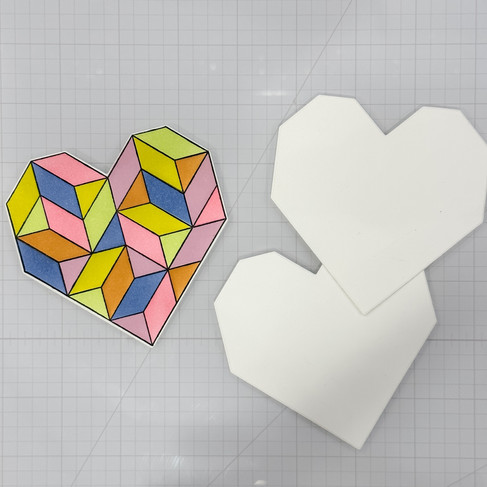
DIE-CUTTING
Die-cut the stenciled heart.
Using a folded piece of 80lb cardstock, place the cutting edge of the Modern Heart Quilt Die just slightly over the folded edge of the cardstock so it does not cut the paper when run through the die-cut machine. This will keep the flaps of the cardstock hinged together and create a "page signature" for the album. Make 3 of these.
Placing the heart die fully on each inked cardstock sheet, towards the top, cut a rainbow of hearts out of the inked cardstock. Once die-cut, place the inked hearts in the Detail Ringlet Plate as shown and die-cut again to create the pin-pattern on the front of each heart for a little texture. Die-cut your final heart out of the Sentiment print cardstock.
(NOT PICTURED) Use the remaining bottom 1/5" of the Briar Rose inked cardstock to cut the Etched Primrose Flower. Die-cut the So Happy For You Both sentiment out of the ombre section of the ink-blended Midnight cardstock.
(NOT PICTURED) Die-cut a small foam heart using the die from the Extra Proud Stamp Set and ink with Briar Rose and Honeysuckle ink.


CREATING THE CLEAR SHAKER HEART PAGE AND ALBUM BASE
Using the same technique as we did for the other page signatures, fold a piece of Lightweight Acetate in half and die-cut with the Heart die to create a clear heart signature.
Add double-sided tape around all but the left vertical side (where you see my thumb in the second pic on the right) of the heart page edge to seal, fill with Peony Sequins.
Fold a 2" x 1" piece of acetate in half along the longer side to create a clear hinge. Adhere double-sided tape to the front and back of both sides of the right flap of the hinge.
Stick the right side with adhesive exposed into the open left edge of the heart and press the acetate together to close the edge with the tape. I recommend that you also add tiny staples around the edge to reinforce the seal.
To create the album, adhere the back flap of one the the hinged hearts (signatures) to the front flap of another signature. Repeat until you get to the last hinged heart.
You will attach the left side of the hinge between the pages of the last left-side heart to connect the clear shaker heart to the rest of the album. The album base is completed.


DECORATING THE ALBUM PAGES + ADDING MORE PHOTO SPOTS
Depending on the page, trim 1/16" off either the left or right vertical edge of each inked heart. This shorter side of the heart ( will be placed on the hinged side of the page) leaves room for the hinge to operate and allows your album pages to lie more flat.


Video Flip thought of Album with 3 photo inserts linked here so you can have a better visual about how it is put together and understand where I am suggesting below that you can add additional photos.
Decorate each inked heart page as shown below with the stamps and die-cuts.
More Photos: Instead of adding a single 2" x 2" photo on the Spiced Cider (orange) heart, fold a 2" x 4" strip of white cardstock in half and adhere the front side of the left flap to the page. This leaves x3 spaces to add 2" x 2" photos on the remaining flaps

More Photos: Only adhere the petals along the bottom right of the Etched Primrose die-cut. Adhere 2 circular photos (one to the front and one to the back), of a 2" die-cut circle and tuck the photos behind the edges of the left side of the primrose to hold in place in the album. Add a photo on top of the stamped Peony on the right side of the page below.

More (Larger) Photo(s): Die-cut a photo using the Modern Heart Quilt Die and then trim each straight edge by "1/4" and adhere to the Lemongrass (green) side of the page.

More Photos: Only adhere the bottom left side of the Heart die-cuts, leave space to tuck a pair of 2" x 2" photos.

Now all you have to do is share this with someone!
Lovelies, thanks for sticking with me through this long post. I hope it got you thinking of making a mini of you own!
Happy Crafting!
SUPPLIES:
I listed the products that I have used below. Please note that these are compensated affiliate links, used at no cost to you. I really appreciate your support. All stamps used today were part of my maker package from Simon Says Stamp. Click on the icons below each product picture to shop with SimonSaysStamp.com.


Kaiser OTC benefits provide members with discounts on over-the-counter medications, vitamins, and health essentials, promoting better health management and cost-effective wellness solutions.
Obituaries near me help you find recent death notices, providing information about funeral services, memorials, and tributes for loved ones in your area.
is traveluro legit? Many users have had mixed experiences with the platform, so it's important to read reviews and verify deals before booking.
This mini album is beautiful.❤️