Simon Says Stamp - HEARTS IN A HEART Galentine Card
- Keisha Diann

- Dec 15, 2023
- 2 min read

Hello Lovelies! Of course my first card from Simon Says Stamp's Smitten Release is a stenciling card! I can go do a stenciling rabbit hole VERY easily in my craftroom
You'll have to admit that the Hearts In A Heart Stencils are pretty hard to resist though, I love the roundness of the large heart, it makes it all the more cuter somehow.

Time for Key Supplies!
Get Your Supplies!
Click on the image below to SHOP THE ENTIRE release OR
SHOP THIS CARD using the links throughout the post OR
SHOP the Supplies section at the bottom of this post
Today's GIF!
Me and the girls enjoying a Galentine's Date!
Like this card and my corny GIFs? CLICK BUTTON BELOW
to sign up for blog updates:
THIS CARD IS FULL OF LOVE CARD - Stenciling and Ink-blending Sentiment Strips
Card Base: 4 1/4" x 5 1/2"

COLOR PALETTE
Pawsitively Saturated Ink Pads - Bubblegum, Peony, Cheeky, Tidepool and Limelicious

CARD WALKTHROUGH
STENCILING
Secure a 4" x 5 1/4" piece of 100lb Neenah Solar White Cardstock to the Stamp and Stencil Mat.
Align the large heart stencil from the Hearts In A Heart Stencil Set over the cardstock and using a Large Blending Brush and the Flannel Ink Pad apply color gently through the opening in the stencil
Once complete, replace the stencil with one of the other stencil layers that have multiple hearts and use a small brush, inked from the Cheeky ink pad to blend color though the openings in the stencil. You can blend just a little peony into sections of your cheeky hearts to create a gradient.
Repeat this process until you have used each of the stencil layers and inks
DOTTING
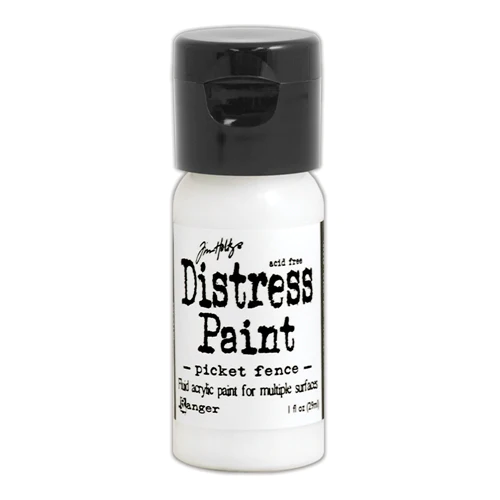
Dip the rounded ball point of your Place And Score Embellishment Wand into a pea-sized amount of Picket Fence Disress Paint and use it to dot the grey background of your large heart as shown.
INK-BLENDING SENTIMENT STRIPS
Trim your selected All The Love Sentiment Strips
Use a small ink brush and the Bubblegum, Peony, Cheeky, Tidepool and Limelicious inks to color them
FINISHING
Adhere the sentiment strips to the card front
Add foam tape to the back of the card front
Adhere the card front to a Fog card base
Adheresequins from the Be Mine Embellishment Mix to the card front to finish
I hope you like the dots, because I have I feeling I'll be doing more of this!

I love the colors of this sequin mix!

Something about these vibrant sentiment strips makes me so happy!

You have no excuses not to make this easy card with me!

Thank you for stopping by and exploring this Galentines card with me, hopefully this inspired some ideas or just gave you the recipe to a card you want to try!
Happy Crafting!
SUPPLIES:
I listed the products that I have used below. Please note that these are compensated affiliate links, used at no cost to you. I really appreciate your support. All stamps used today were part of my Smitten maker package from Simon Says Stamp. Click on the icons below each product picture to shop with SimonSaysStamp.com.


Kaiser OTC benefits provide members with discounts on over-the-counter medications, vitamins, and health essentials, promoting better health management and cost-effective wellness solutions.
Obituaries near me help you find recent death notices, providing information about funeral services, memorials, and tributes for loved ones in your area.
is traveluro legit? Many users have had mixed experiences with the platform, so it's important to read reviews and verify deals before booking.