Simon Says Stamp - Gingerbread Couple Christmas Card
- Keisha Diann

- Nov 7, 2024
- 3 min read

Hello Lovelies! The Festive Fun release from Simon Says Stamp has so many sweet holiday goodies and you are going to see a lot of gingerbread from me this month and I am NOT apologizing!
You'll want to grab your tweezers to make layering these yummy treats easy and the result is hard to resist. The Gingerbread Man die-cut will do double duty here to create a Ginger Gentleman AND a Ginger Lady with a few easy tweaks!

Time for Key Supplies!
Get Your Supplies!
Click on the image below to SHOP THE ENTIRE release OR
SHOP the Supplies section at the bottom of this post
Today's GIF!
I think this is a sign for me to make a house for my Ginger Couple!
Like this card and my CORNY GIFs? CLICK BUTTON BELOW
to sign up for blog updates:
GINGERBREAD COUPLE CHRISTMAS CARD - Embossing, Die-Cutting and Inking Die-cuts
Card Size: 4 1/4" x 5 1/2"

COLOR PALETTE
Pawsitively Saturated Ink Pads - Gingerbread, Cocoa, Apple, Cranberry, Earl, Charcoal and Fairway

COPIC Markers - YG09, R24
PROJECT HIGHLIGHTS
EMBOSSING
Trim True Green Cardstock to 4" x 5 1/4".
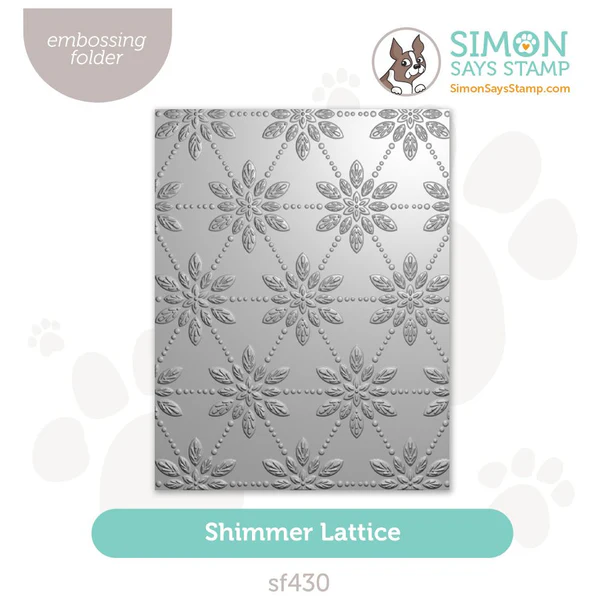
Emboss the green cardstock using the Shimmer Lattice Embossing Folder.
Use a blending brush or tool inked with Simon White Pigment ink to "frost" the perimeter of the embossed cardstock.
Adhere foam tape to the back of the green panel.
Adhere the green panel to a white card base.

DIE-CUTTING & INKING
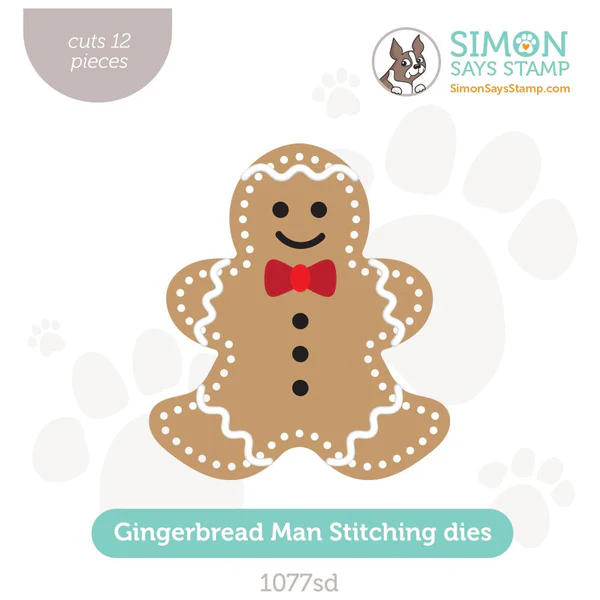
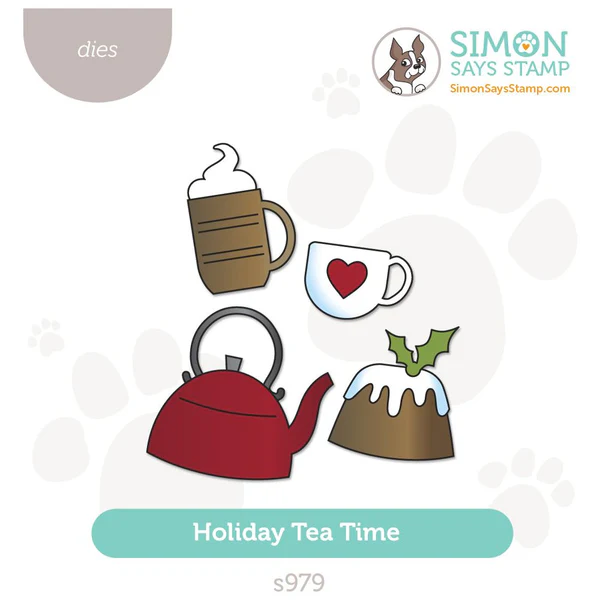
Use the Gingerbread Man and Holiday Tea Time dies to die-cut white cardstock. (I initially thought that I would use 3 Gingerbread Men, but ultimately decided on 2, so you can skip 3rd one pictured below)
OPTIONAL: Mist the pudding icing and the whipped cream mug topper with Tsukineko Sparkle for a subtle sheen.
Place the Gingerbread Men on a Pawsitively Perfect Craft Tacky Mat for ink-blending. (my mat is stained but that has NO effect on how awesome it is!)
Use a Small Blending Brush to color the Gingerbread with Pawsitively Saturated Gingerbread Ink.
Use a Round Detail Brush to darken the edges of the gingerbread with Cocoa Ink.
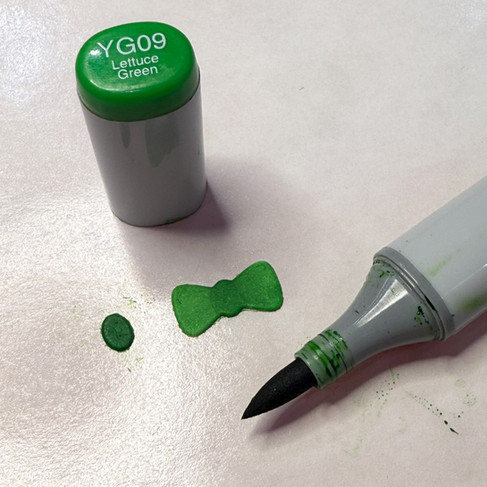
Color 3 die-cut buttons and a bow with R24 Copic Marker and YG09 on the bowtie and holly. Alternatively, color with Apple and Fairway inks for a similar effect.
Ink-blend the mug and pudding with Gingerbread and Cocoa inks. Ink-blend the kettle base and mug base with Apple and Cranberry inks and the handle with Earl and Charcoal
Color the eyes and smiles with Copic 100 marker.
COLLAGING
Assemble and adhere the die-cut layers using craft glue.
Adhere a red gem from the Pepperment Gems set to the holly sprig on the pudding.
Arrange the assembled die-cuts on the card front as shown.
Cover with Glad Press N Seal, pressing to temporarily adhere the die-cuts to the film.
Flip over the film and apply craft glue to the back of the die-cuts.
Adhere to the card front.
Trim and attach the sentiment strip with foam tape.

All these teeny details make for a preciously sweet holiday card!

The Gingerbread ink is perfectly named, as I'm pretty sure my die-cut is edible.

I need a red kettle!

Beware, this card may inspire snacking!!!

Drop me a comment and say hi!
SUPPLIES:
I listed the products that I have used below. Please note that these are compensated affiliate links, used at no cost to you. I really appreciate your support. All stamps used today were part of my Sweet Wishes maker package from Simon Says Stamp. Click on the icons below each product picture to shop with SimonSaysStamp.com.






Kaiser OTC benefits provide members with discounts on over-the-counter medications, vitamins, and health essentials, promoting better health management and cost-effective wellness solutions.
Obituaries near me help you find recent death notices, providing information about funeral services, memorials, and tributes for loved ones in your area.
is traveluro legit? Many users have had mixed experiences with the platform, so it's important to read reviews and verify deals before booking.
cute card! Love the idea for making without sewing - that'll make it easier for the grand kids! (and me...but i might sew a few!)