Simon Says Stamp - FLOWER POWER Mother's Day Card
- Keisha Diann

- Apr 27, 2024
- 2 min read

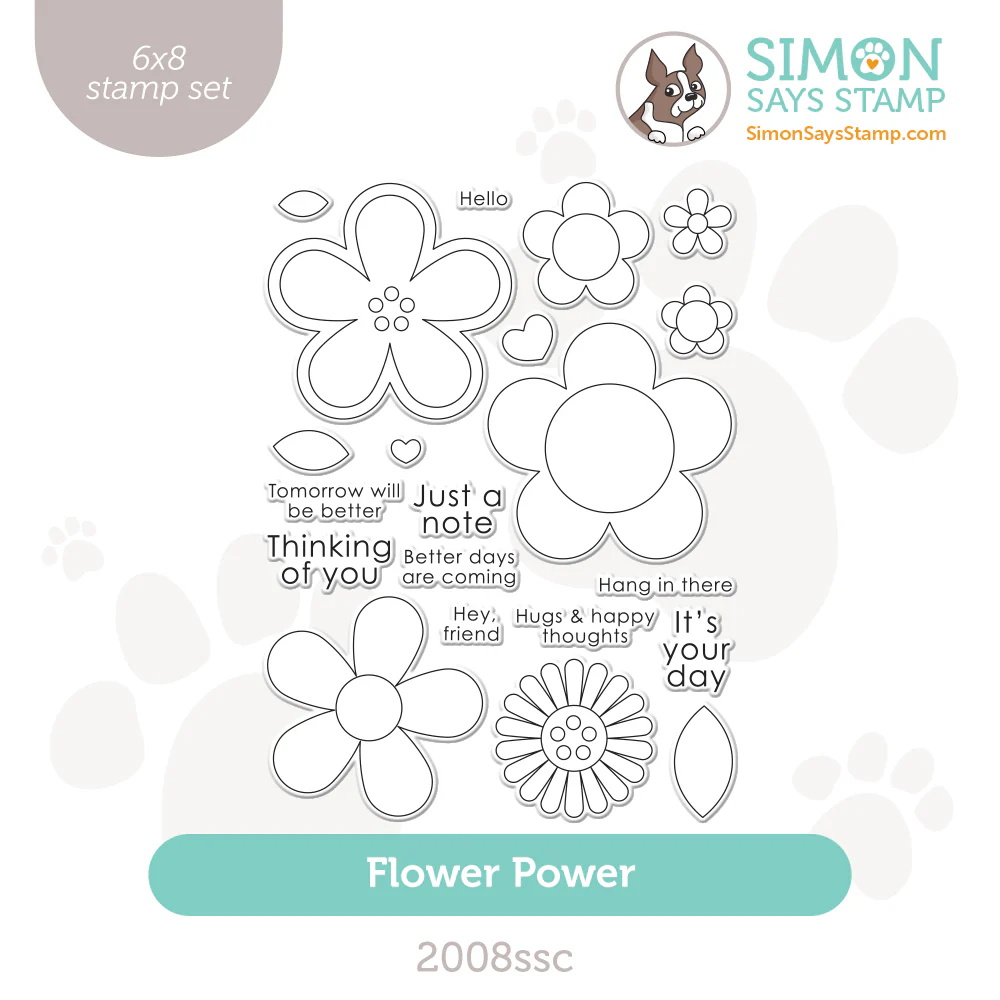
Hello Lovelies! This was supposed to be a birthday card, but I got thinking about all the special women in my life who have been a mother to me...and here we are. The Flower Power Set from Simon Says Stamp's Celebrate Release is so delightfully retro that I leaned into the 60s flower child vibes and turned up the cheery to 100!!!
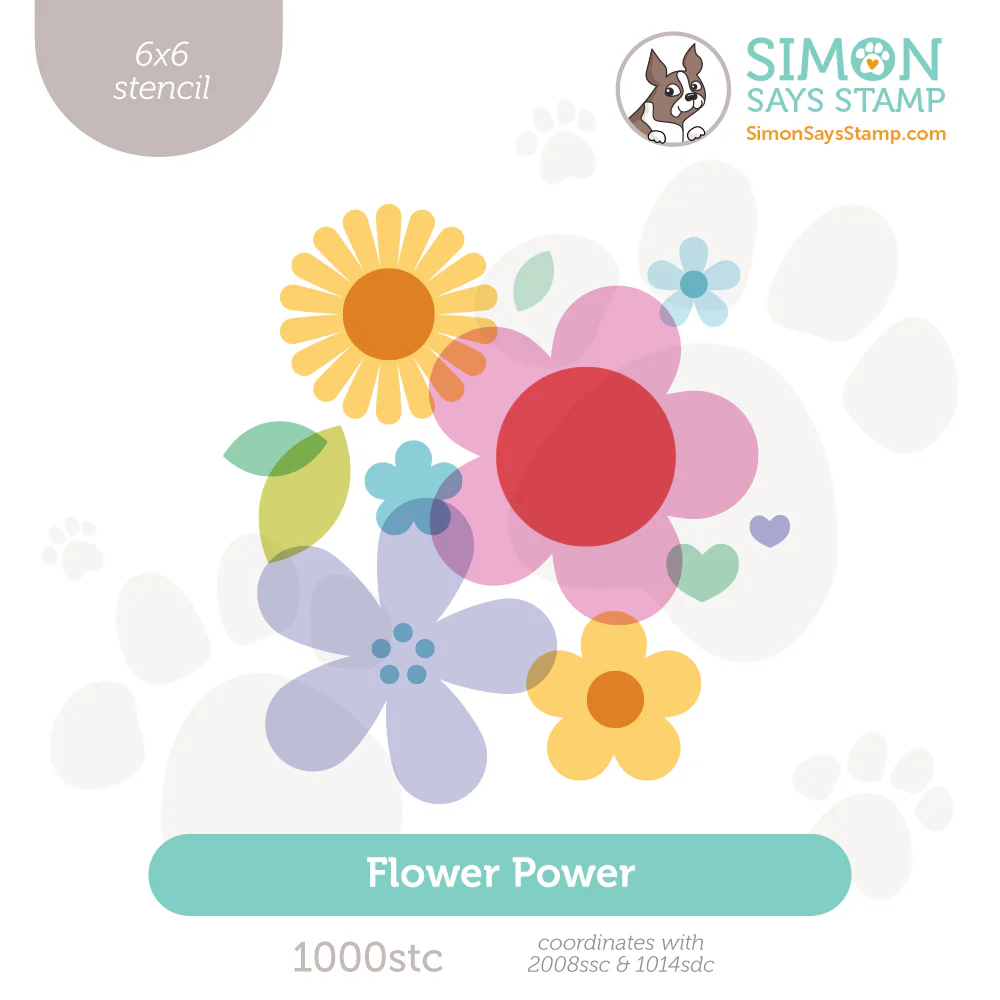
The matching stencil makes coloring these bold blooms easy and sprinkled a few water droplets for a slightly distressed effect.

Time for Key Supplies!
Get Your Supplies!
Click on the image below to SHOP THE ENTIRE release OR
SHOP THIS CARD using the links throughout the post OR
SHOP the Supplies section at the bottom of this post
Today's GIF!
Today's vibes!
Like this card and my corny GIFs? CLICK BUTTON BELOW
to sign up for blog updates:
MOM I LOVE YOU... CARD - Distressed Stenciling, Embossing & Die-cutting
Card Base: 4 1/4" x 5 1/2"

COLOR PALETTE
Simon Says Stamp Pawsitively Saturated Ink Pads - Cheeky, Carnation, Peony, Lilac, Lemonade, Limelicious, Tropic and Seafoam

CARD WALKTHROUGH
STAMPING & WET EMBOSSING
Adhere a 6" x 8 1/2" piece of white cardstock to a Stamp and Stencil Mat.
Secure the Flower Power Stamps over the cardstock.
Ink the stamps all over with the Clear Ink
Stamp the white cardstock with the clear ink
Dust the stamped images with white embossing powder
Heat set to emboss.
DISTRESSED STENCILING
Match the stencil openings to the flowers and ink-blend with a blending brush to apply the color
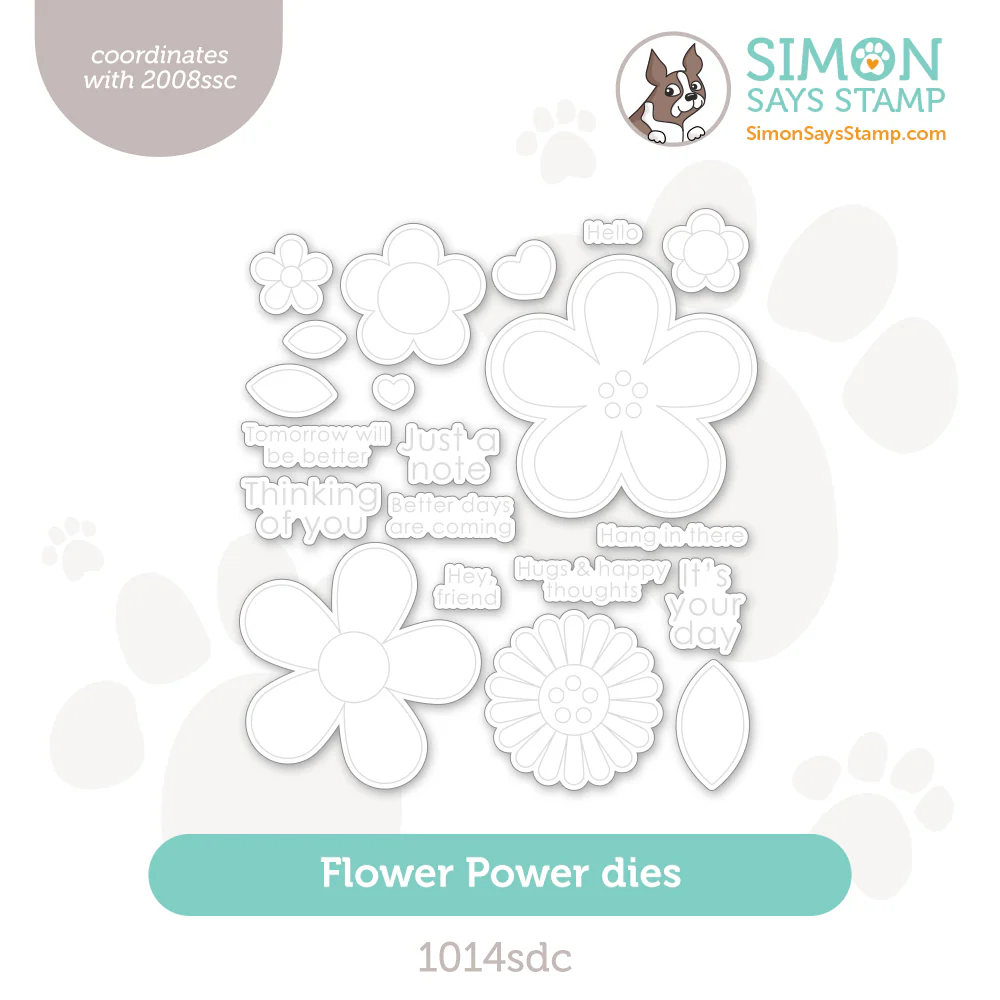
Match the dies to the flowers and run through a die-cutting machine
Splatter the flowers with water-droplets to create a splotched, distressed look
Set aside to dry
EMBOSSING & CREATING THE SENTIMENTS
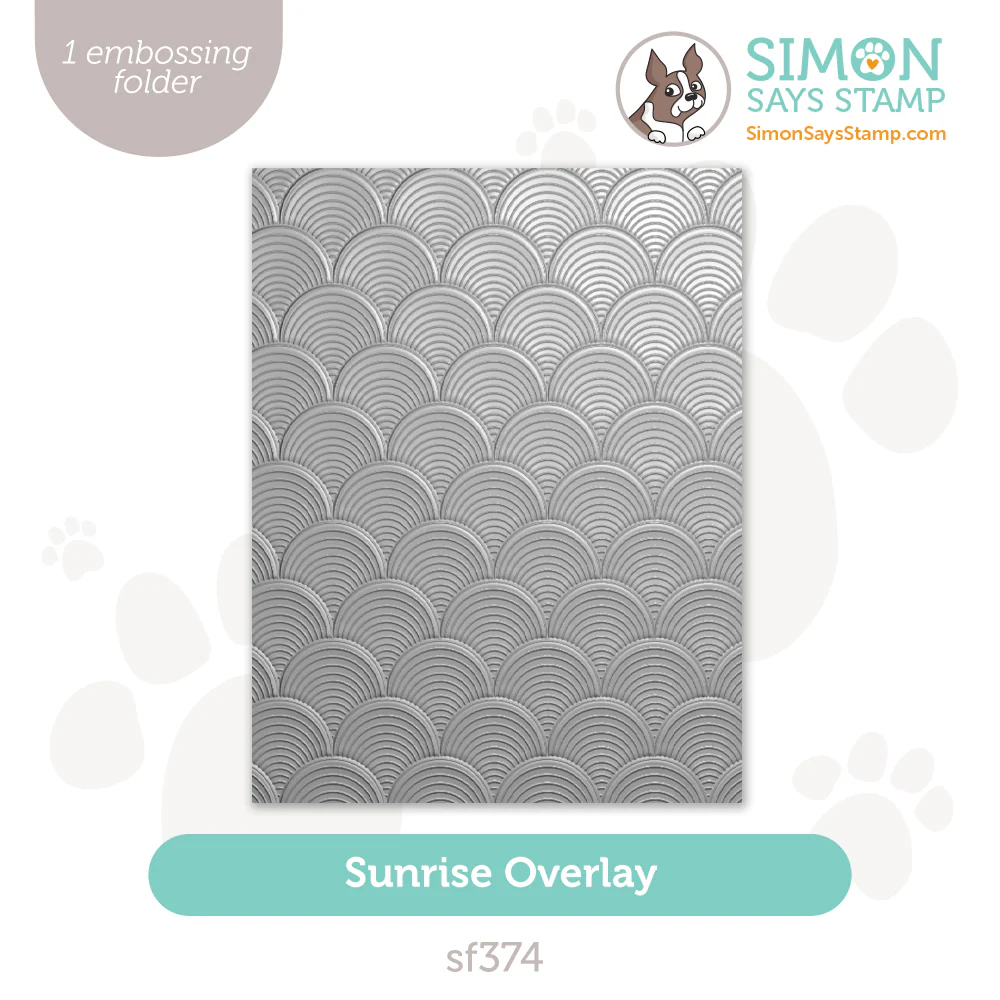
Use the Sunrise Overlay Embossing Folder to emboss a 4 1/4" x 5 1/2" piece of white cardstock
Die-cut the Foil Transfer "Mom" Card using the coordinating outline die
Trim the sentiment strip

CREATING THE CARD FRONT
Arrange the flower die-cuts on the embossed background
Pop-up a few with foam dots to create dimension and texture
Adhere the remainder with craft glue
Trim the edges to create the card front.
FINISHING
Adhere the card front to the card base.
Adhere the sentiments with craft glue
Adhere the Rainbow Splash Droplets to embellish the card front
I think this card is guaranteed to make you smile!

I kept the sentiment black to stand out against all that color!

The iridescent bubbles emit a soft glow perfect for this card!

Wishing your family a Happy Mom Day!

Thank you SO much for stopping by! Drop me a comment and say hi!
SUPPLIES:
I listed the products that I have used below. Please note that these are compensated affiliate links, used at no cost to you. I really appreciate your support. All stamps used today were part of my Celebrate maker package from Simon Says Stamp. Click on the icons below each product picture to shop with SimonSaysStamp.com.


Amazing! I LOVE it!