Simon Says Stamp - DIVINE PEONY Friendship Card
- Keisha Diann

- Jun 29, 2024
- 3 min read

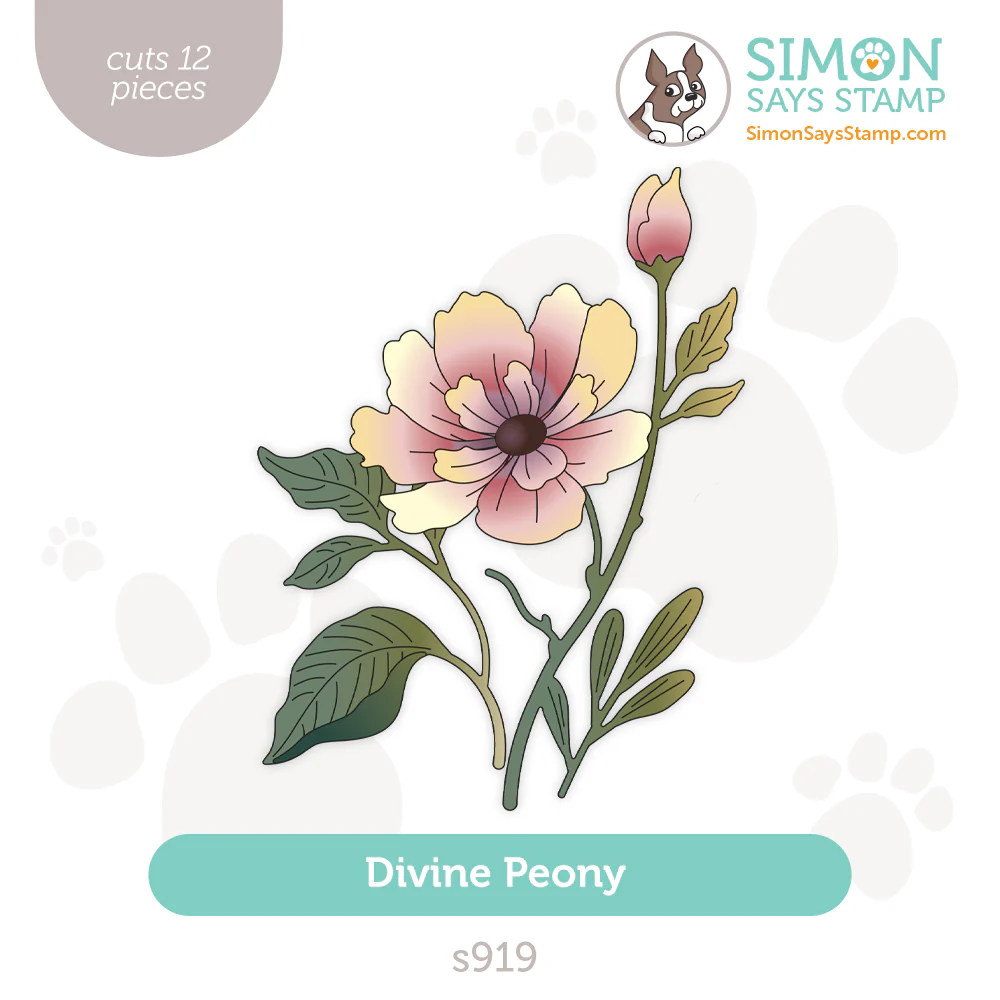
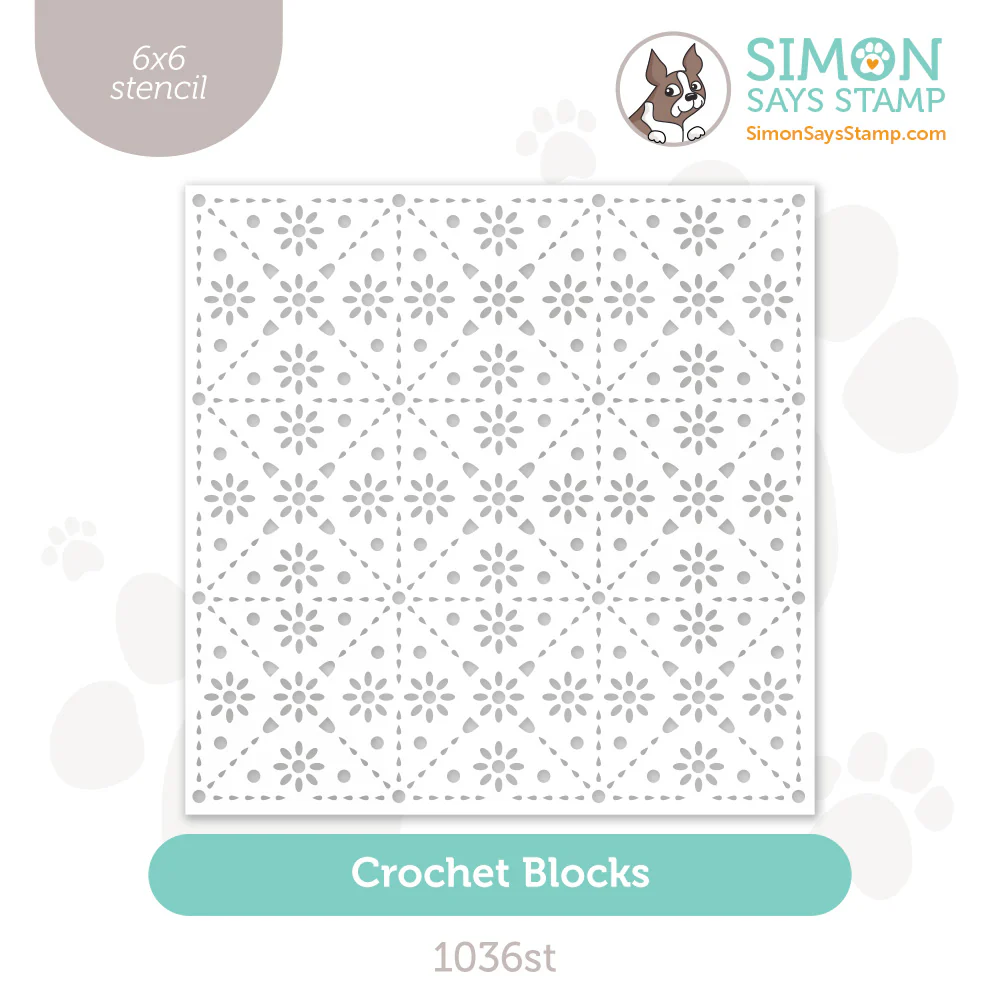
Hello Lovelies! Can you believe it? We are taking a break from vibrant color and doing all neutrals today. We'll pair the Crochet Block Stencil from the Sunny Vibes release with the absoutely Divine Peony Die Set for a soft, sweet look.
Every now and then, I get a die so beautiful that it can stand alone without color and the Divine Peony is definitely that!

Time for Key Supplies!
Get Your Supplies!
Click on the image below to SHOP THE ENTIRE release OR
SHOP the Supplies section at the bottom of this post
Today's GIF!
I agree!
Like this card and my corny GIFs? CLICK BUTTON BELOW
to sign up for blog updates:
I LOVE YOU, FRIEND CARD - Die-cutting, Stenciling and Foiling
Card Base: 4 1/4" x 5 1/2"

COLOR PALETTE
what could be simpler than white on Kraft Cardstock? We'll give get the white through stenciling with Texture Paste and our gorgeous peony die-cuts.
CARD WALKTHROUGH
STENCILING
Trim Kraft Cardstock to 6" x6" and secure to craft mat.
Secure Crochet Blocks Stencil over the cardstock.
Spread a thin and even layer of Tim Holtz Distress Opaque Texture Paste over the Stencil
Remove the stencil quickly and place into a water bath so that the paste residue does not dry on the stencil before you can clean it
After the paste dries on cardstock, carefully trim to 4" x 5 1/4", keeping the pattern centered horizontally and vertically.
DIE-CUTTING
Die-cut the Divine Peony Die out of white 110lb cardstock colors
To break up the white and amp up the pretty, mist alternate layers of the petal with Tsukineko Sheer Shimmer Craft Spray in Sparkle.
Adhere the flower layers as shown with Craft Glue.
ASSEMBLING THE FLOWER
Apply craft glue along the stems and leaves of the flower and let dry for about 45 seconds so that it becomes more tacky than runny when applying it to the textured background.
Position and adhere the longer flower stem as shown.
Trim and adhere the larger leaf flower stem repeating the gluing approach outline in step1 above.
Adhere the flower bud to the longer stem.
Adhere the assembled larger flower as shown.
FOILING
Turn on your laminator to heat it up.
Tip: I like to foil several Sentiments Strips at once while I have the laminator out. You can trim your Strips to just include the one you prefer for this card or do several like me! Trim a matching piece of foil to cover the selected Strip(s) and place both inside of a folded piece of parchment paper as shown.
Run the "sandwich" of parchment paper, foil and strips through the heated laminator.
Remove foil from Strips and trim the selected strip if neeeded.
ASSEMBLY
Apply a piece of foam tape to the Strip and adhere to the card front as shown.
Adhere the gold flat-back pearls with craft glue.

The Texture Paste and the Kraft cardstock pair beautifully!

The Sparkle spray makes the flowers glow and gives a subtle contrast against the plain white cardstock.

I love this view of the flower, can you tell? :-)

Paper hug ready to send!

Thank you SO much for stopping by! Drop me a comment and say hi!
SUPPLIES:
I listed the products that I have used below. Please note that these are compensated affiliate links, used at no cost to you. I really appreciate your support. All stamps used today were part of my Sunny Vibes maker package from Simon Says Stamp. Click on the icons below each product picture to shop with SimonSaysStamp.com.


Kaiser OTC benefits provide members with discounts on over-the-counter medications, vitamins, and health essentials, promoting better health management and cost-effective wellness solutions.
Obituaries near me help you find recent death notices, providing information about funeral services, memorials, and tributes for loved ones in your area.
is traveluro legit? Many users have had mixed experiences with the platform, so it's important to read reviews and verify deals before booking.