

Simon Says Stamp - Christmas Berries Mini Album
- Keisha Diann

- Nov 27, 2022
- 3 min read
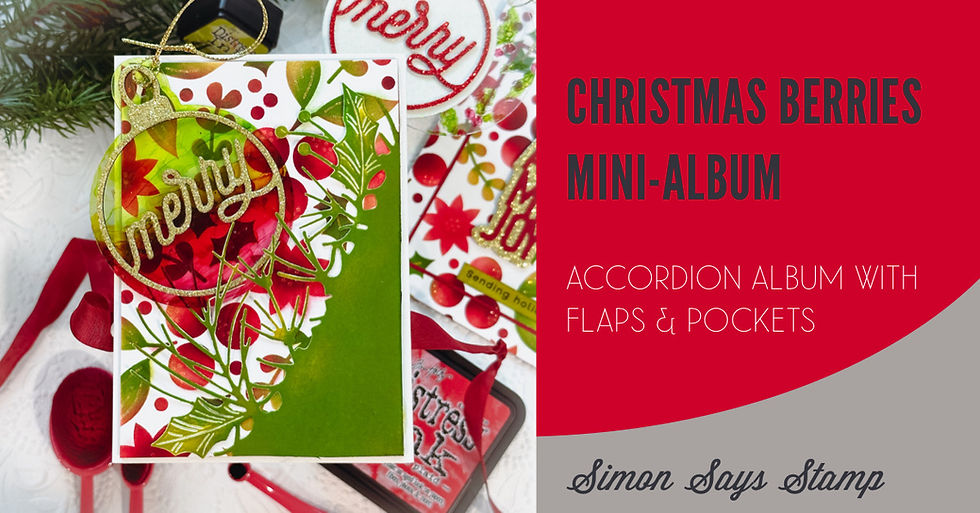
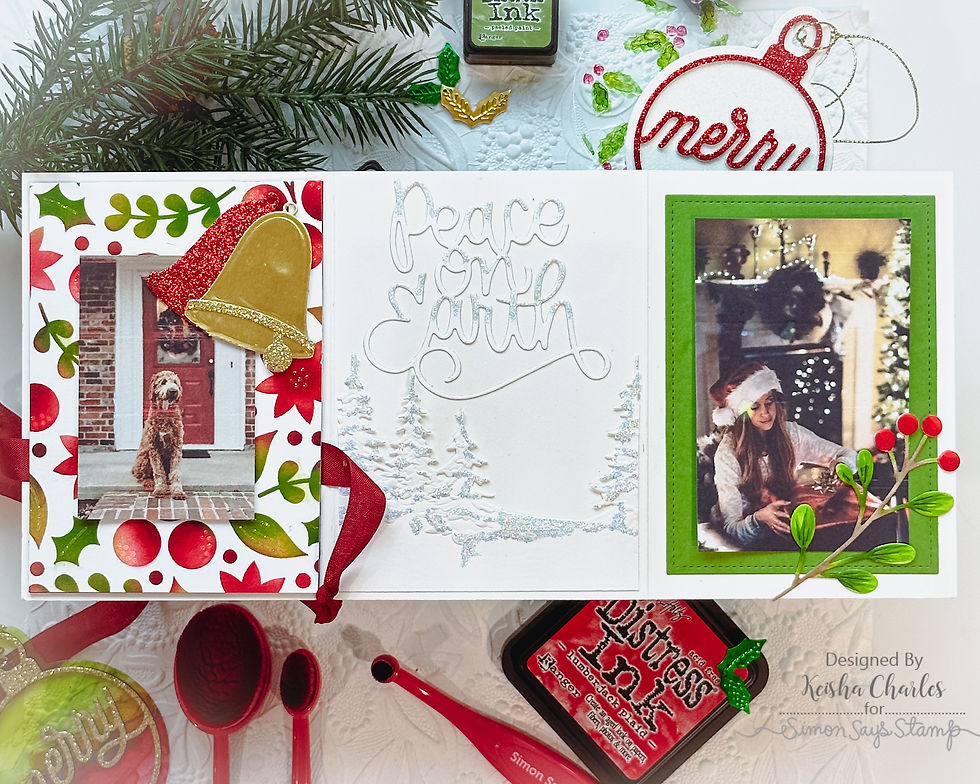
Hello Lovelies! No cards for you today! we are going to make a simple accordion fold mini album that would be perfect for displaying for the holidays.
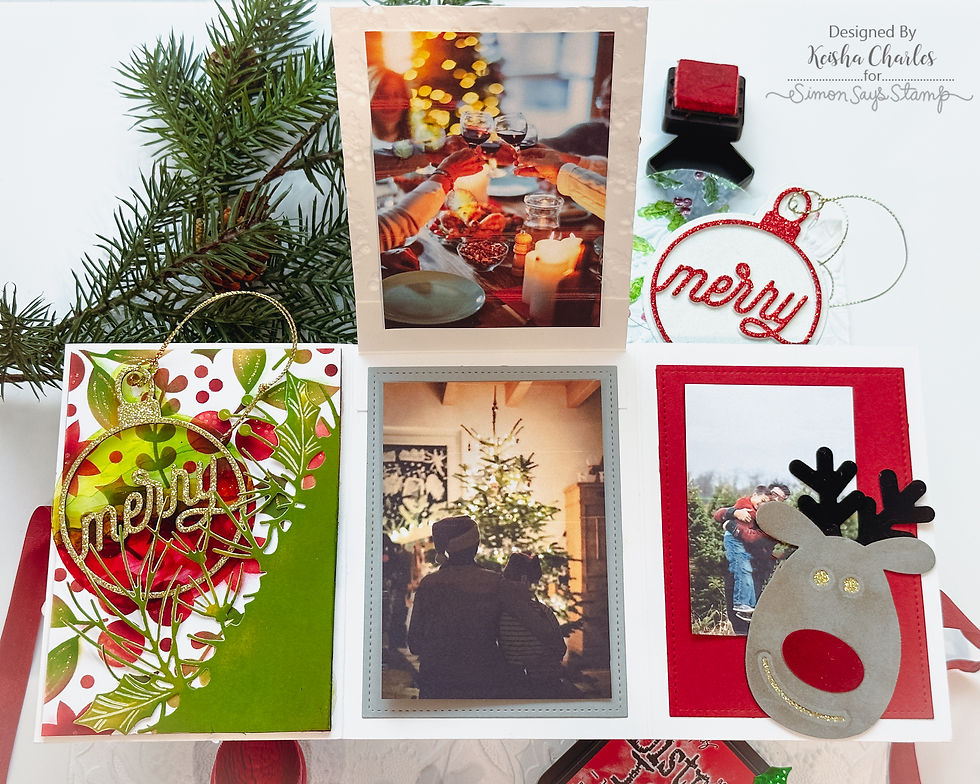
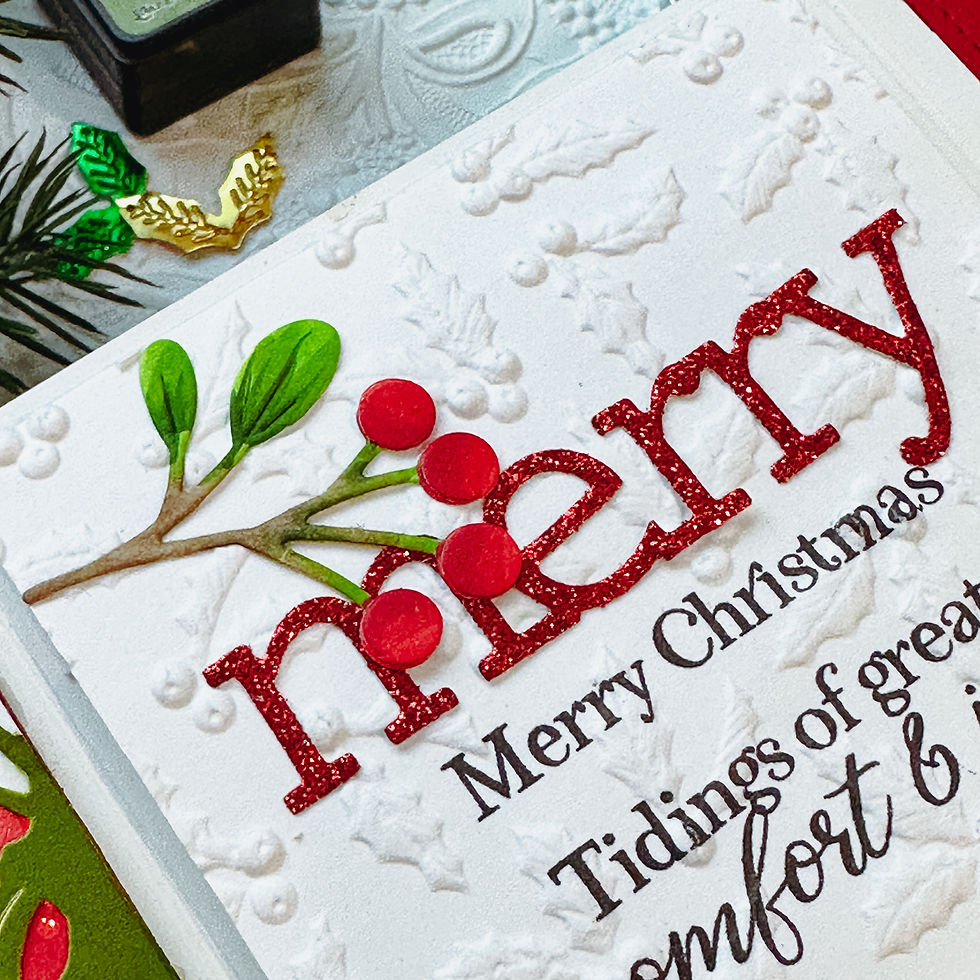
It holds 5 photos and a little ornament/tag and is perfect for showcasing cherished holiday memories. It features the much-loved Christmas Berries Stencil, which I walk you through in this post and today's post will focus on walking you through all of the other album elements.
I used a lot of Holiday Sparkle items in this album and a few of my other Christmas favorites. Here's a closer look at some of them:


Click here to view the full supply list or check it out at the bottom of this post when you have finished exploring this card.
Today's GIF!
Can you feel my Christmas Spirit???
Like this card and my corny GIFs? CLICK BUTTON BELOW
to sign up for blog updates:
CHRISTMAS BERRIES MINI ALBUM & ORNAMENT - Die-cutting, Embossing, Copic Coloring
Mini Album Base: 4" x 12", scored at 4" and 8"

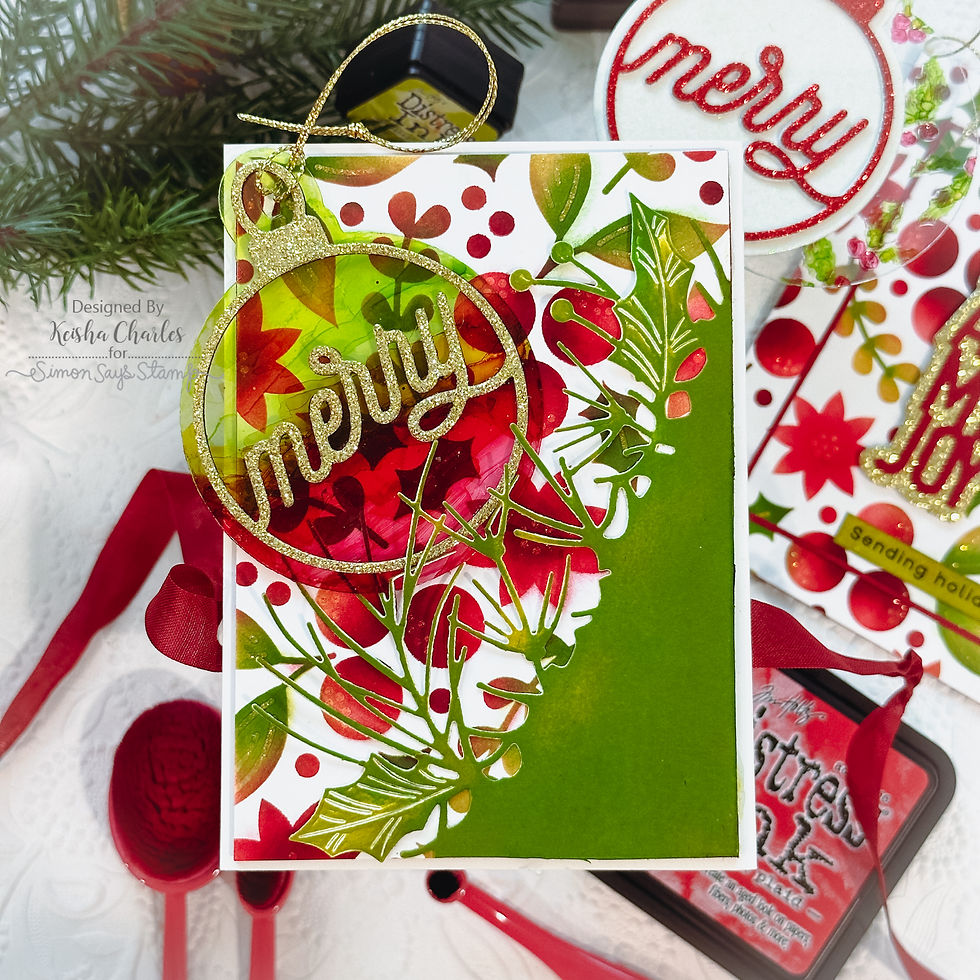
ALBUM - FRONT (flap down)
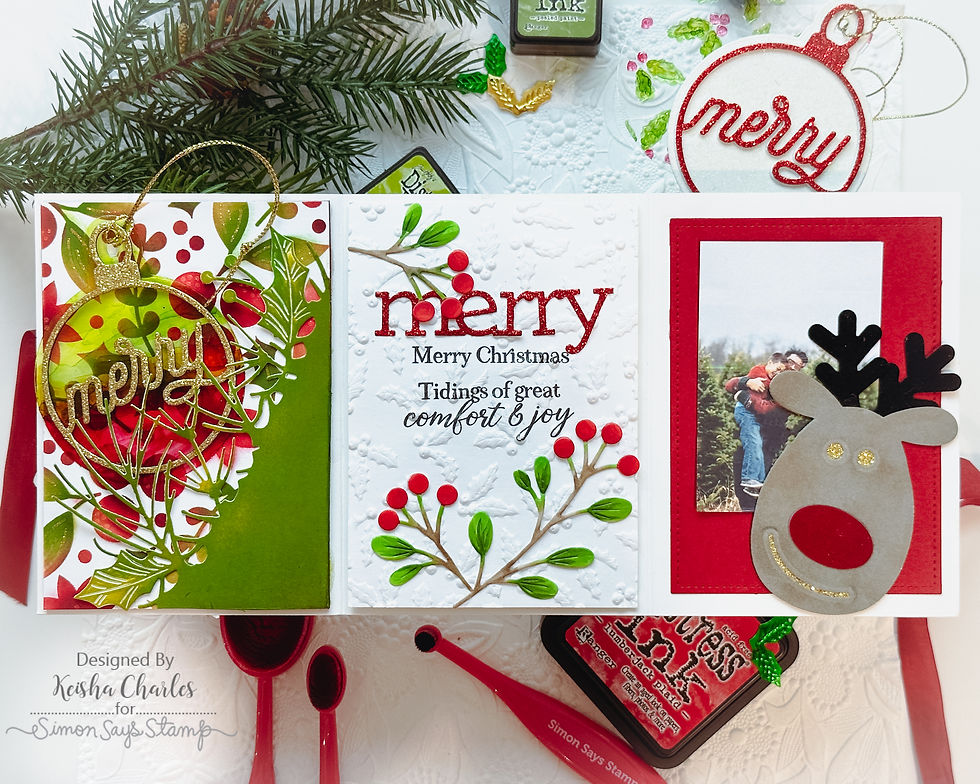
ALBUM - FRONT (flap up)
ALBUM - BACK
STENCILING
To make this album you will need to follow the tutorial linked here, to create the stenciled Christmas Berries background:

DIE-CUT PALETTE
These are the Copic colors that we will use for coloring some of our die-cuts:

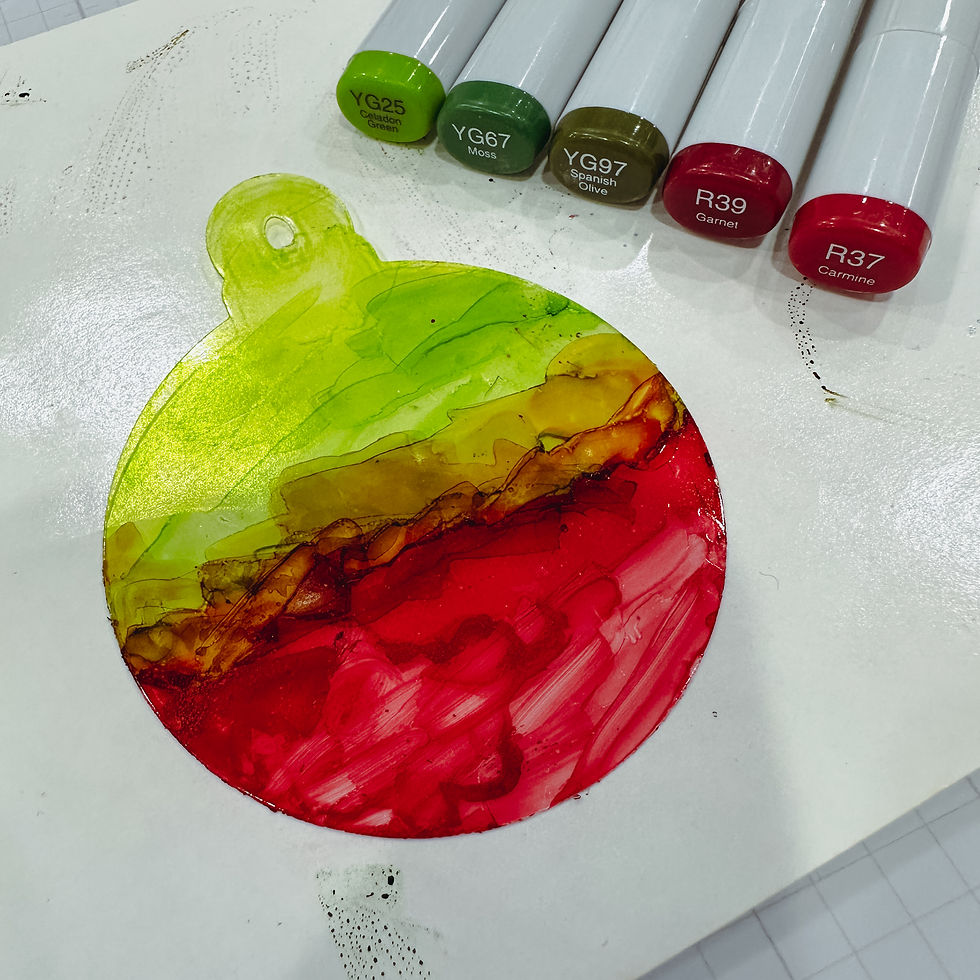
ORNAMENT PALETTE
These are the Copic colors that we will use for coloring the acetate ornament:
MINI ALBUM WALKTHROUGH
MINI-ALBUM BASE
Trim the 12" x 12" white cardstock to 5 1/2" x 12"
Score at 4" and at 8" along the 12" side
Accordion fold the score lines
CARDBOARD: Trim cardboard to 3 3/4" x 5 1/4" and (OPTIONAL) paint along the border and the edges with Lumberjack Plaid Distress Paint
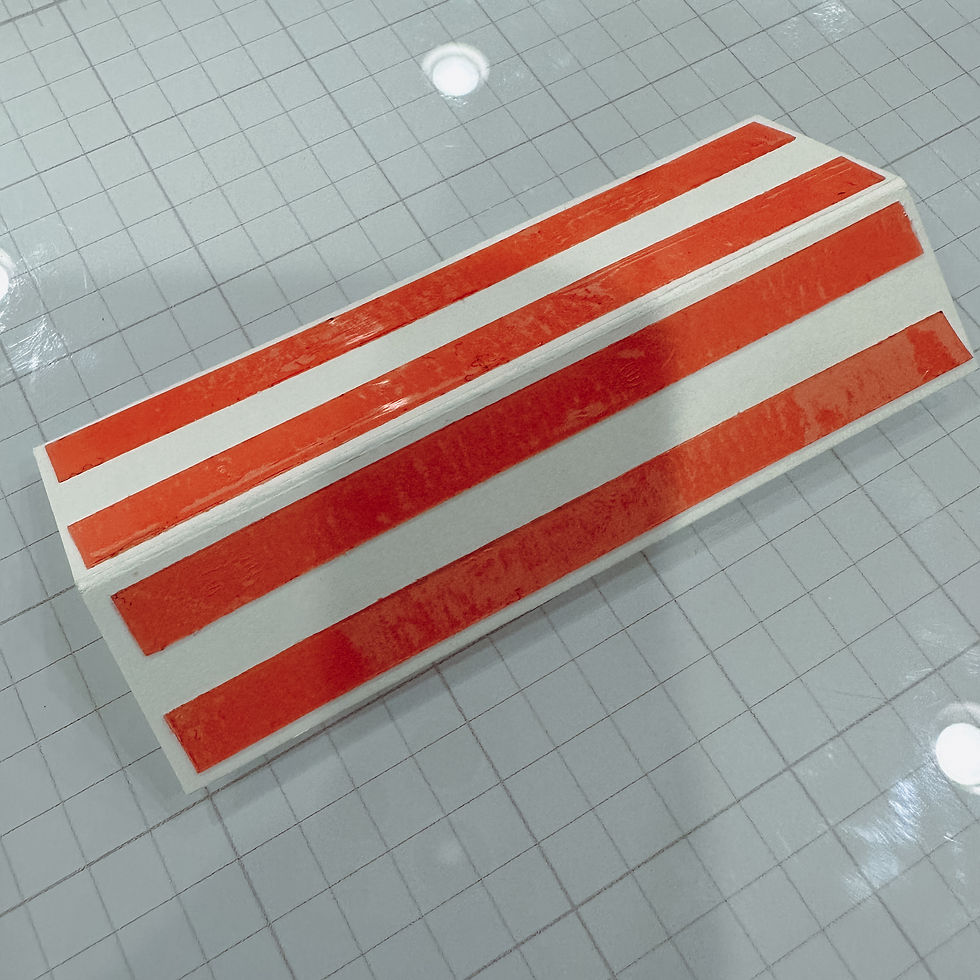
PHOTO FLAP: Trim a piece of white cardstock to 1 1/2" x 3 3/4", score at 3/4" and fold with a bone folder. Adhere 2 strips of double-sided tape to the outside of each flap
Trim the Christmas Berries stenciled background to 3 3/4" x 5 1/4" for the front cover and the back flap.
Trim a piece of white cardstock to 3 3/4" x 5 1/4" and set aside for the Forest Greenery die
CARDBOARD
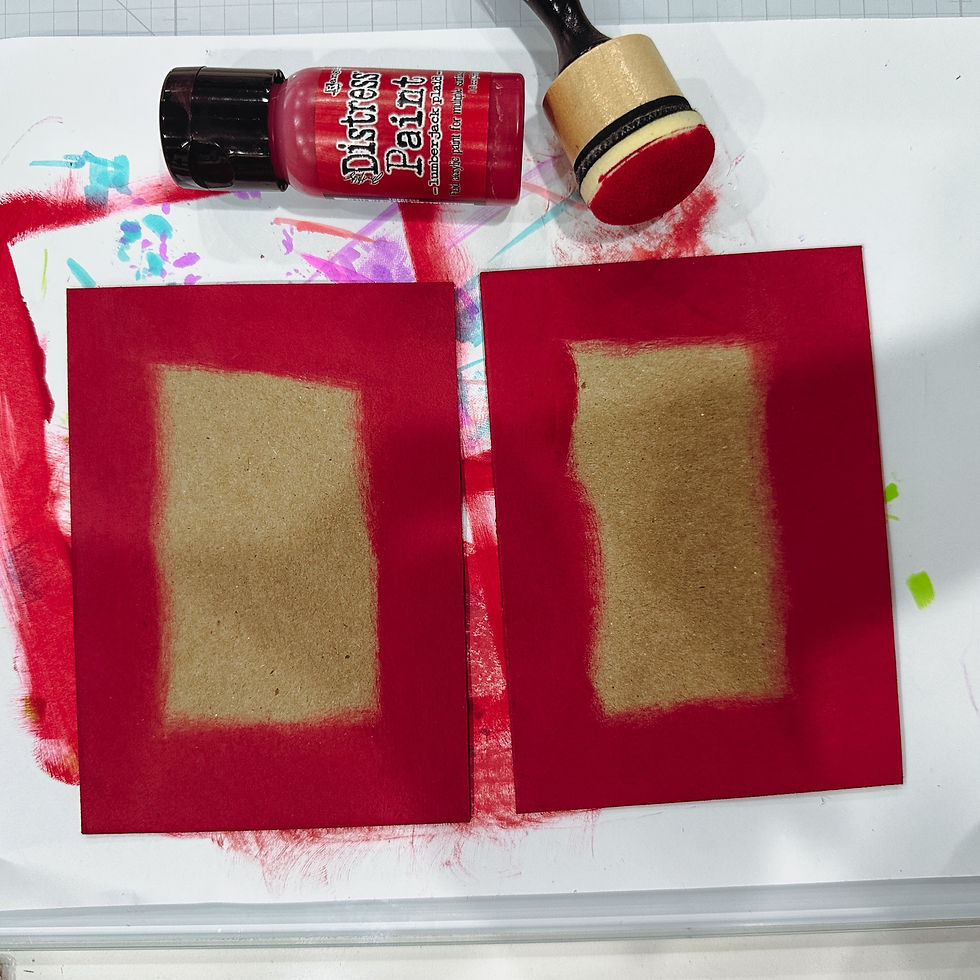
PHOTO FLAP
DIE-CUTTING / EMBOSSING
Use the table below to guide what cardstock should be used for each of the die-cuts or embossed backgrounds.
DIE / EMBOSSING FOLDER (EF) | PAPER |
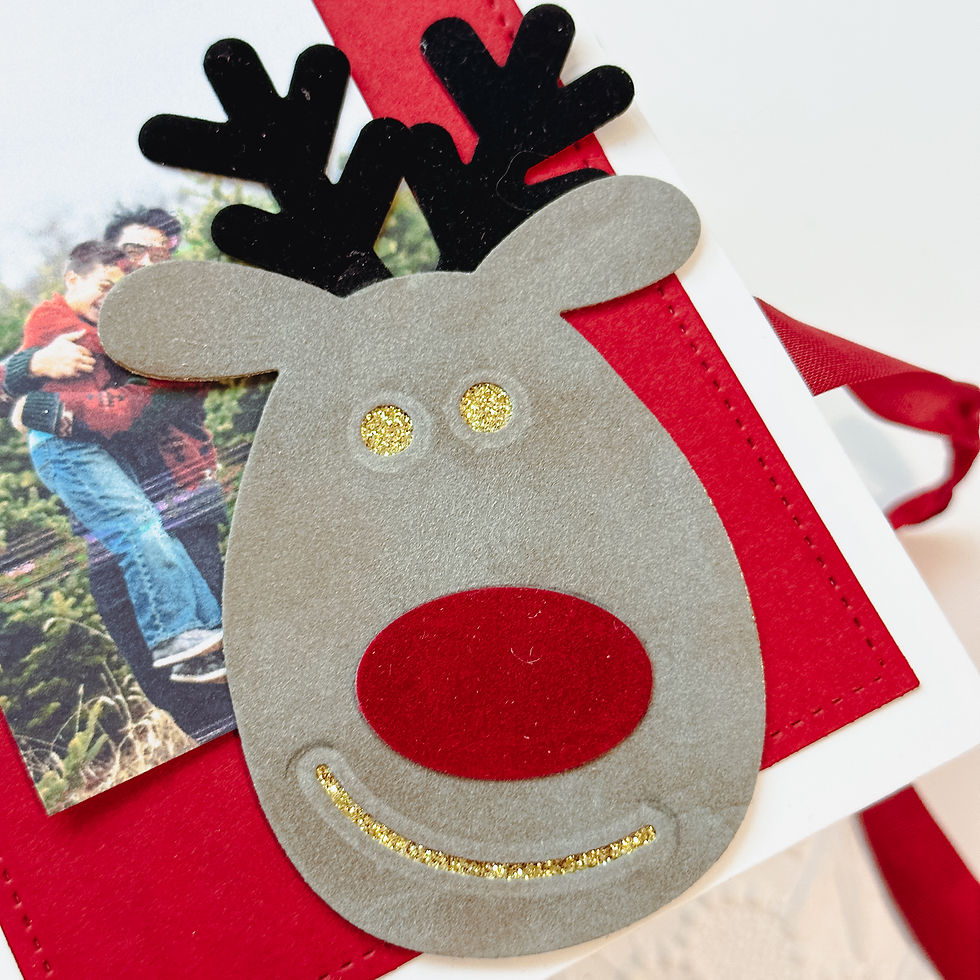
Reindeer | Christmas Pawsitively Velvet Luxury Cardstock |
Forest Greenery | White Cardstock (inked w/Distress Peeled Paint) |
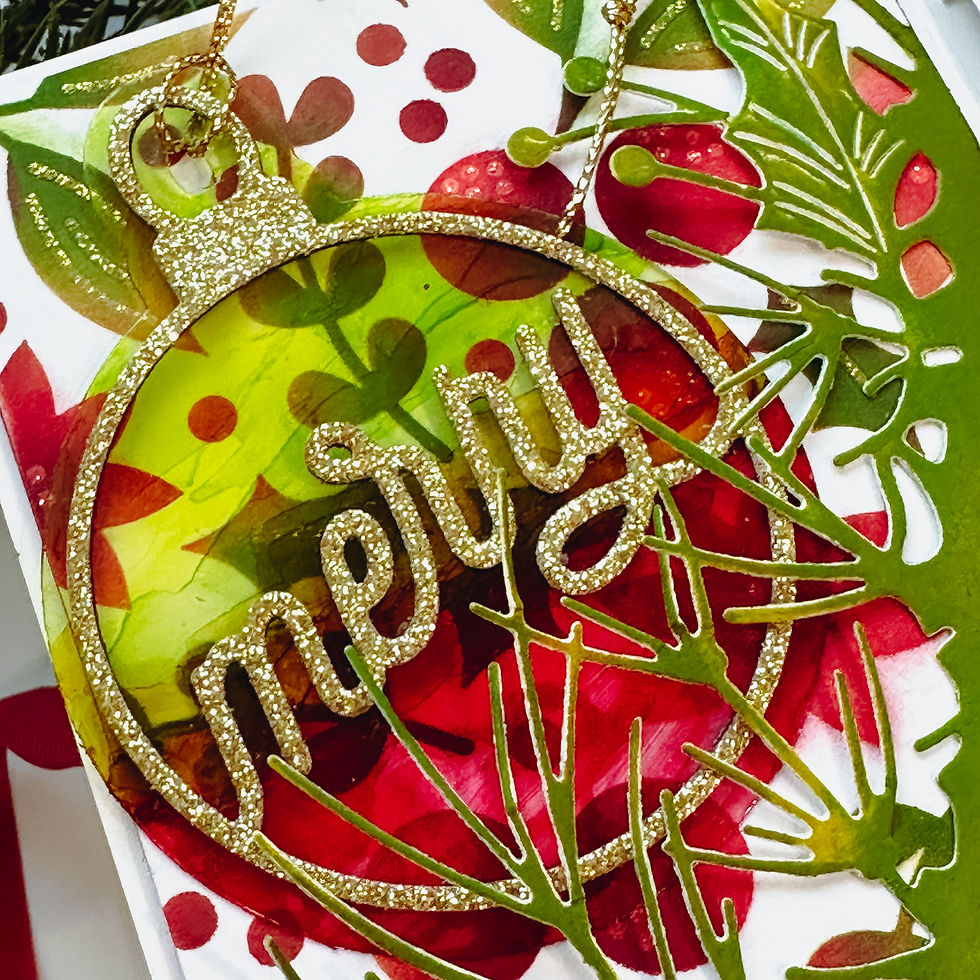
Merry Ornament | Gold Glitter Cardstock, Acetate |
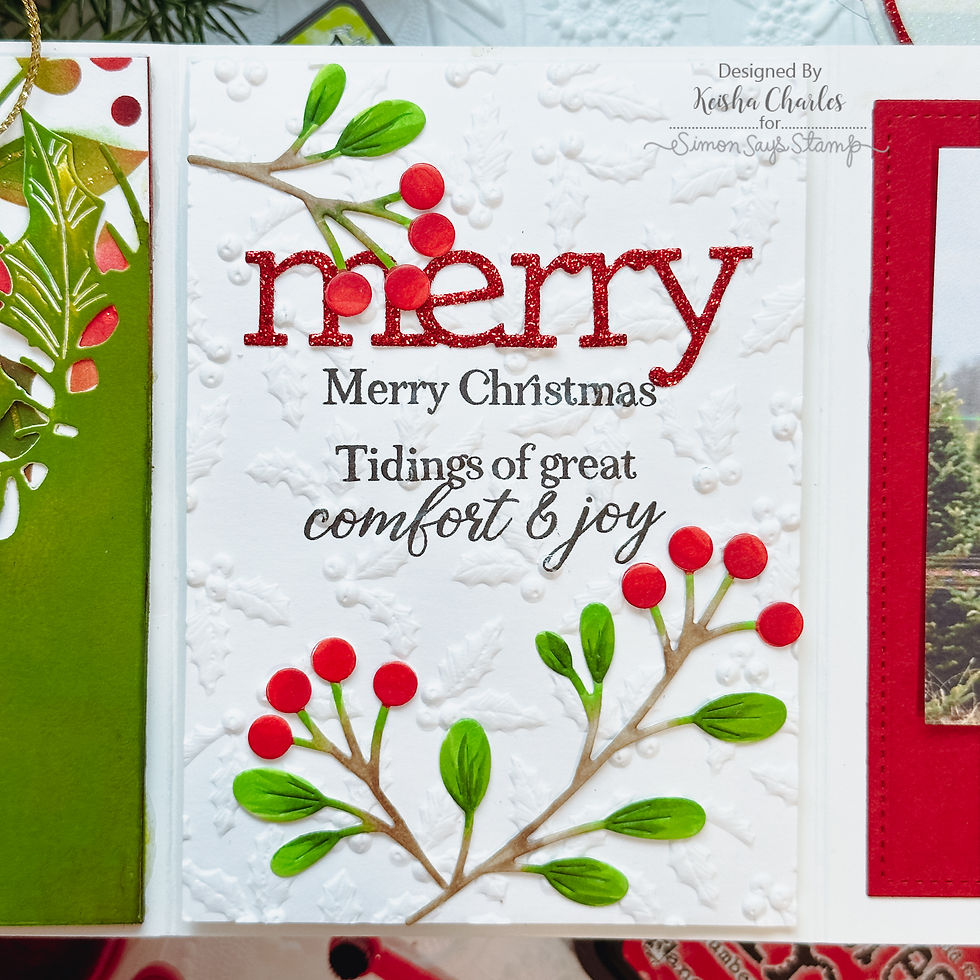
Fruitful Berries | White Cardstock (colored with Copic Markers) |
Merry and Bright | Red Glitter Cardstock |
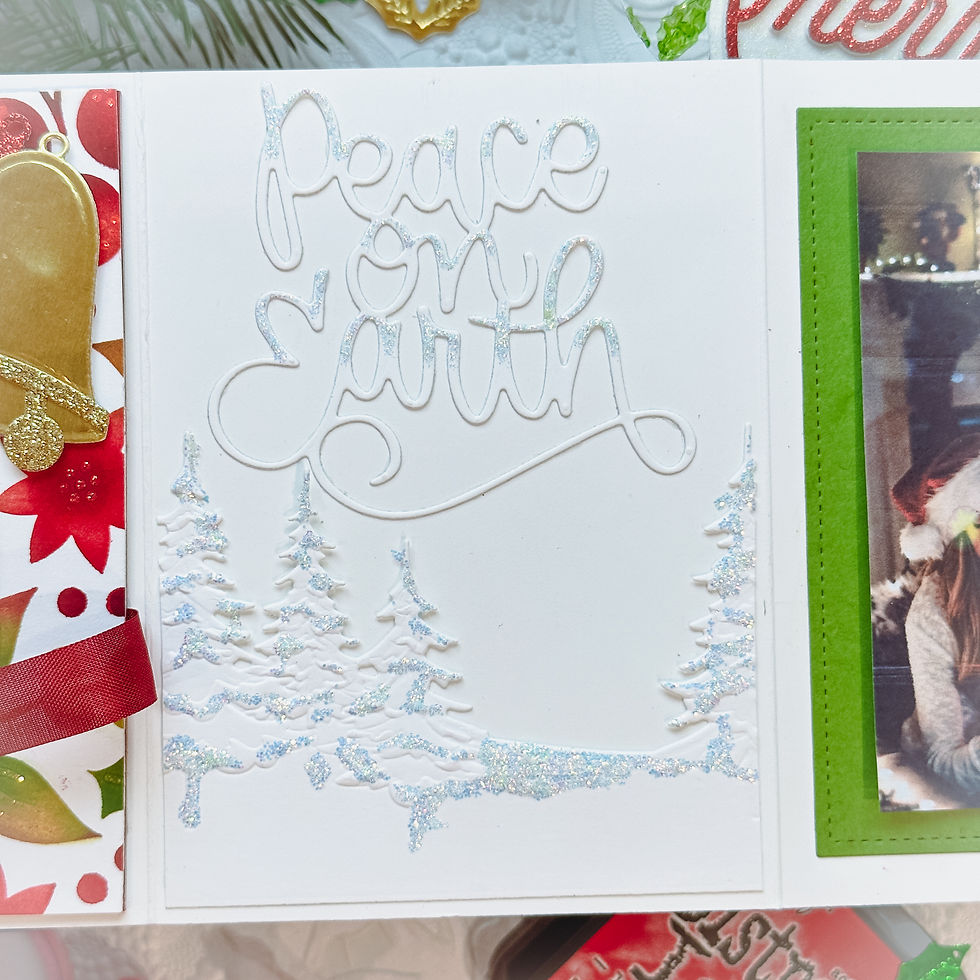
Peace on Earth | White Cardstock |
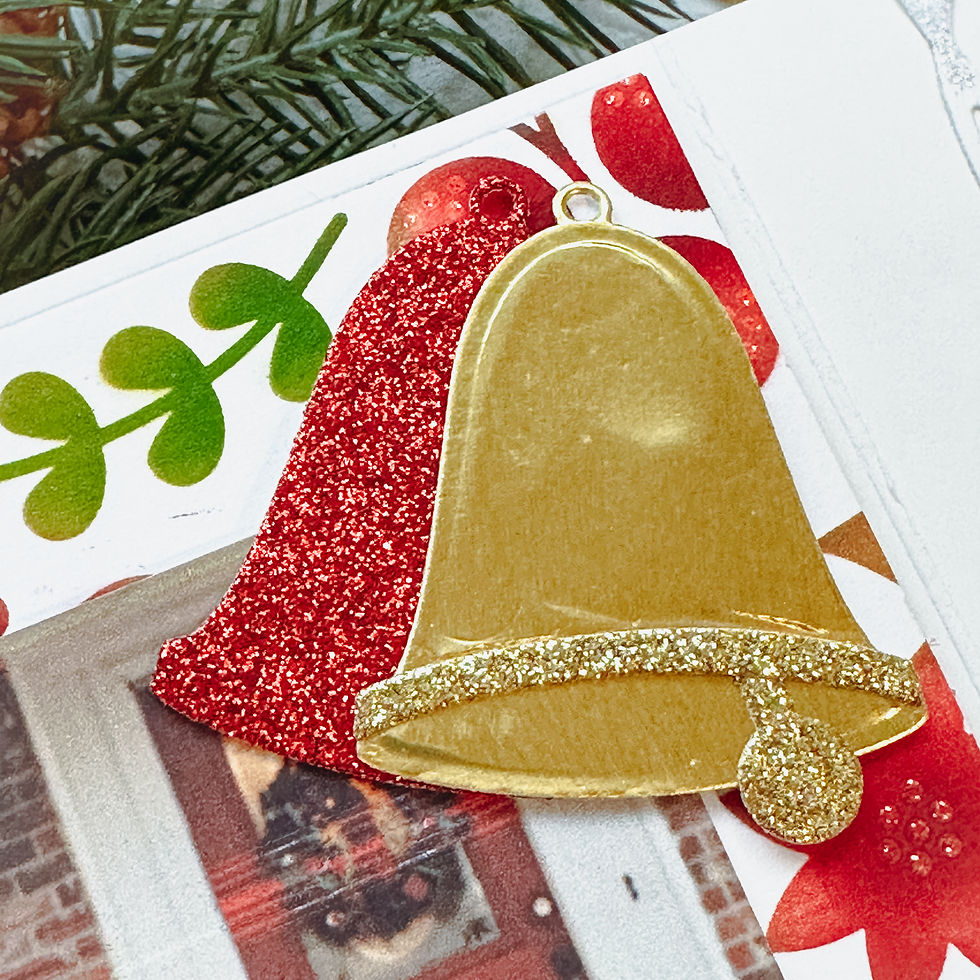
Bell | Gold Matte, Gold Glitter, Red Glitter Cardstock |
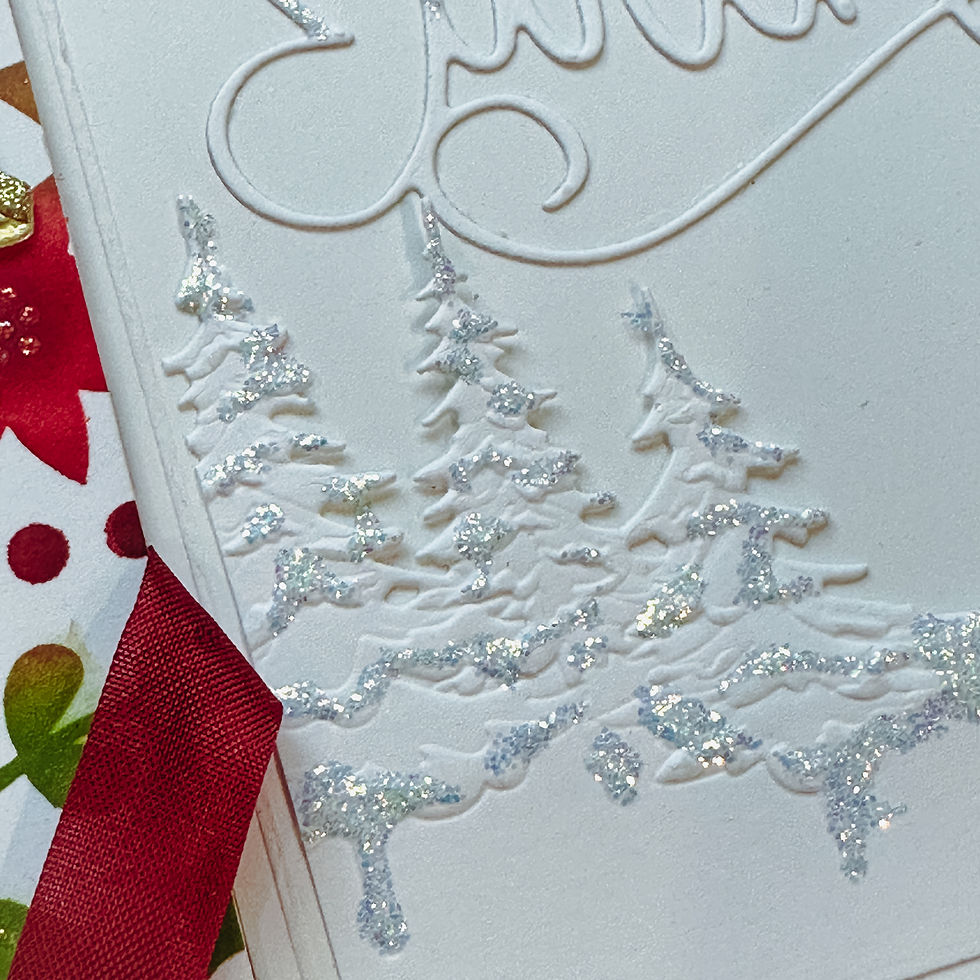
Graceful Holly EF | White Cardstock |
Pine Landscape EF | White Cardstock |
Basic Rectangles | Schoolhouse Red, Green Leaf, Smoke Cardstock |
*For the White Cardstock, I used Neenah Classic Crest 110lb, but any will do.
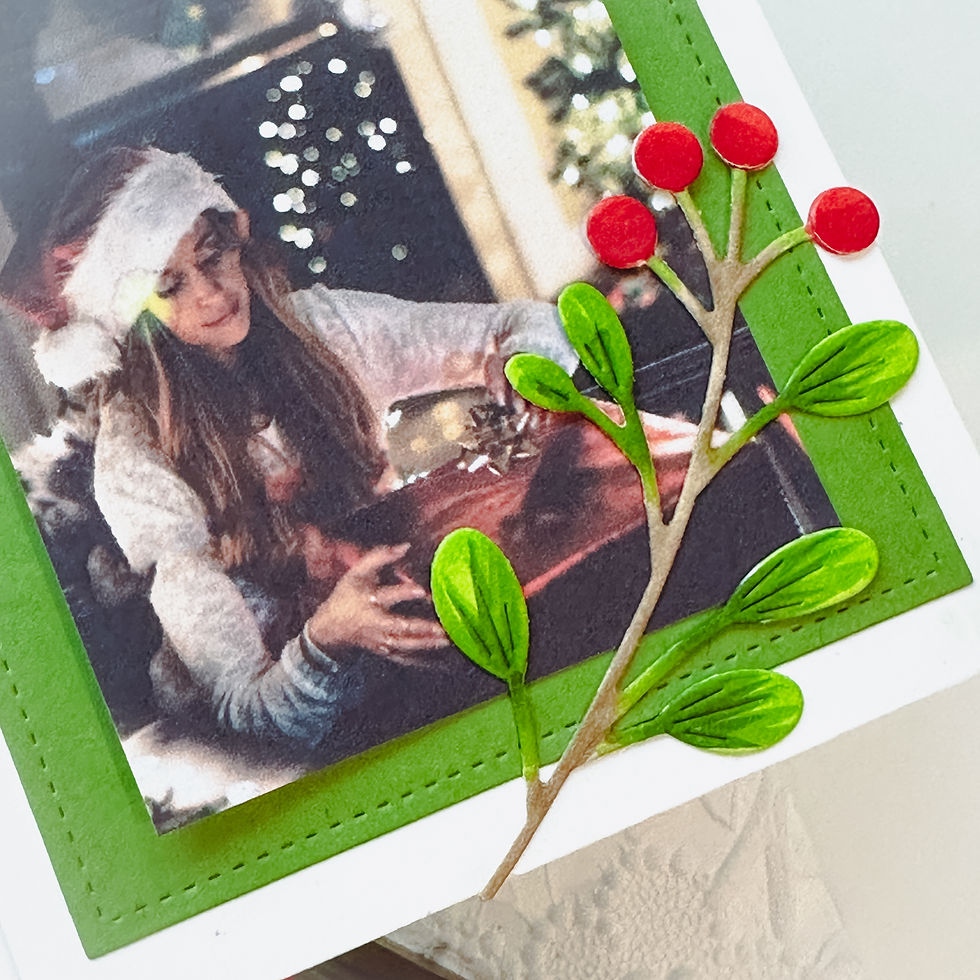
FOREST GREENERY BORDER
Ink the die-cut first with Crushed Olive and then darken some areas with Peeled Paint Distress Inks. Adhere 1/4" double-sided tape to the long and short straight edges. Set aside for assembly of the cover flap.


REINDEER


FRUITFUL BERRIES
Copic coloring guide:


PINE LANDSCAPE EF, GRACFUL HOLLY EF & PEACE ON EARTH DIECUT


BELLS


GRACEFUL HOLLY PHOTO FLAP


MERRY ORNAMENT


BELL PANEL
Adhere a cardboard layer to the Berries background. This helps anchor the mini-album when it is stood upright. Additionally, adhere a ribbon running at the back of the cardboard 2/3 of the way down and then use 1/2" double-sided tape to adhere it all to the back flap of the card base.


PANEL ASSEMBLY
FRONT
FRONT COVER/LEFT SIDE
FRONT - MIDDLE
FRONT MIDDLE - GRACEFUL HOLLY PHOTO FLAP


FRONT RIGHT SIDE

BACK
BACK LEFT PANEL

BACK - MIDDLE PANEL
BACK - RIGHT PANEL

CLOSE UPS (so you can see the festive details better)
Last look at our our Accordion Christmas Berry Mini Album!!!
Holiday Sparkle Hugs Lovelies!
Thank you for stopping by and see you soon!
SUPPLIES:
I listed the products that I have used below. Please note that these are compensated affiliate links used at no cost to you. I really appreciate your support. All stamps used today were part of my maker package from Simon Says Stamp. Click on the icons below each product picture to shop with SimonSaysStamp.com.


Wow Keisha, this is such a stunning mini album. It's a great idea to make also as a gift for someone special. Thank you so much for sharing this awesome tutorial, I totally love the acetate ornament. Stay safe and have a wonderful day.