

Simon Says Stamp - Cherry Blossoms Missing You Card
- Keisha Diann

- Mar 27, 2024
- 2 min read

Hello Lovelies! I don't think card is very "cherry-blossomy", but I had a lot of fun making it! Something about the reveal when you open up the inked embossing folder and get to see how it came out.
It's the same feeling when I pull back the foil from a foiling project. The best thing about this is that it is so easy to do and you can change up the color palette if yellow and purple aren't your thing.

Time for Key Supplies!


Get Your Supplies!
Click on the image below to SHOP THE ENTIRE release OR
SHOP THIS CARD using the links throughout the post OR
SHOP the Supplies section at the bottom of this post

Today's GIF!
Who can resist cherry blossoms???
Like this card and my corny GIFs? CLICK BUTTON BELOW
to sign up for blog updates:
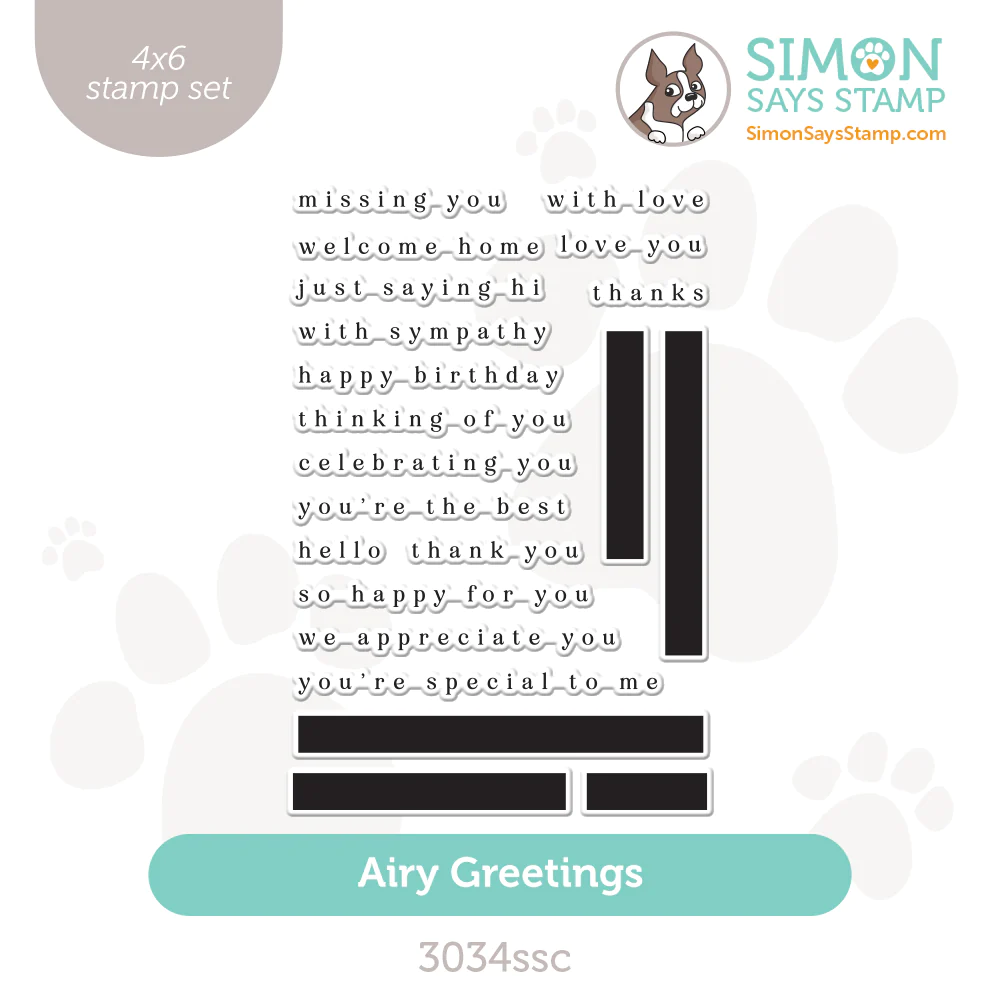
MISSING YOU CARD - "Letterpress" with an Embossing Folder, Die-cutting, Ink-Blending
Card Base: 4 1/4" x 5 1/2"

COLOR PALETTE
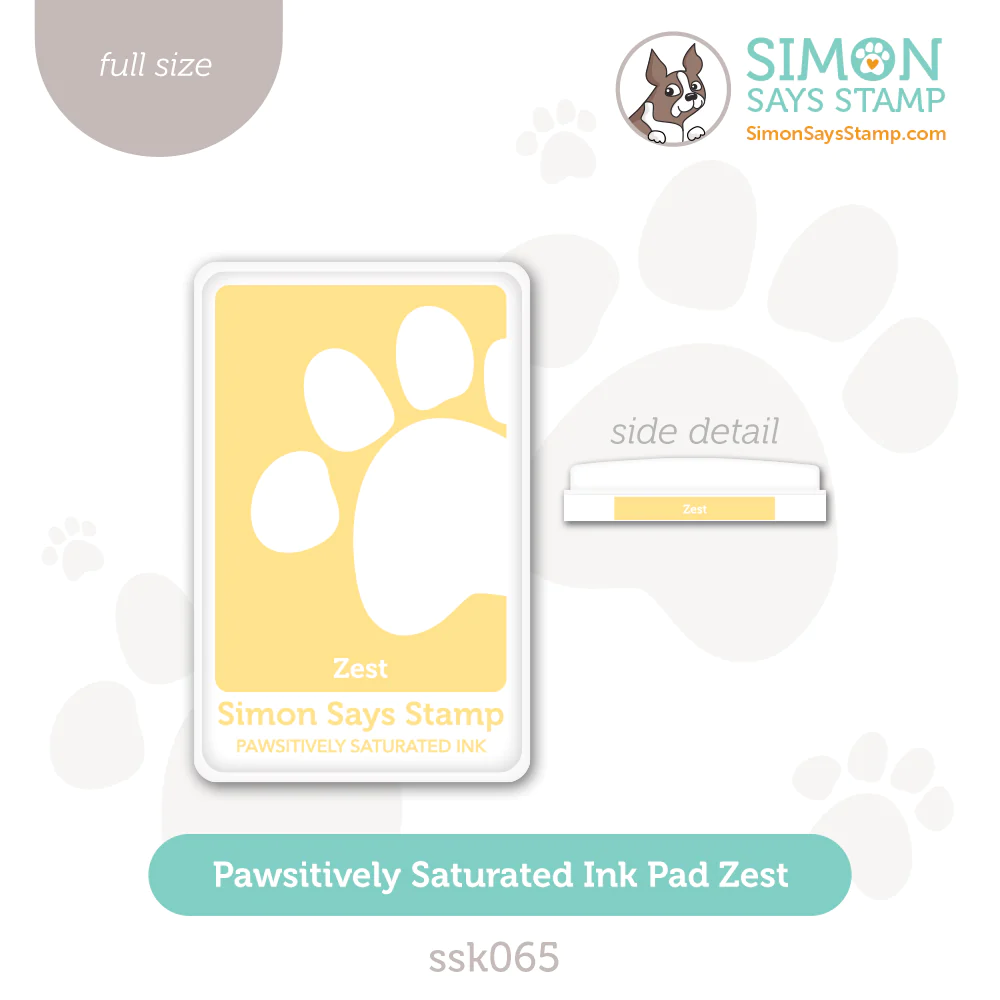
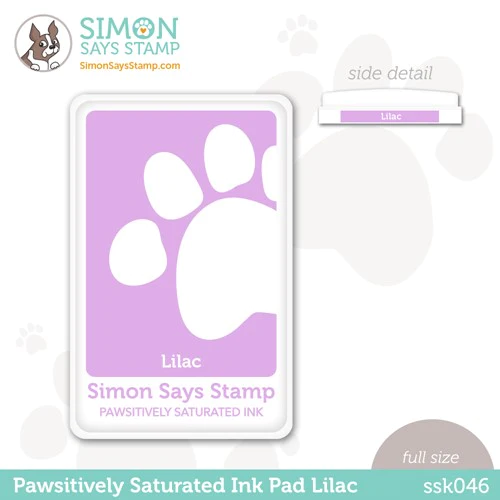
Pawsitively Saturated Ink Pads - Zest, Lilac
CARD WALKTHROUGH
LETTERPRESS EMBOSSING
Open the Cherry Blossoms Embossing Folder and the side of the folder where the cherry blossom flowers are NOT raised (protruding/sticking out) but the background IS raised.
Use the Zest Ink Pad to lightly ink the raised surface of the cherry blossom background as shown below.
Mist a 4 1/4" x 5 1/2" piece of watercolor cardstock with water.
Place the slight damp cardstock into the embossing folder, aligning on the non-inked side.
Close the inked side over the cardstock carefully and run through a die-cutting machine.
Clean the embossing folder of any residual ink.


DIE-CUTTING & INK-BLENDING
Die-cut 5 cherry blossoms using the matching dies that come with the folder.
Place the die-cut blossoms into matching spaces in the embossing folder and run through a die-cutting machine.
Ink a flat topped blending brush with Lilac ink and blend into the center of the flowers in a circular motion.


STAMPING
Stamp the solid rectangle using the size that matches the "missing you" sentiment with Lilac ink.
Heat set to ensure that the ink is fully dry and then stamp 'missing you" in the Lilac rectangle
ASSEMBLY
Use foam tape to pop up the sentiment.
Adhere the Lilac blossoms with craft glue or with foam dots where you need to pop them up.
The ink gets onto the petals, but I think it's pretty and adds definition.

This color combo may be a bit non-traditional but I think brings out the beauty of the blossoms!

Ready to send to that loved one that you have been thinking about...
Thank you SO much for stopping by! Drop me a comment and say hi!
SUPPLIES:
I listed the products that I have used below. Please note that these are compensated affiliate links, used at no cost to you. I really appreciate your support. All stamps used today were part of my Be Bold maker package from Simon Says Stamp. Click on the icons below each product picture to shop with SimonSaysStamp.com.


PM Kisan eKYC is a useful Aadhaar-based verification process for farmers registered under the scheme. I completed the process online quickly and without any complications. It ensures secure transfer of payments directly to eligible beneficiaries. The system is easy to use and saves valuable time for users. pm kisan kyc improves transparency and helps maintain accurate beneficiary records across India very efficiently today.
Beautiful card! I love cherry blossoms so this embossing folder is going in my cart. I love the ink technique and am going to try it. Thanks for sharing!