Simon Says Stamp - BALLOONS BORDER Happy Birthday Card
- Keisha Diann

- Oct 31, 2024
- 3 min read

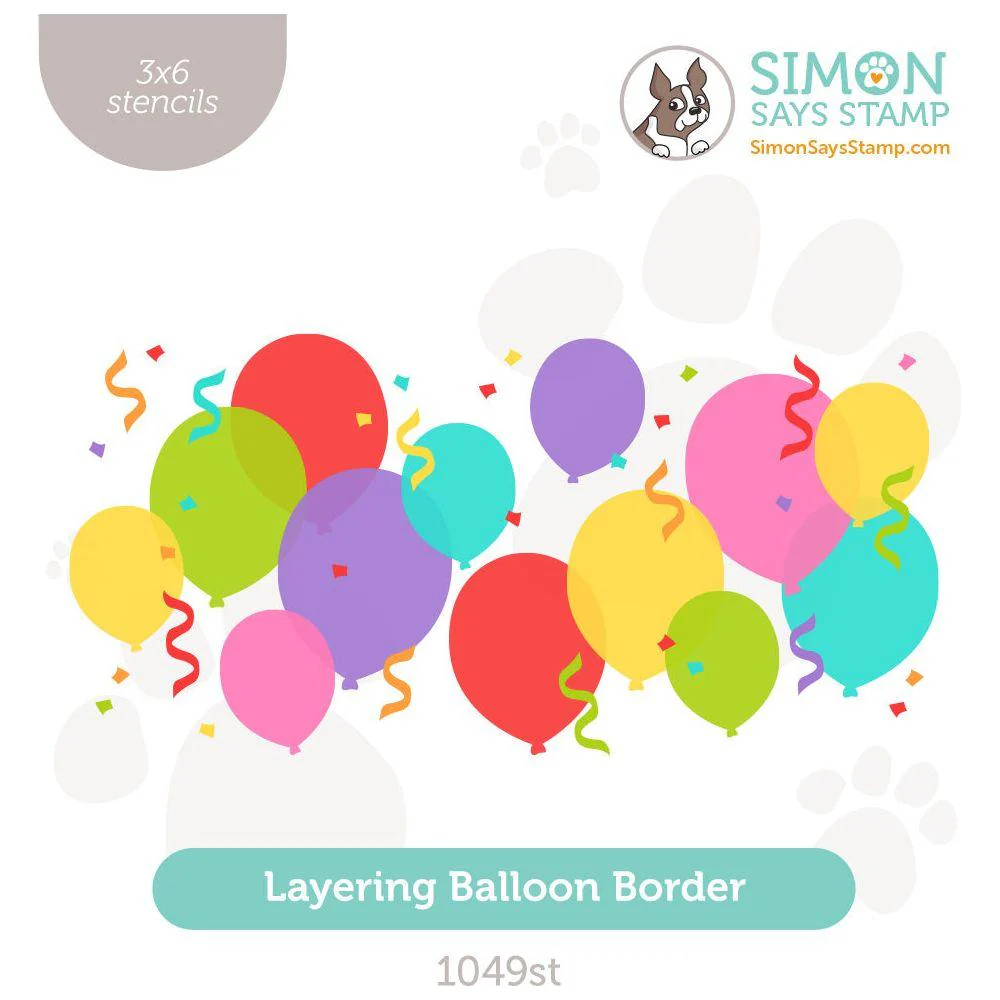
Hello Lovelies! If there is one crafting product that I would recommend when you are feeling a bit stuck creatively, it's a stencil. A layered stencil like the Balloons Border is even better, as it makes creating dimensional looks easy or offering a simple way to color in sections of an image.
I was very tempted to make a rainbow of balloons, but decided to explore the new red inks from the Pawsitively Saturated line instead for a monochromatic look AND isn't there just something iconic about a vibrant red balloon?

Time for Key Supplies!
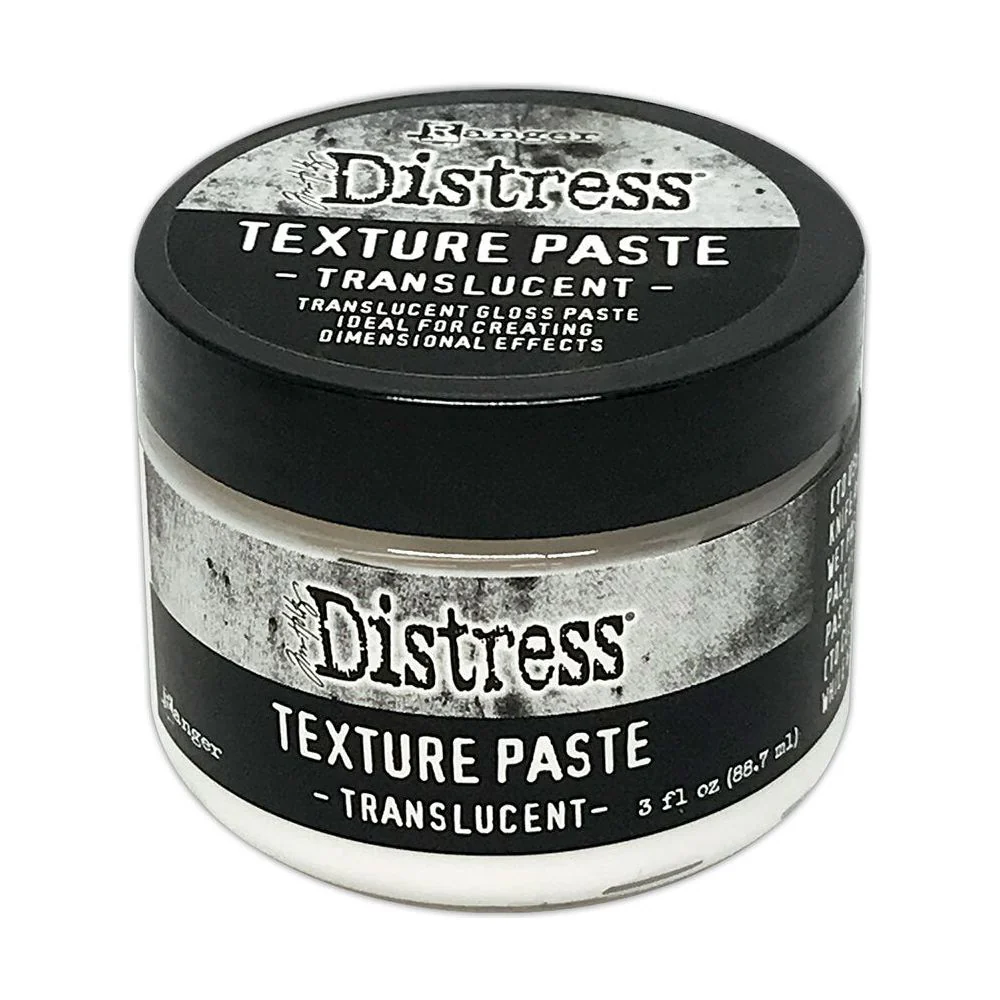
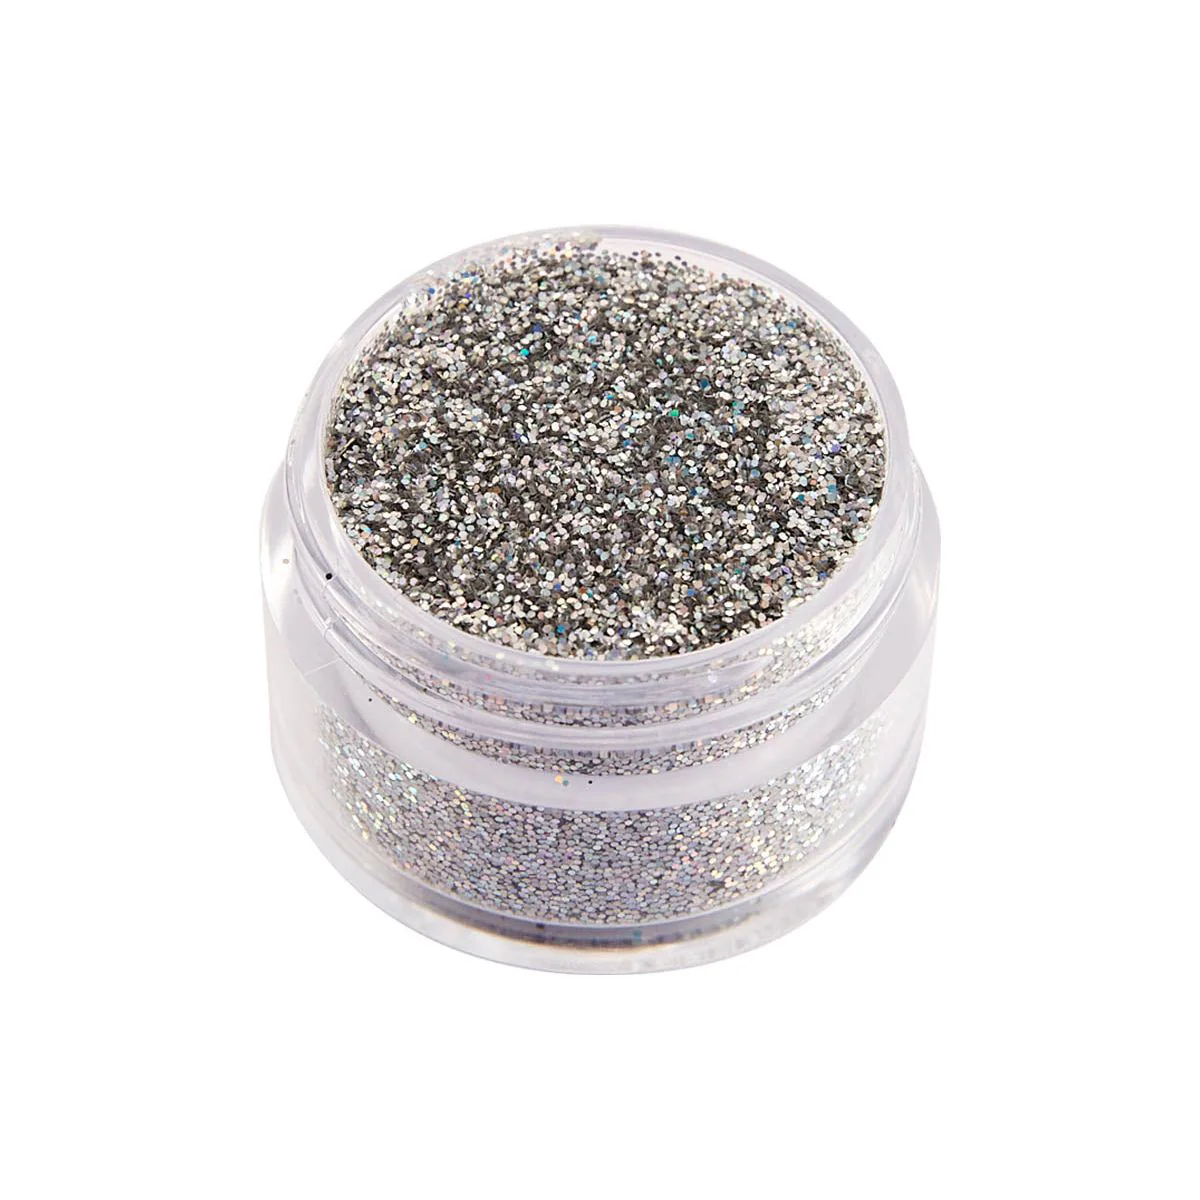
Yes, I am using some "free-range" glitter (LOL) today, but we are going to tame it with a little Texture Paste.
Get Your Supplies!
Click on the image below to SHOP THE ENTIRE release OR
SHOP the Supplies section at the bottom of this post
Today's GIF!
Our balloons won't need any undignified huffing and puffing! 😂
Like this card and my CORNY GIFs? CLICK BUTTON BELOW
to sign up for blog updates:
BALLOON BORDER HAPPY BIRTHDAY CARD - Stenciling with Ink and Texture
Card Size: 3 1/4" x 6 1/4"

COLOR PALETTE
Pawsitively Saturated Ink Pads - Rhubarb, Apple, Cranberry

I always make swatches when new colors join my stash. I use them constantly to help me pick new colors when working on a project. Maybe I'll creat a blog post where I share all my Pawsitively Ink Swatches if the is helpful to you. 🤔


PROJECT HIGHLIGHTS
This stencil has four layers. We will use each of the balloon ones with a different shade of the new red inks. For the streamers, that layer will be used to add texture with the paste and glitter.

STENCILING WITH INK
Position a piece of 3" x 6" white cardstock on your Sticky Mat. TIP: If your mat does not feel slightly tacky, wipe it down with a damp rag like a Micro-fiber cloth, let dry. The tackiness will return and then apply your cardstock.
Align and secure the stencil on the bottom right in the image above over the cardstock. (I used painters tape as the stencil does not extend past my cardstock)
Use a Small Blending Brush to blend Rhubarb ink through the stencil.
Replace and secure the stencil on the top right in the image above over the cardstock and color the next layer of balloons with Apple Ink Pad and a Small Blending Brush.
For the last balloon layer, use the Cranberry ink pad.
Align and secure the "streamers" stencil over the cardstock and use a Round Detail Blending Brush to color in a few of the streamers, leaving some blank for the texture streamers that you will do next.
STENCILING WITH TEXTURE
Align and secure the "streamers" stencil over the stenciled layer that you just created.
Use a palette knife too apply and even layer of texture paste.
Immediately sprinkle the paste with silver glitter and then remove the stencil.
Set aside the stenciled layer to dry.
The aim is to color all the raised areas with this color, some will seem into the
FINISHING & ASSEMBLY
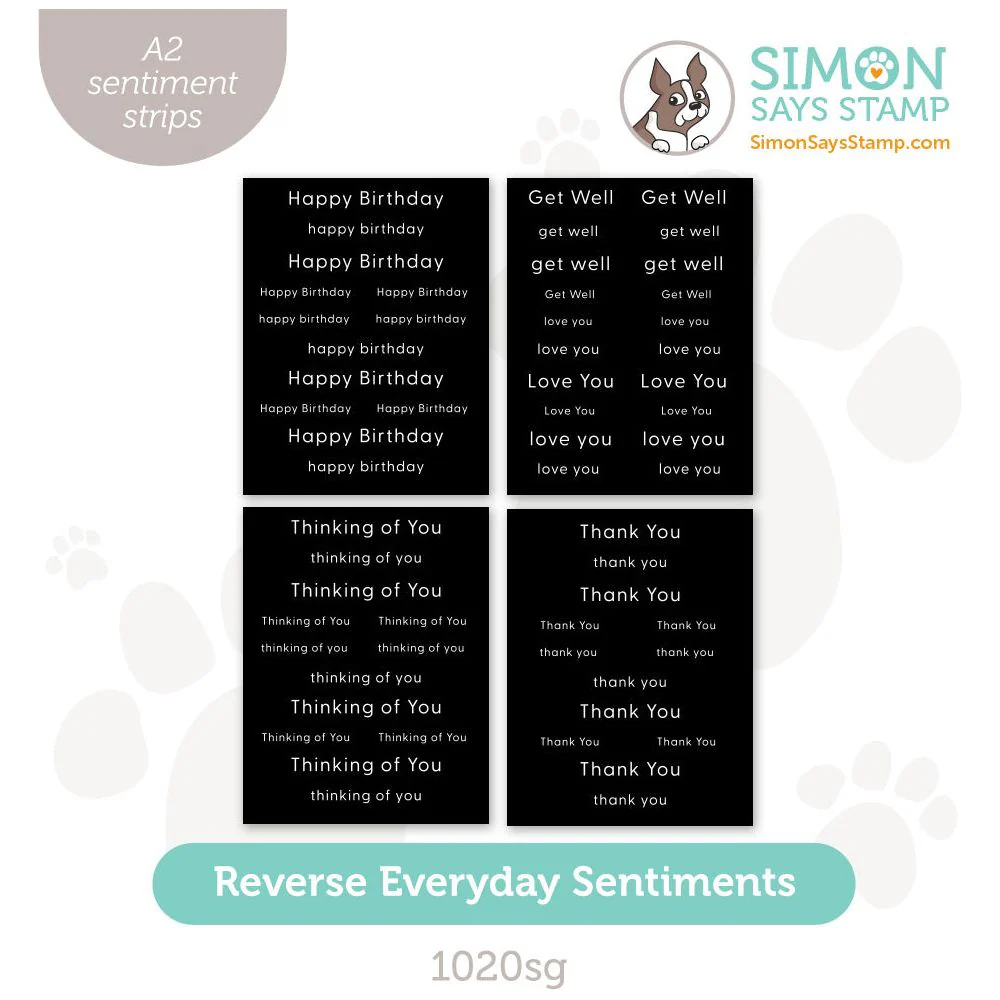
Trim the sentiment strip and adhere to the stenciled layer with Craft Glue.
Adhere the Prism Gems to the stenciled layer with Craft Glue.
Apply foam tape and adhere to a white card base.
Love these reds; the different tones give it 3-dimensional look and the silver streamersnand gems add a distinct party vibe!

Now I just need to get a proper envelope to fit this mini slimline card!

Drop me a comment and say hi!
SUPPLIES:
I listed the products that I have used below. Please note that these are compensated affiliate links, used at no cost to you. I really appreciate your support. All stamps used today were part of my Sweet Wishes maker package from Simon Says Stamp. Click on the icons below each product picture to shop with SimonSaysStamp.com.


Comments