Simon Say Stamp - River Damask Card
- Keisha Diann

- Nov 22, 2021
- 2 min read
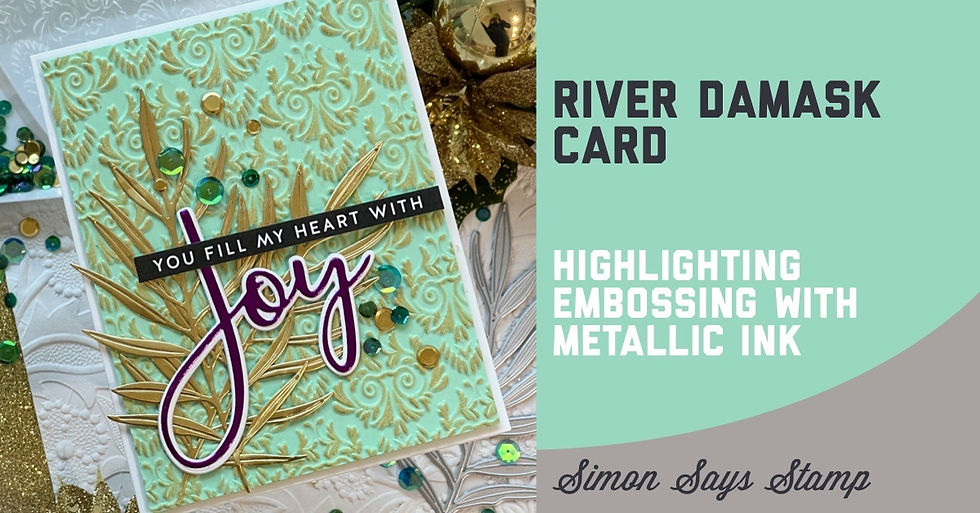
Hello Lovelies! I'm all about embossing cards this month and Simon Says Stamp gave me 15 NEW folders to choose from in their Handmade Holiday release. If you are falling behind on your holiday cardmaking, this is a great way to put together a card with a lot of impact and low effort. :-)
Today, we are going to highlight the beautiful textures of a repeating pattern embossing folder with metallic ink to add sheen and a touch of fancy!

Simon Say's Stamp's NEW River Damask Embossing Folder is already VERY fancy but it is a thing of wonder with a touch of metallic gold ink on Simon Mint Cardstock. The rest is even more smooth sailing with beautiful gold matte and mirror cardstock diecuts. !
Click here to view the full supply list or check out the one linked in the gallery at the bottom of this post when you have finished exploring this card.
Let's get to making!
RIVER DAMASK CARD - Embossed Cardstock Accented with Metallic Ink
Card Base: 4 1/4" x 5 1/2"
Card Front: 4" x 5 1/4"
Featuring:

EXTREMELY COMPLICATED CARD-MAKING INSTRUCTIONS :-)
This card is way too easy, you have got to try it! Here are the 3 steps:
After embossing the Mint Cardstock using the River Damask Embossing Folder, gently rub the gold ink pad over the raised parts of the design. That's it!
Die-cut your embellishments and sentiments, layer as shown and adhere them and the sequins to the card front.
Pop up the Sentiment Strip and embossed mint cardstock with foam tape and layer on Simon side folded white card base.
I did take a few photos which I have scattered with a few tips on how this card comes together. Browse and enjoy. :-)
This is where the Magic starts!
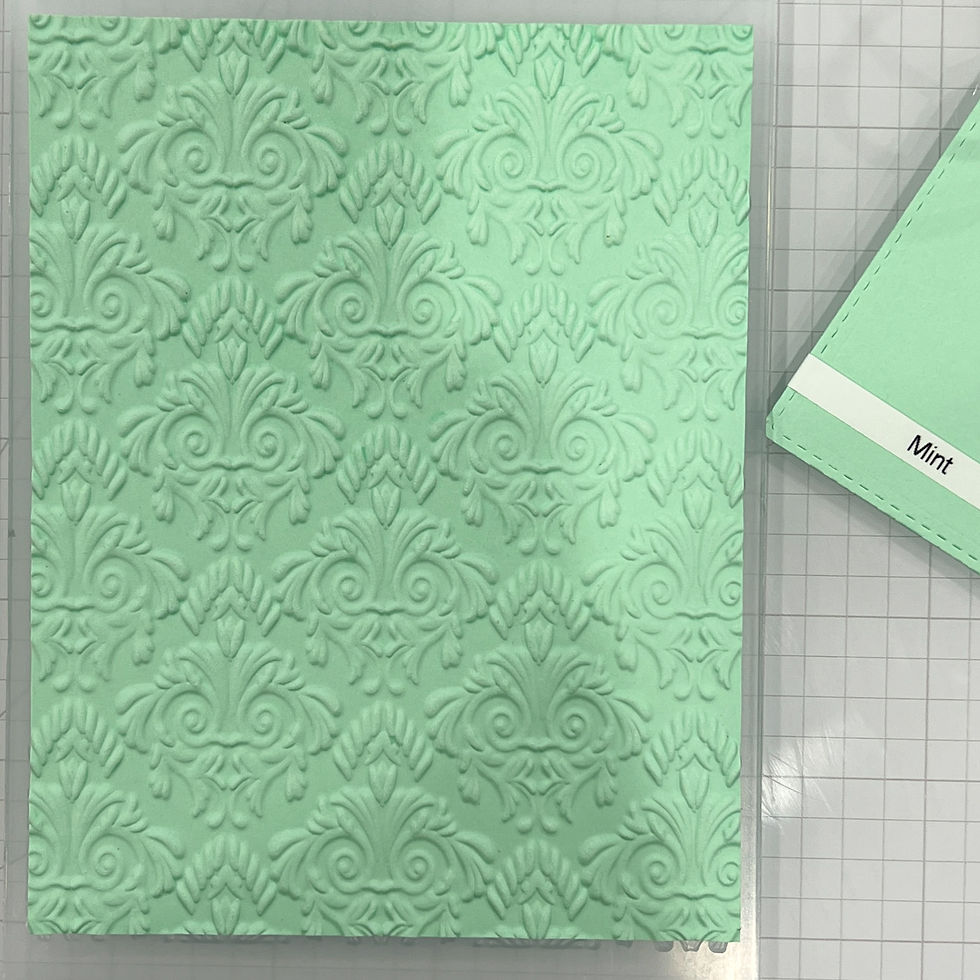
Try laying out all your card elements in a rough approximation of where they should be placed before you adhere and layer them.
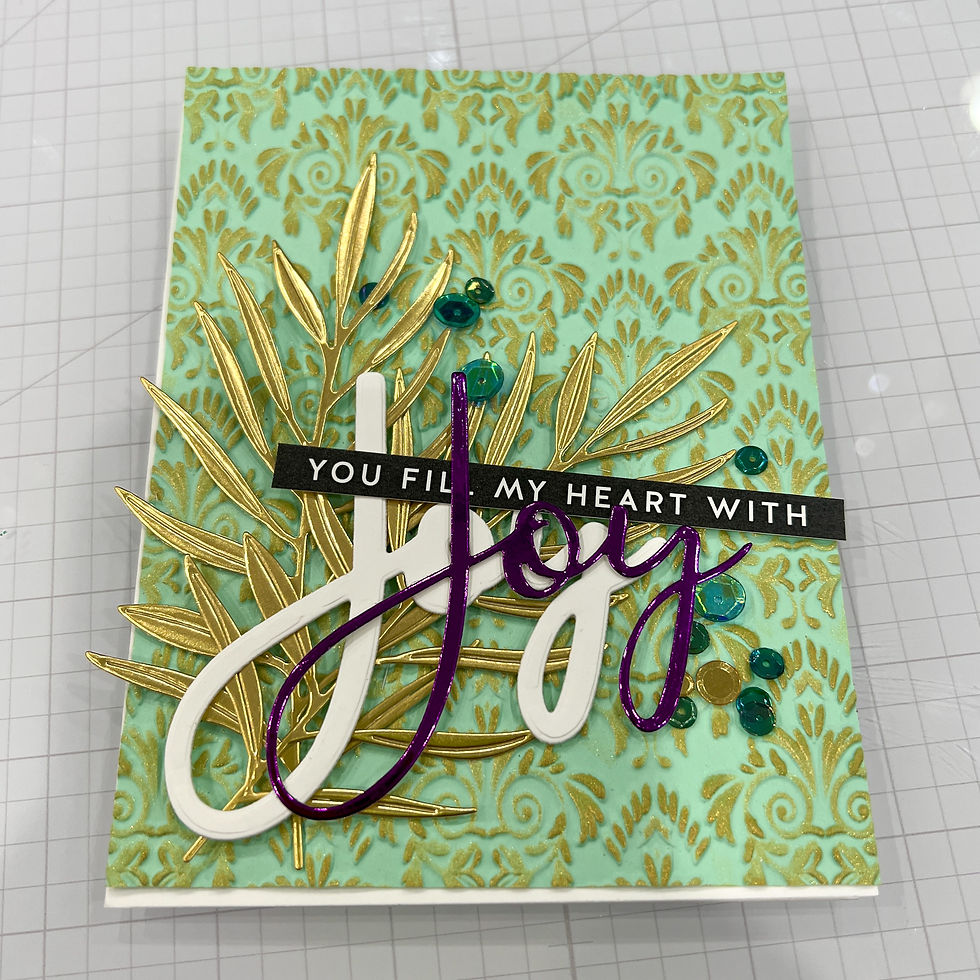
When you rub the ink pad over the embossed cardstock, don't press down, just let it gently skim the raised surface. Repeat until you are satisfied with the ink coverage.

Stack the outline layer of the Joy diecut in two layers of white cardstock to create dimension...and make it look fancier! :-)

Layer the sequins to create visual interest.

All done!


Lovelies, I hope you enjoyed exploring this simple card. Give this a try with different ink colors and sheens (matte vs shiny). I like to use pigment inks the most for this technique and I love it when you let me know what think in the comments.
See you soon!
SUPPLIES:
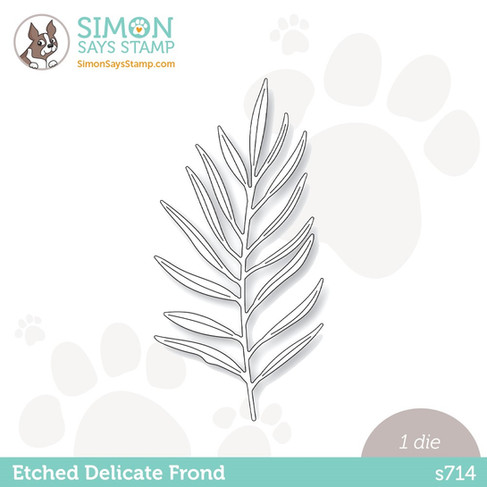
I listed the products that I have used below. Please note that these are compensated affiliate links used at no cost to you. I really appreciate your support. All stamps used today were part of my maker package from Simon Says Stamp. Click on the icons below each product picture to shop with SimonSaysStamp.com.







Awesome card Keisha. I love the technique you used on the embossing. The gold gives it such gorgeous look and the purple Joy fits so well with the mint and gold, this totally surprised me. Thank you so much for sharing, stay safe and have a wonderful day.