

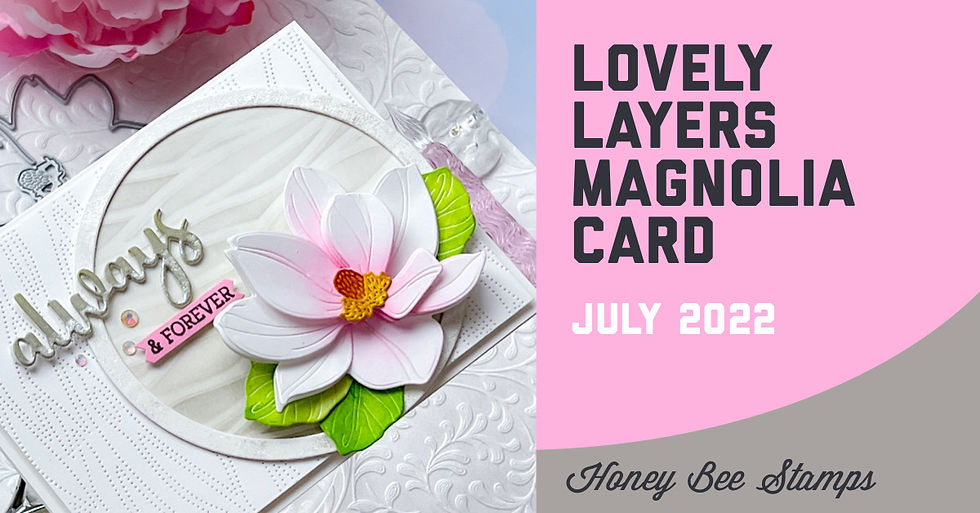
Honey Bee Stamps - Lovely Layers: Magnolia
- Keisha Diann

- Jul 29, 2022
- 3 min read
Hello Lovelies! Gosh, it's taken me much longer than planned to share this Honey Bee Stamps Lovely Layer Magnolia Card, but I wanted to still go for it, as this is such a simple and fun card to make.
I am very rarely subtle, but just a touch of ink transforms this magnolia into something that looks a bit like a lotus. I'd love to say that I planned it that way, but I definitely didn't!
I initially intended to do a shaker card here using the circle frame, but ended up going in a different direction...this is definitely a card with an identity crisis that somehow was still determined to be pretty.
Check out the key supplies below:
Essential Card Supplies:


Click here to view the full supply list or check it out the one linked in the gallery at the bottom of this post when you have finished exploring this card.
Today's GIF!
This was what I was originally try to go for...
But somehow I ended up here! LOL
Like this card and my corny GIFs? CLICK BUTTON BELOW
to sign up for blog updates:
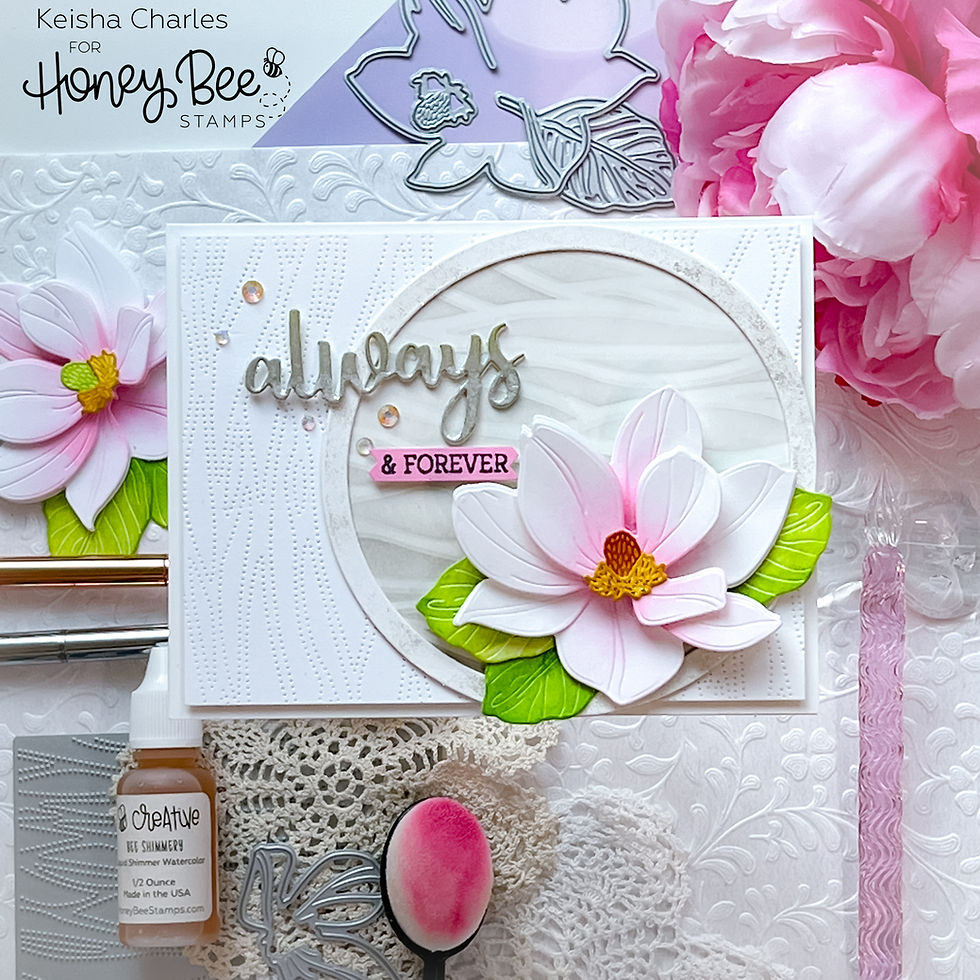
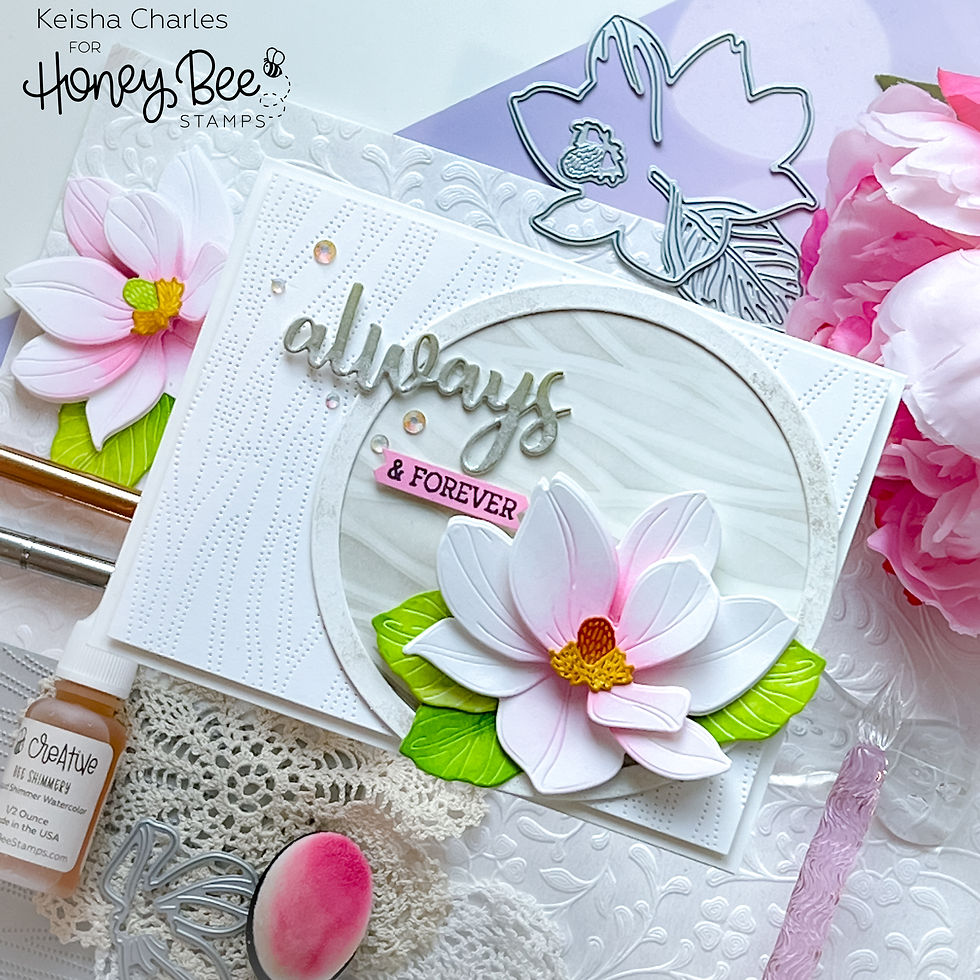
ALWAYS & FOREVER - Die-cutting, Ink-Blending, Water Coloring and Stenciling
Card Base: 4 1/4" x 5 1/2"
Die-cut Wave Layer: 4" x 5 1/4"
Featuring:
Simon Says Stamp Pawsitively Saturated Ink Pads - Fawn, Cozy
Tim Holtz Ranger Distress Ink Pads - Spun sugar, Twisted Citron, Mowed Lawn, Fossilized Amber, Rusty Hinge

CARD PALETTE


CARD WALKTHROUGH
STENCILING
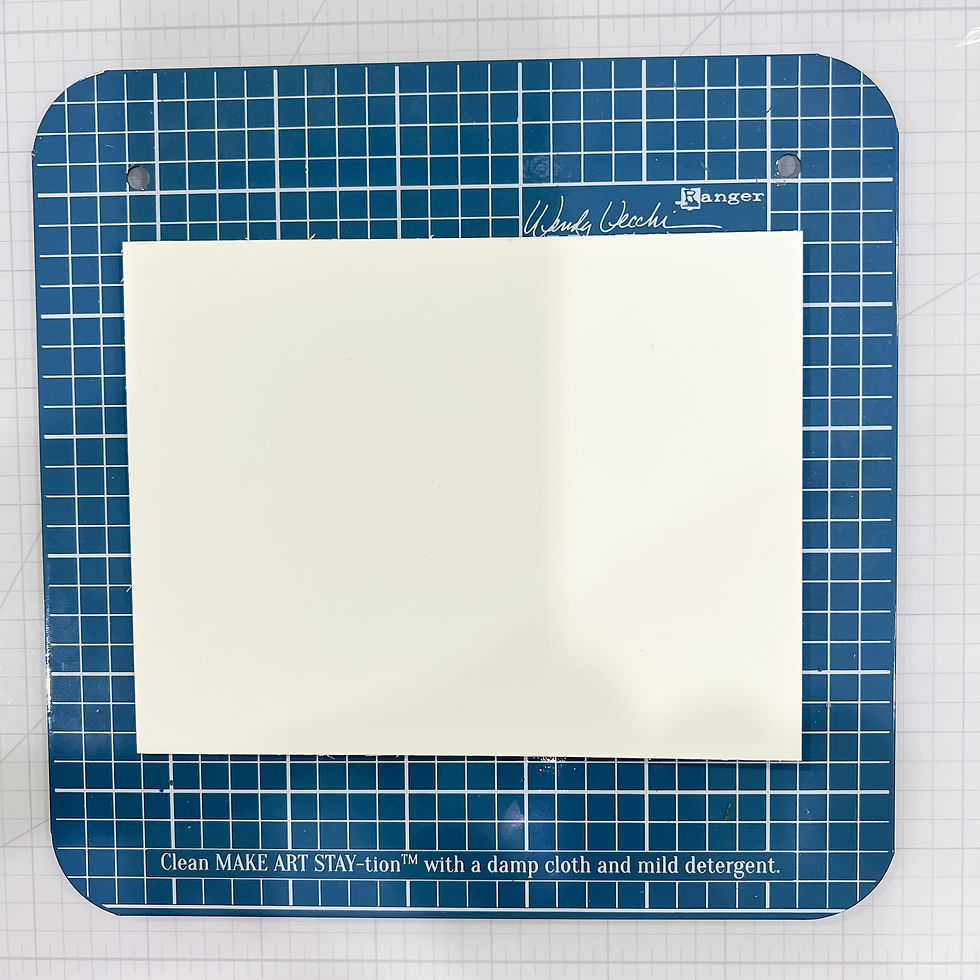
Place paper on Make Art Staytion to prepare for stenciling.
Tip: I often add a double sided strip of Frog-tape to the back of my paper for further stability when I place it on the Stay-tion before adding the magnets.
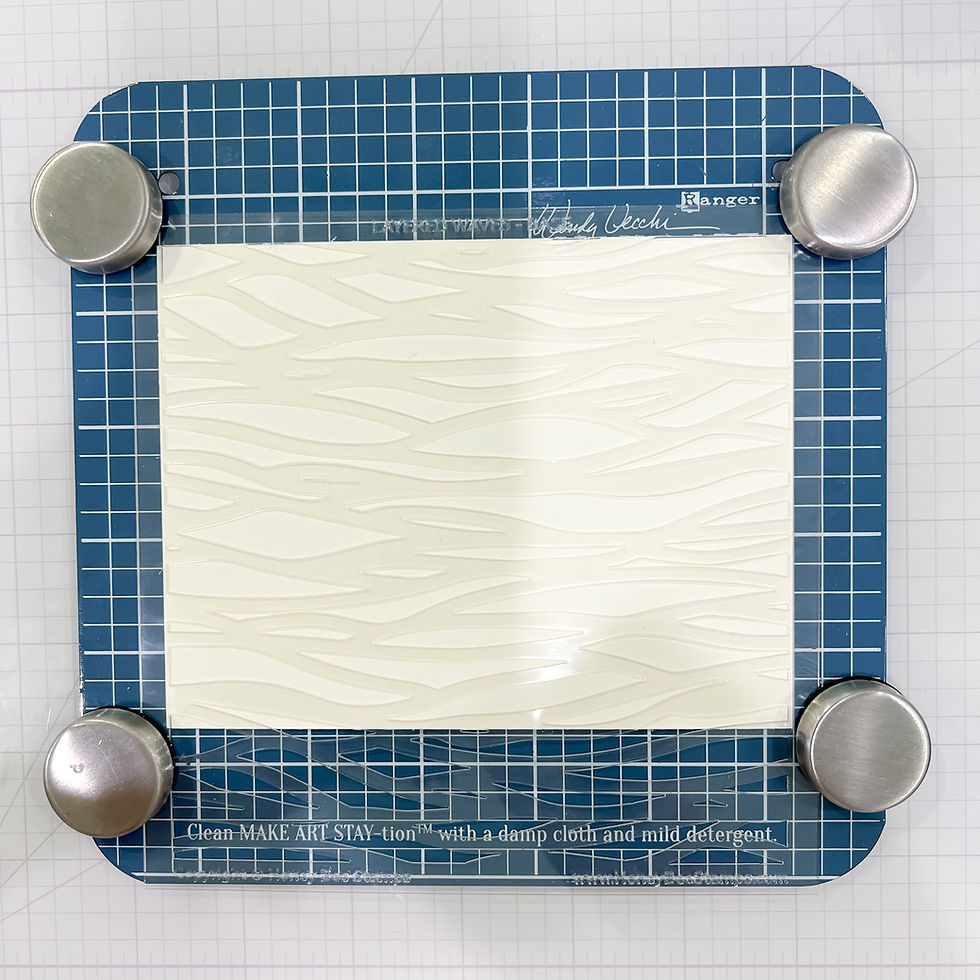
Secure 1st layer of Layered Waves Stencil over paper using magnets.

Lightly ink using the Large Blending Brush and Cozy Ink. Create a slight gradient by blending towards the bottom more generously.
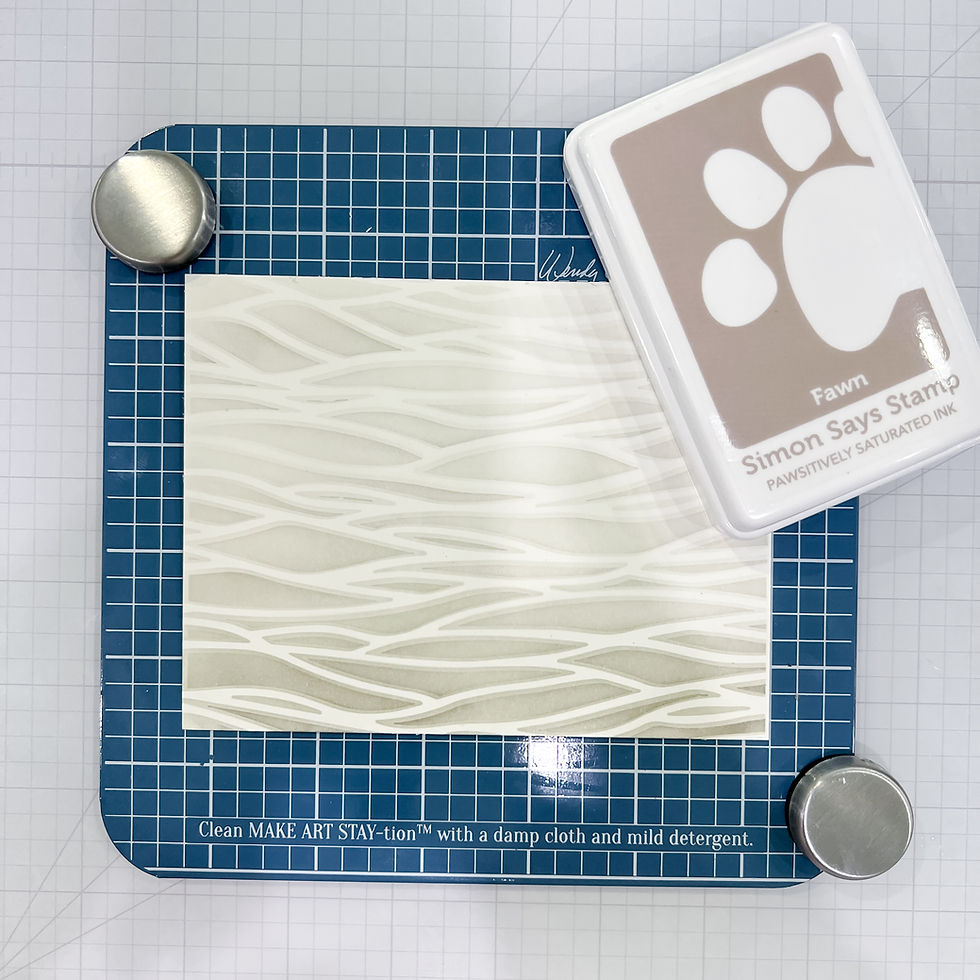
Replace the 1st layer with the second layer of the stencil and ink-blend lightly with Fawn Ink creating a misty effect.
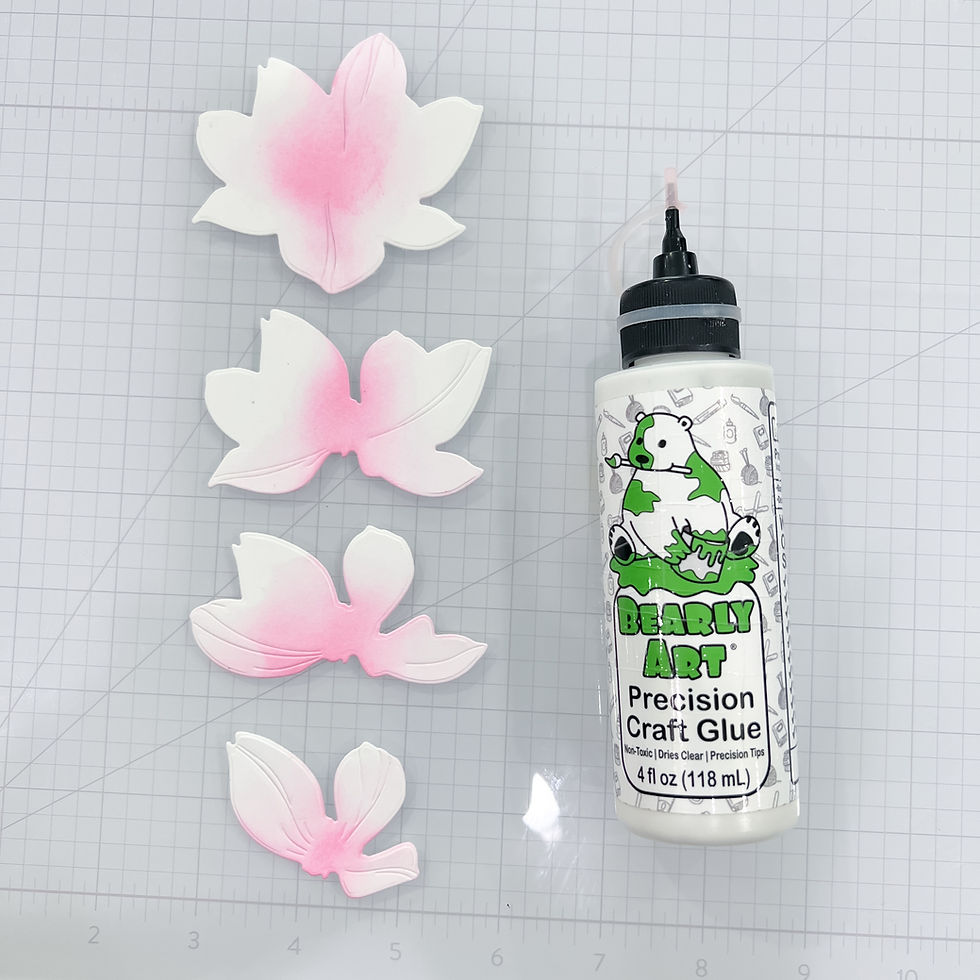
DIE-CUTTING & INKING
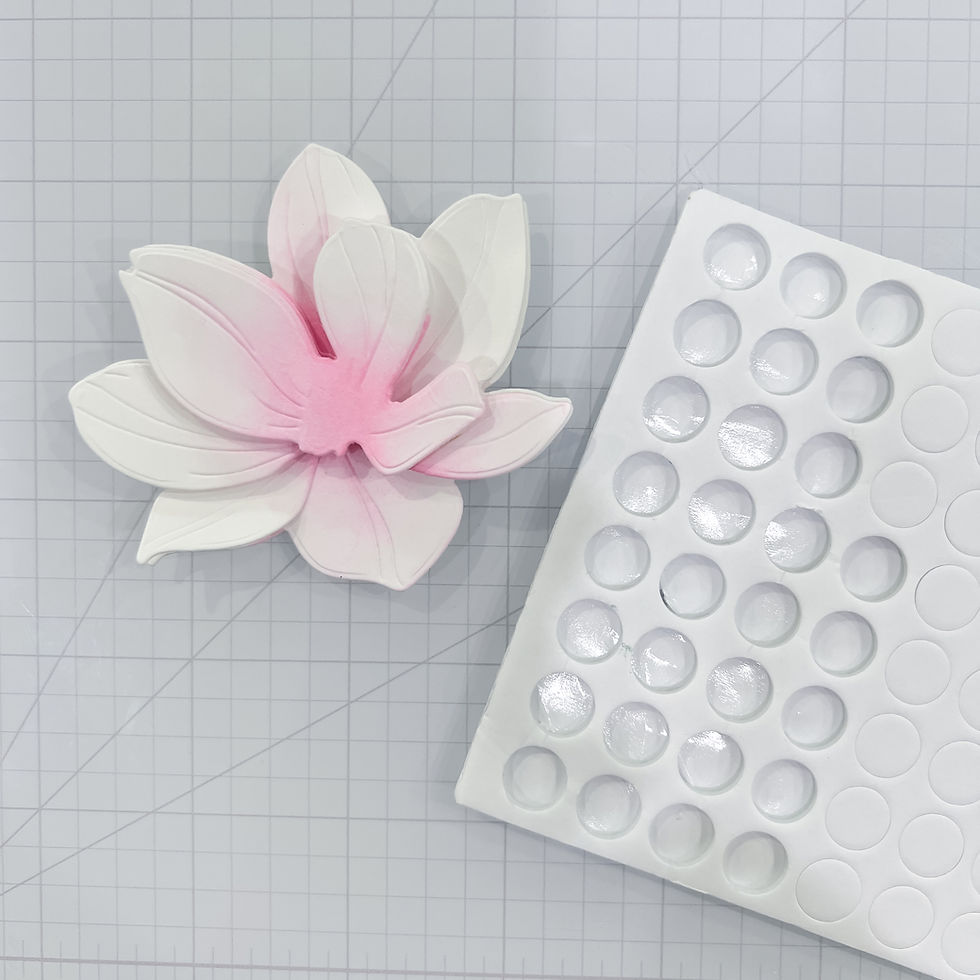
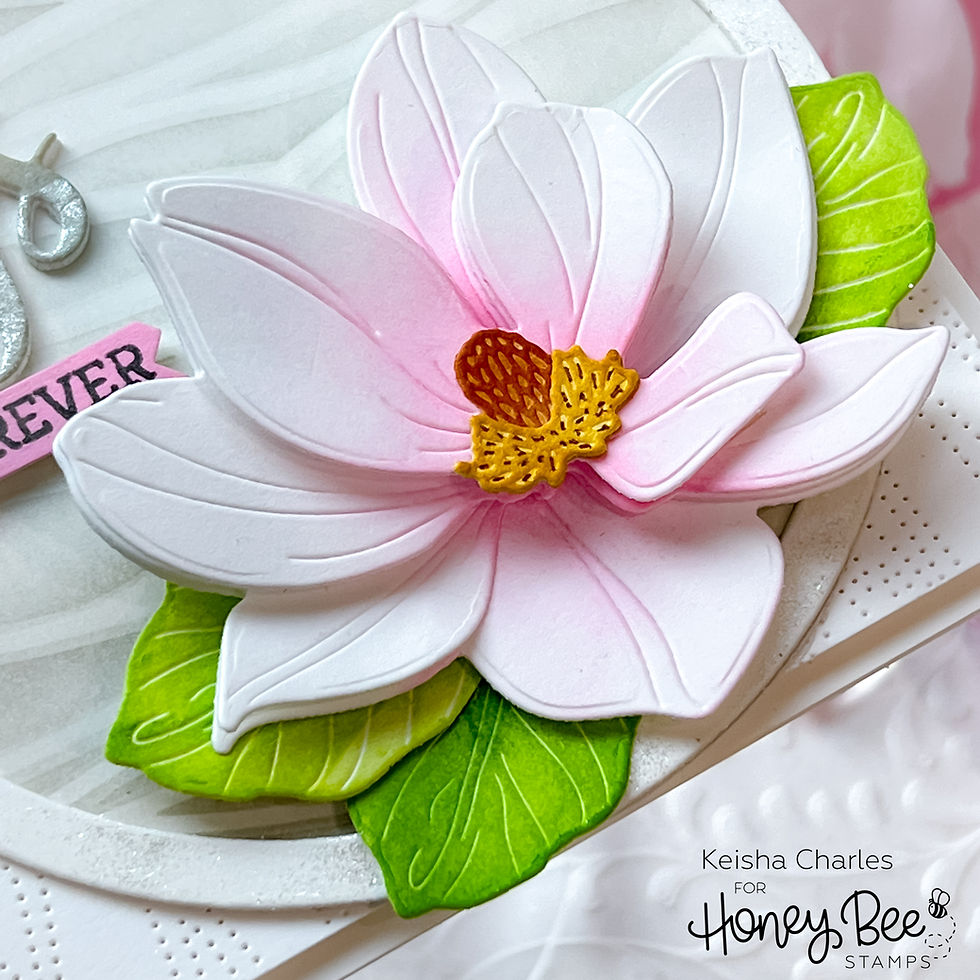
After die-cutting the Magnolia bloom layers and 3 leaves out of 110lb white cardstock, gently ink-blend Spun Sugar Ink onto each layer of the Magnolia bloom as shown using one of the Detail Blending Brushes.
NOTE: Ignore the glue! I decided to pop the layers up with adhesive foam to create a dimensional flower.
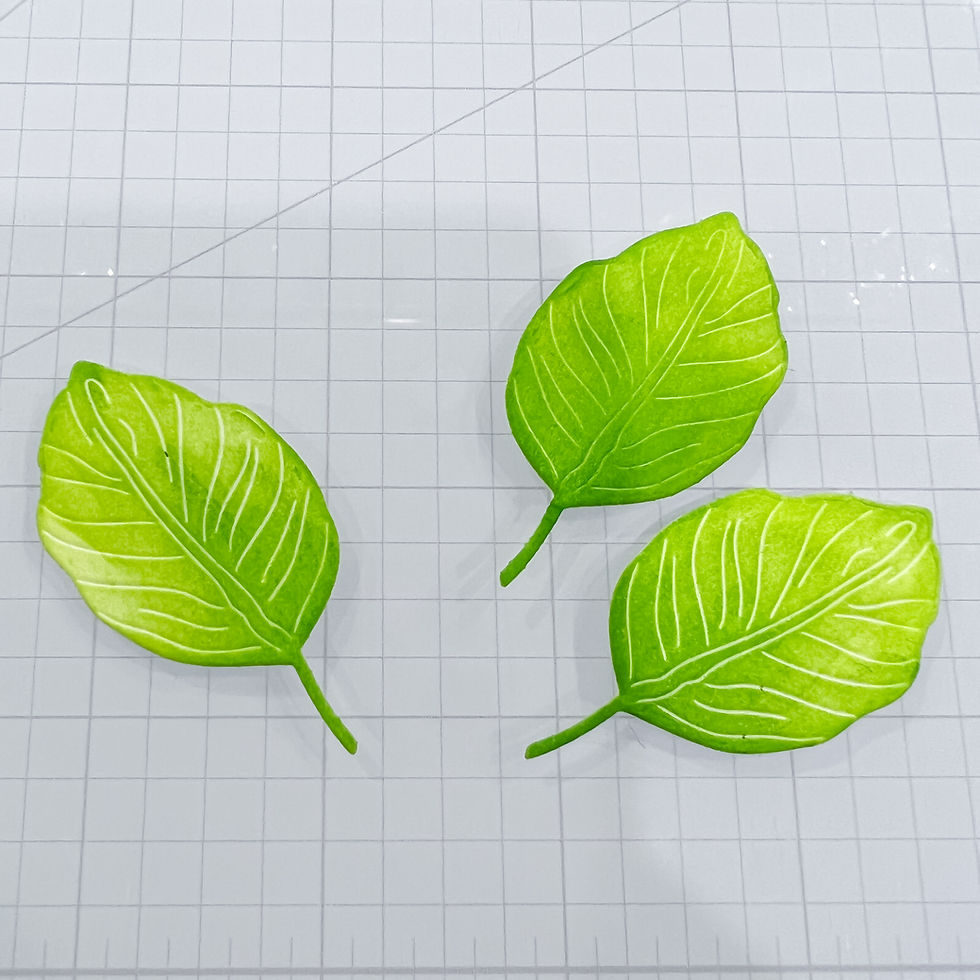
Ink blend 3 leaves all over in Twisted Citron and then add some Mowed Lawn towards the bottom and center using the Detail Blending Brushes.
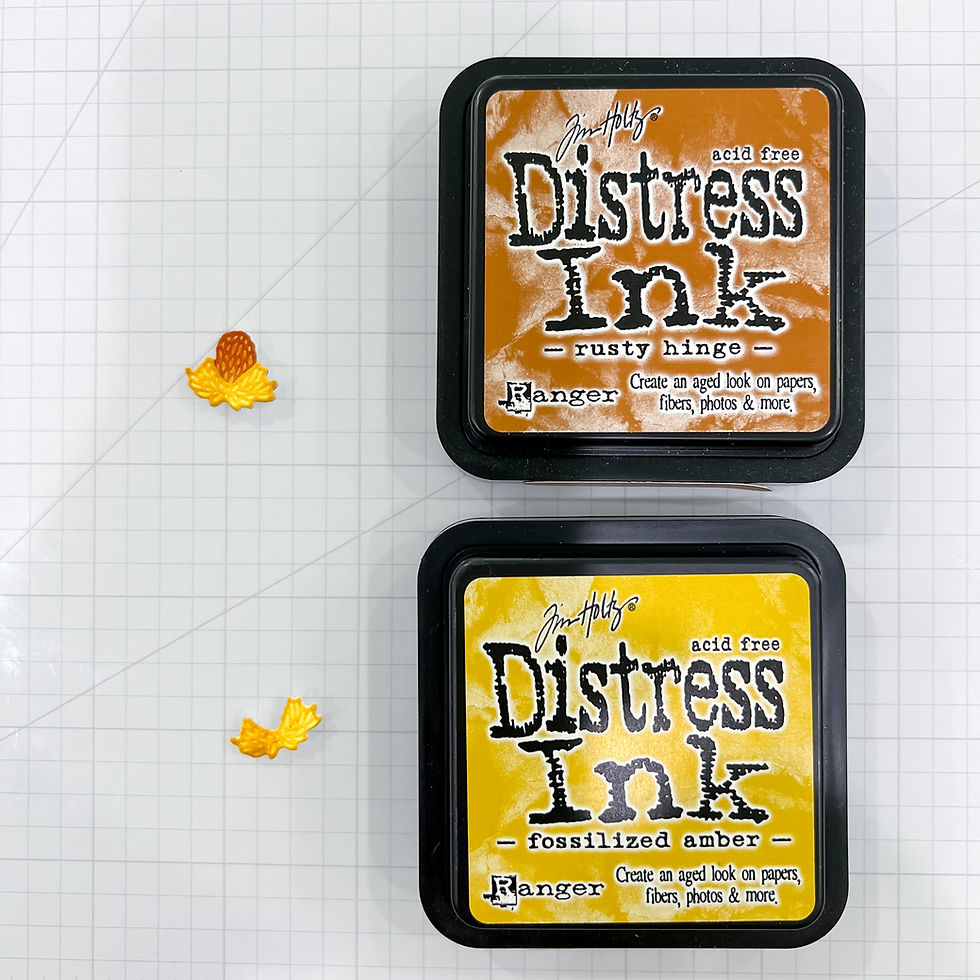
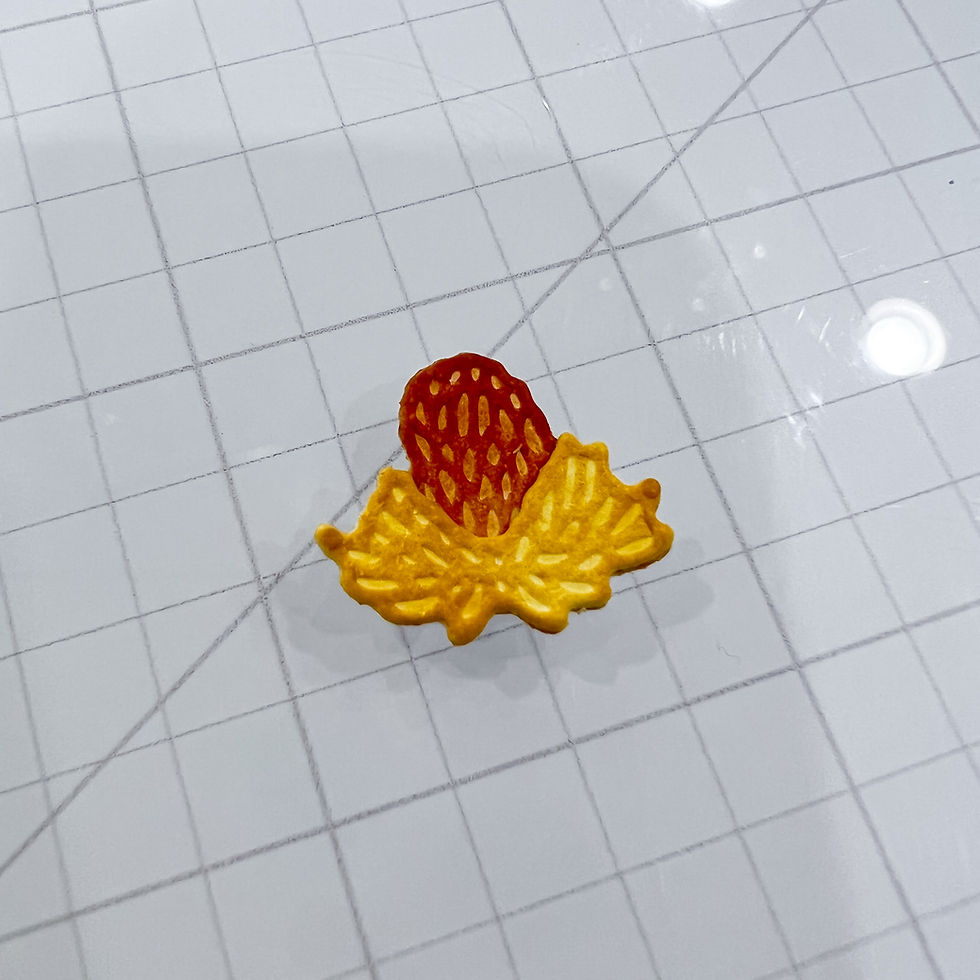
Ink the flower center as shown with Rusty Hinge and Fossilized Amber.
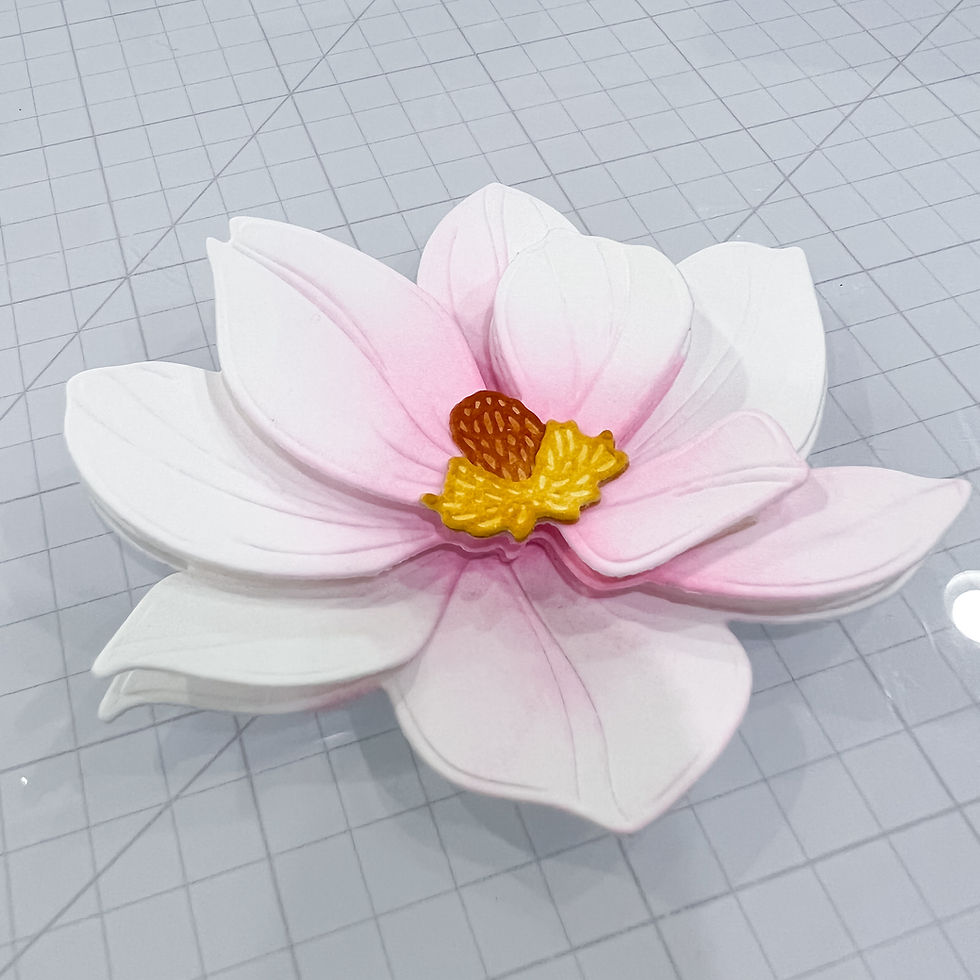
Assemble the flower by layer with adhesive foam.
Layer the flower center as shown.
Adhere flower center to petal layers.
Use a brown ink pen to add little details to the flower center.


CREATING SHIMMERY CIRCLE FRAME BACKGROUND
Die-cut two of the largest size frames using the Circlescapes dies. Use the matching size circle to die-cut the stenciled wave background.
Adhere with a wet glue like Bearly Craft Glue.
Add a large drop of Bee Shimmery to your craft mat.
Dip a flat or round brush, into the watercolor to ink it generously.
Brush the shimmery watercolor over the frame until you are satisfied with the coverage.


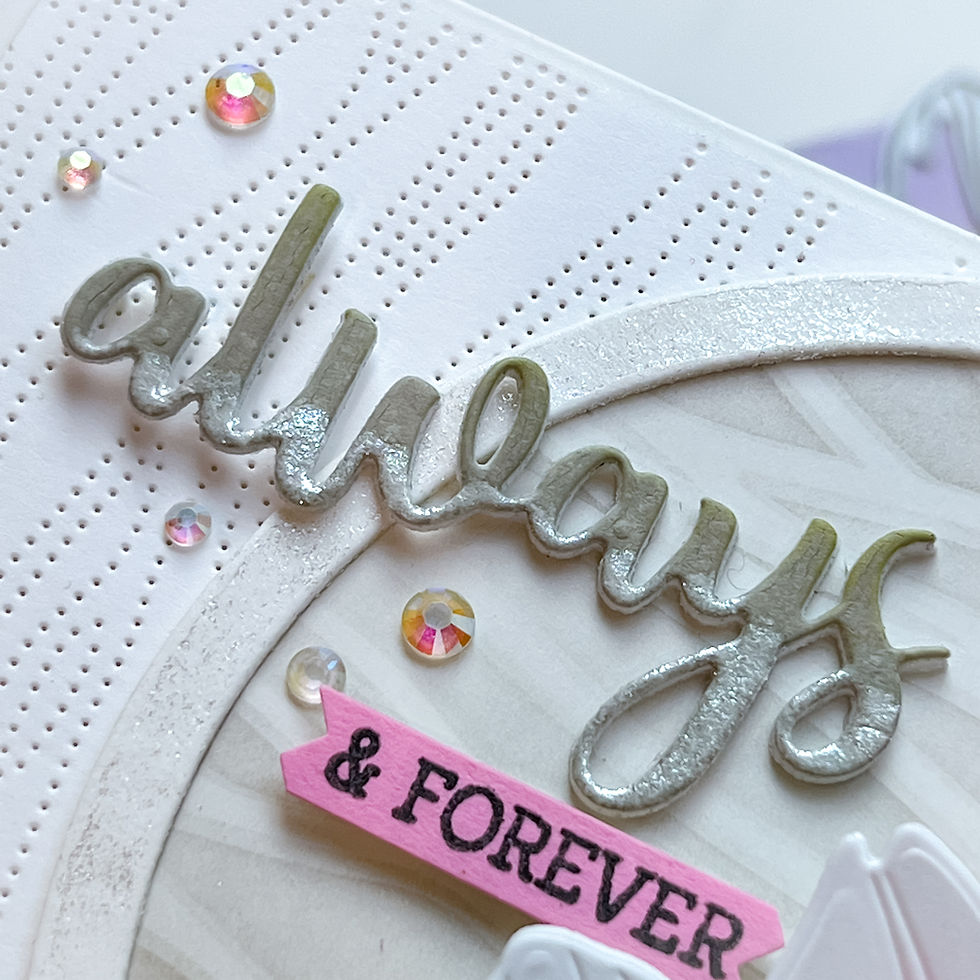
CREATE SENTIMENTS
Diecut "Always" from the Be Mine Die Set out of 110lb white cardstock, ink with Fawn Ink, adhere to your craft mat with a low tack tape (I'm using Pixie Tape). Brush the shimmery watercolor onto the exposed portion of the word
Pop up sections of the words with teeny bits of Foam Tape as shown.
Ink a strip of paper with Spun Sugar using a Detail Blending Brush and stamp with "& Forever" in Intense Black Ink from the Be Mine Stamp Set.


BASIC ASSEMBLY


Layers, texture and shimmer, what more could I ask for???
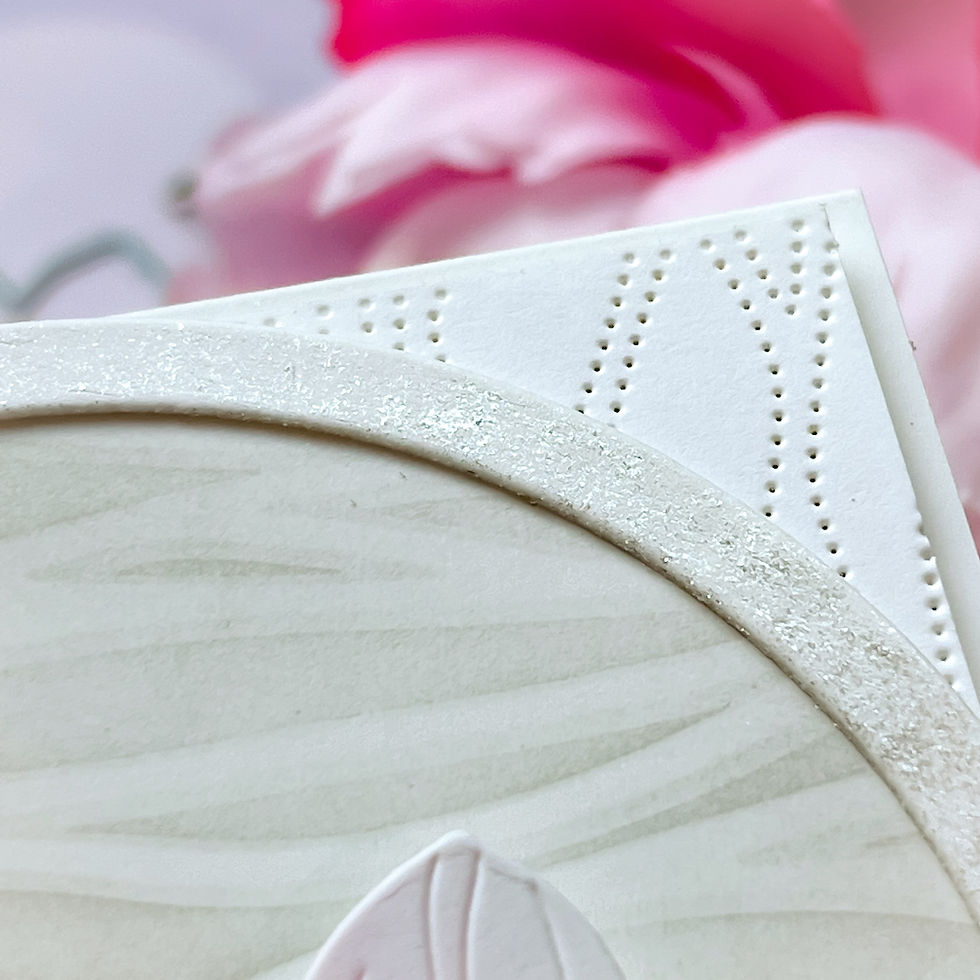
This is definitely a sight for sore eyes!
A little bling never hurts.... :-)
I loved this flow so much that I ended up making two!
In case you are wondering, since the card is so chunky, I paired it with an envelope for an A6-sized card (4 1/2" x 6") and that works like a charm!
Last look!

If you have not tried Honey Bee Stamps Lovely Layers Dies, this is a great first places to start. All the dies-cuts in the collection are so easy to assemble and with a little bit of inking, you can make a lot of magic!
Thank you for stopping by and see you soon!
SUPPLIES:
I listed the products that I have used below. Please note that these are compensated affiliate links used at no cost to you. I really appreciate your support. All stamps used today were part of my maker package from Simon Says Stamp. Click on the icons below each product picture to shop with SimonSaysStamp.com.


This card is stunning! Thank you for sharing every step of the project - it's absolutely beautiful!
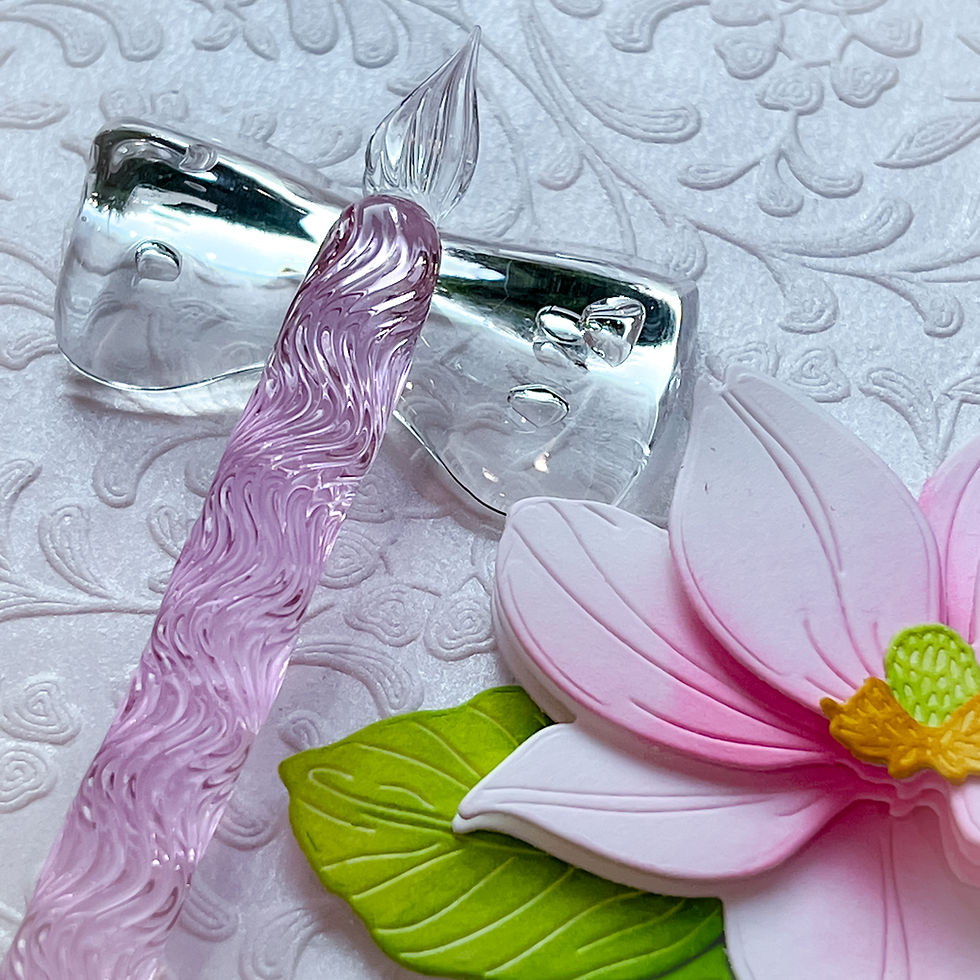
So pretty, thanks for sharing. What is the pointed glass item, purple base with clear top?
It doesn't matter how you intended to make this card Keisha it turned out fabulous! When I saw the card on IG I thought you use special vellum behind the circle opening, now I see that you have used awesome stencils. And yes, I thought also the it was a beautiful Lotus LOL. Thank you so much for sharing your never ending inspiration, stay safe and have a wonderful day.