

Honey Bee Stamps - Love Cover Cards
- Keisha Diann

- Jan 30, 2023
- 2 min read

Hello Lovelies! Are you a hoarder of the prettiest patterned paper? If you have been getting the Honey Bee Stamps coordinating Patterned Paper pads that come with each release, I can totally understand why! Sooo many pretties!!!
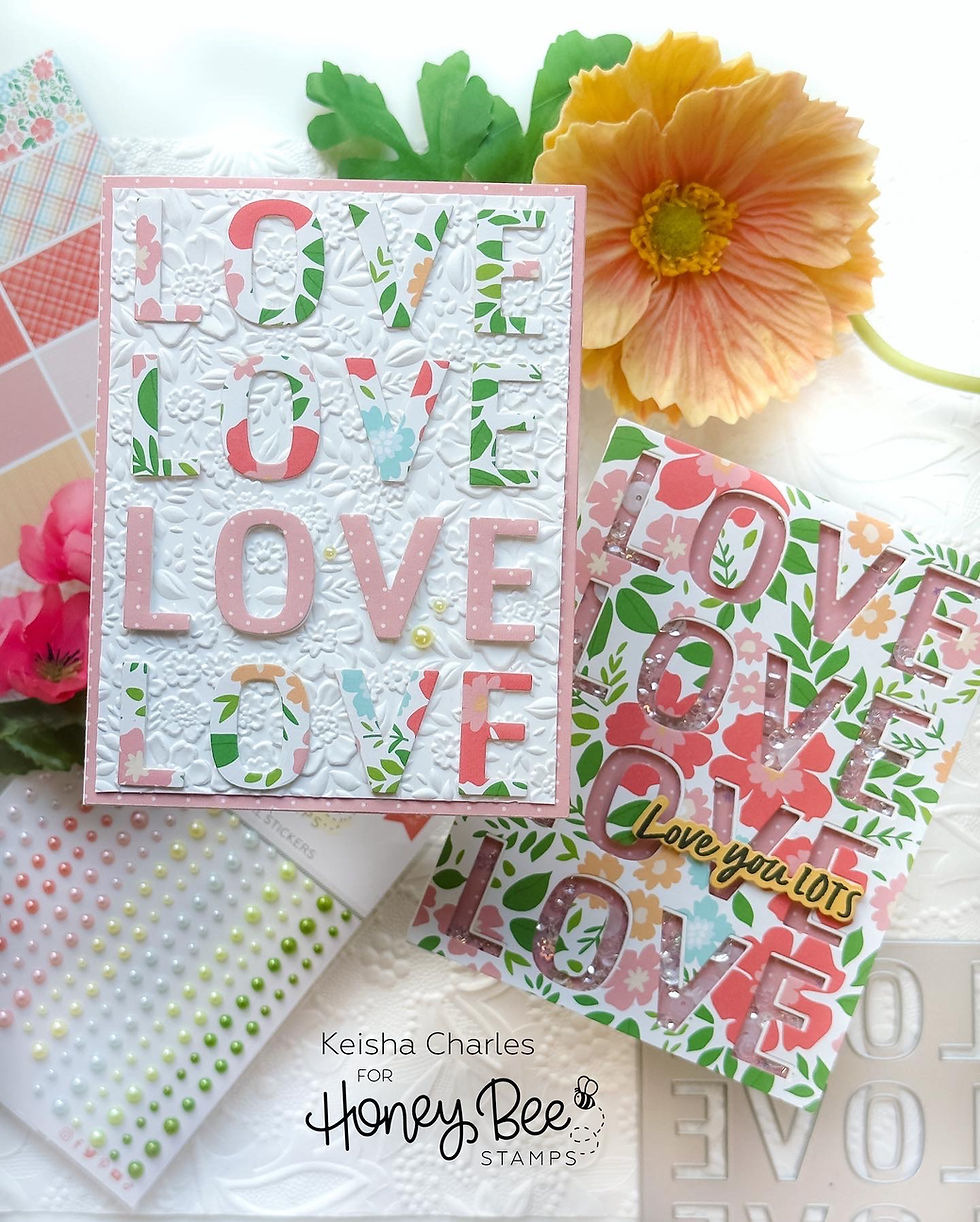
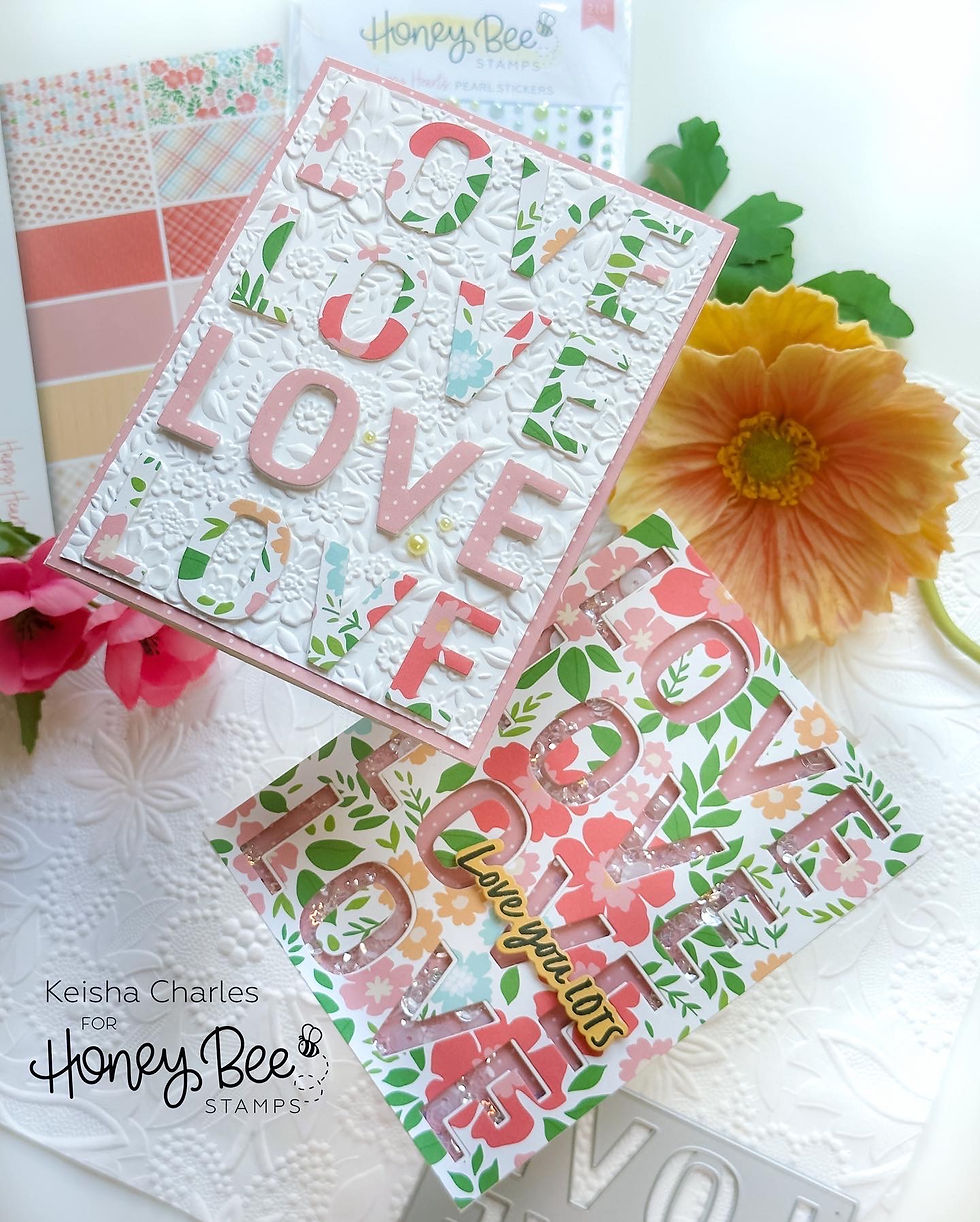
Let's break the collecting cycle with the Happy Hearts release and this pair of easy, sweet cards, right in time for Valentine's Day! Use the Love A2 Cover Plate to quickly make this statement card duo.

Here's a closer look at today's key supplies:


SHOP THIS CARD in the Supplies section at the bottom of this post:
Today's GIF!
Hoping you'll also feel with LOVE with these cards!
Like this card and my corny GIFs? CLICK BUTTON BELOW
to sign up for blog updates:
LOVE COVER CARDS - Die-cutting, Stamping, Shaker Card
Card Base: 4 1/4" x 5 1/2"
CARD HIGHLIGHTS
- Die-cut the following 4 1/4" x 5 1/2" cardstock using the A2 Love Cover Die:
Pink polka dot pattern
Multicolored floral pattern
Fun Foam
White Cardstock
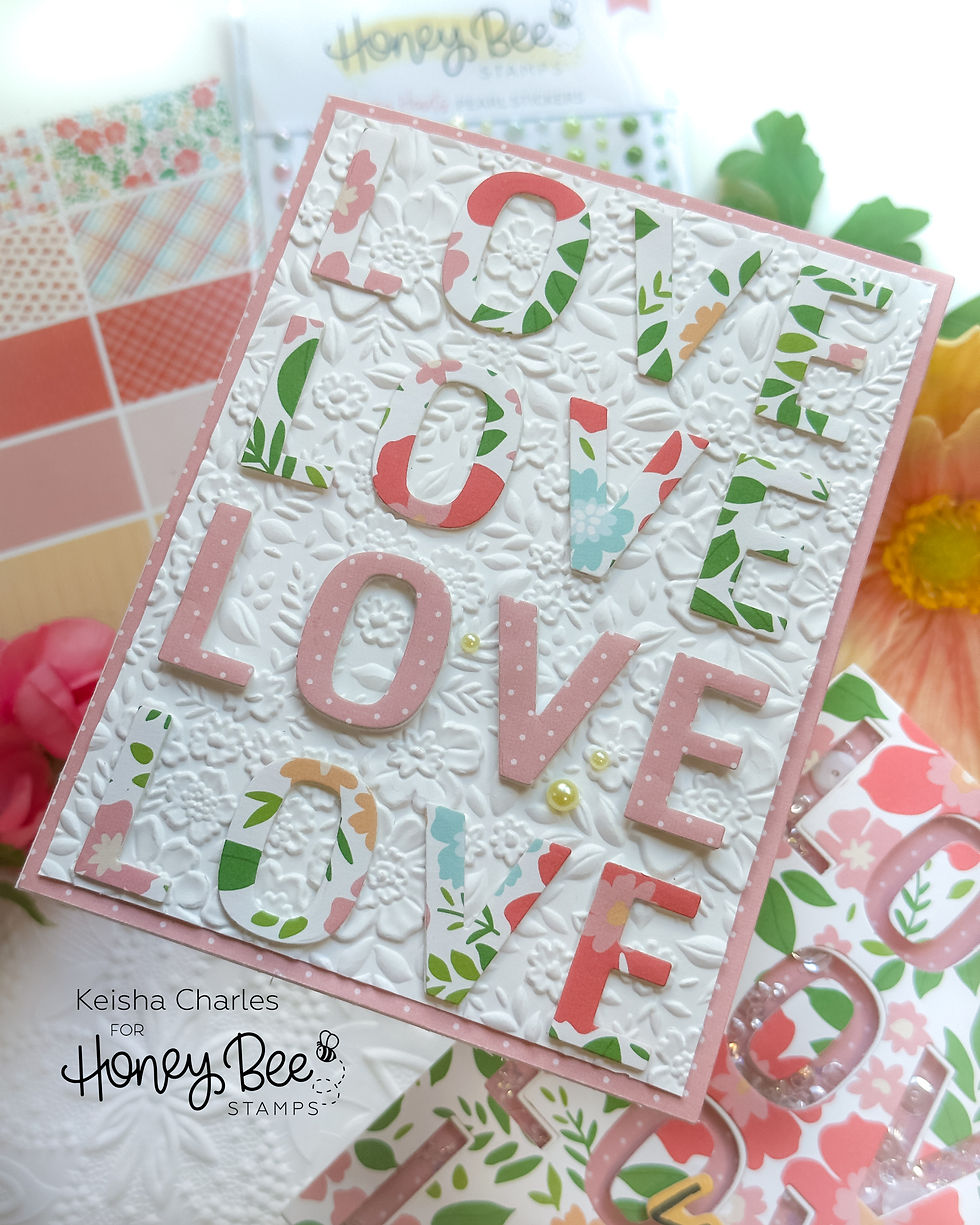
EMBOSSED CARD
- Emboss 4" x 5 1/4" 110lb White Cardstock with the Spring Medley Embossing Folder
- Adhere 1 set of pink polka dot LOVE letters to the matching Fun Foam letters
- Overlay the pink polka dot "die-cut negative" over the embossed cardstock and adhere the floral and pink letters using the "negative" as a guide to align perfectly to the card front
- Adhere the pink polka dot "negative" to a card base (this will be mostly hidden by the embossed layer
- Finish by adding foam tape to the embossed, securing the card front to a card base and embellishing with yellow pearl stickers
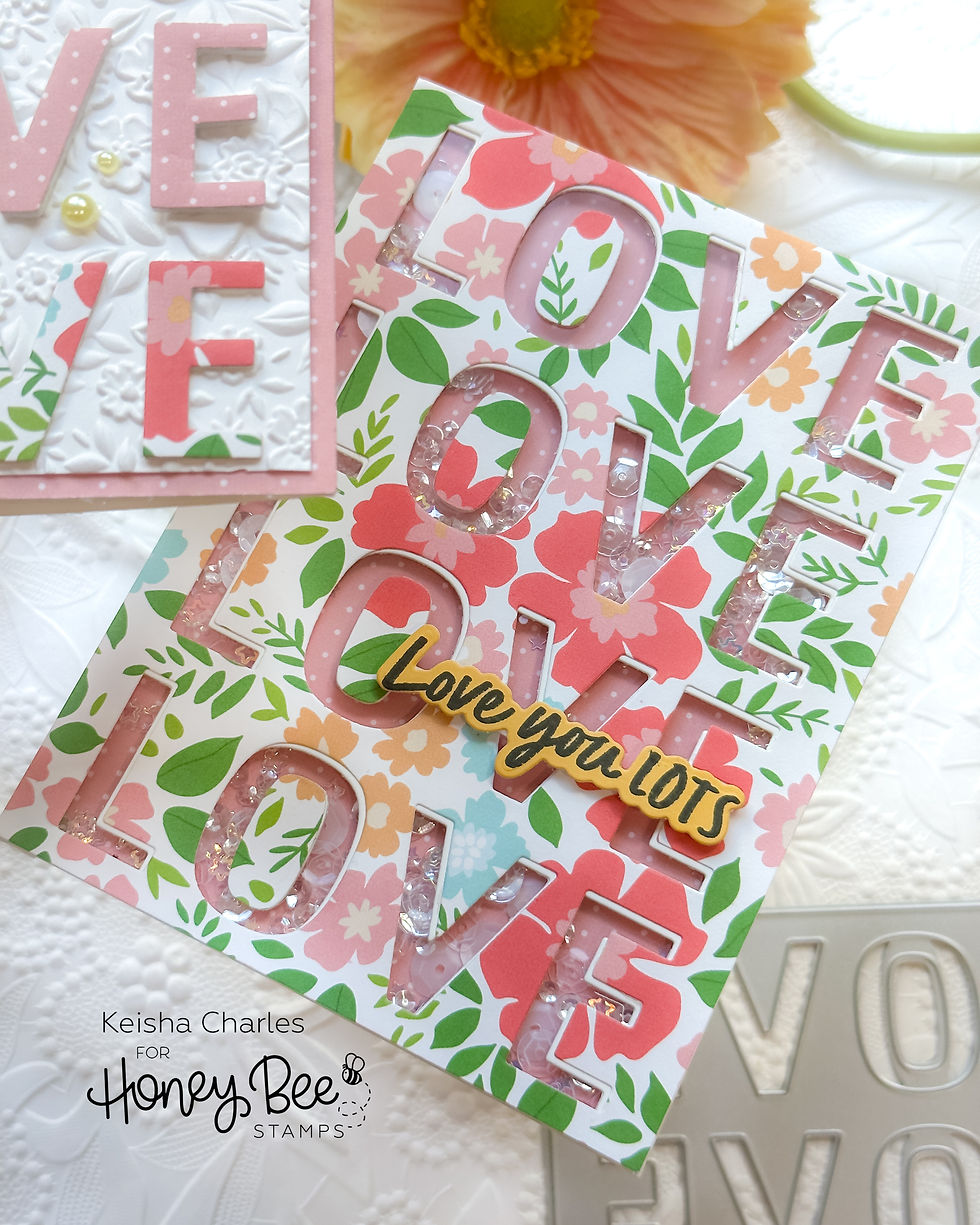
SHAKER CARD
- Adhere the floral "negative" to the white cardstock "negative", with the white cardstock slightly offset so it shows beneath the floral
- Back this offset, layered cardstock with acetate, using double-sided tape to adhere.
- Once complete, add foam tape to the back of the acetate (around the perimeter) to raise it up and create space for the sequins in the shaker
- Adhere pink polka dot background to the card base. Place clear sequins on top and cover with the popped up floral die-cut layer
- Stamp the sentiment on yellow paper from the pad, die-cut and adhere to the card front to finish
These cards are easy and gives you so many good reasons to explore your patterned paper!
Happy-card making Lovelies!
Thank you for stopping by and see you soon!
SUPPLIES:
I listed the products that I have used below. Please note that these are compensated affiliate links used at no cost to you. I really appreciate your support. All stamps used today were part of my maker package from Honey Bee Stamps. Click on the icons below each product picture to shop with SimonSaysStamp.com.


It seems patterned paper is "out of style" for many, replaced by creating one's own backgrounds. I enjoy making backgrounds (in fact, I have a box full that need to be made into completed cards!) but I still enjoy seeing and using the patterned papers. I love the coordinated patterns, colors, and designs that I could not replicate myself. I am a color junkie, so they make me happy! These are very pretty!